This homemade pita chips recipe is everything you need for a snack that’s not only healthy but bursting with flavor! These golden, crispy chips are perfect for anytime munching, as a delightful side dish, or served as a crunchy accompaniment to your favorite dips, spreads, or soups. You are going to absolutely adore this crispy homemade goodness!
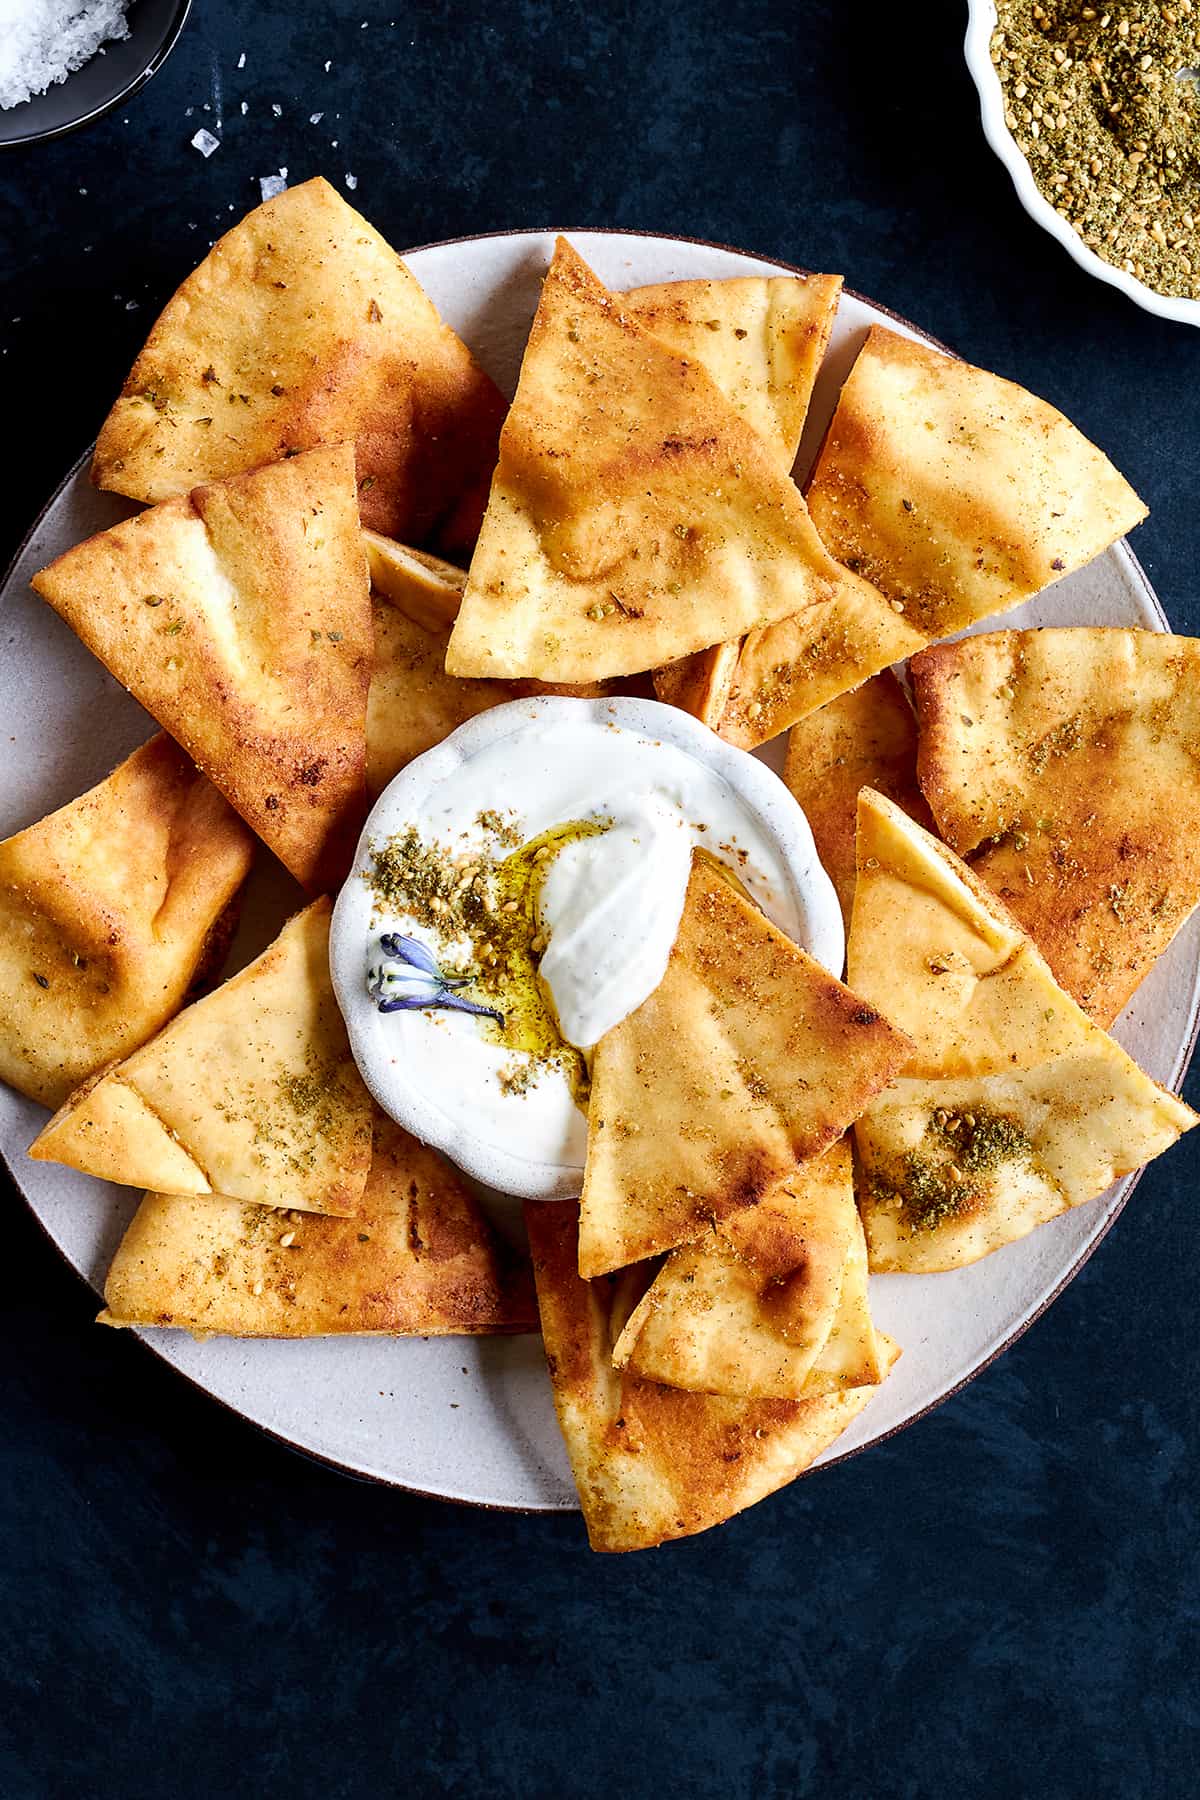
Table of Contents
Homemade Pita Chips Recipe
We love a good snack recipe around here, and nothing beats homemade pita chips! They’re our favorite way to use up leftover pita bread rounds.
Of course, you can easily find pre-made pita chips at your local grocery store, but they taste so much better when they’re homemade. Believe it or not, they’re actually easy to create, too!
We’ll walk you through our favorite tips and tricks so you can achieve perfectly crispy chips every time with minimal prep time and a total time quicker than it takes to run to your local grocery store.
Are Pita Chips Healthy?
Of course, it depends on your definition of healthy. However, as far as snacks go, pita chips are far healthier than lots of other options, especially when you make them yourself!
This is because they’re made with far less oil than other snacks like chips, contain little to no preservatives, and are baked instead of fried.
How to Make Pita Chips
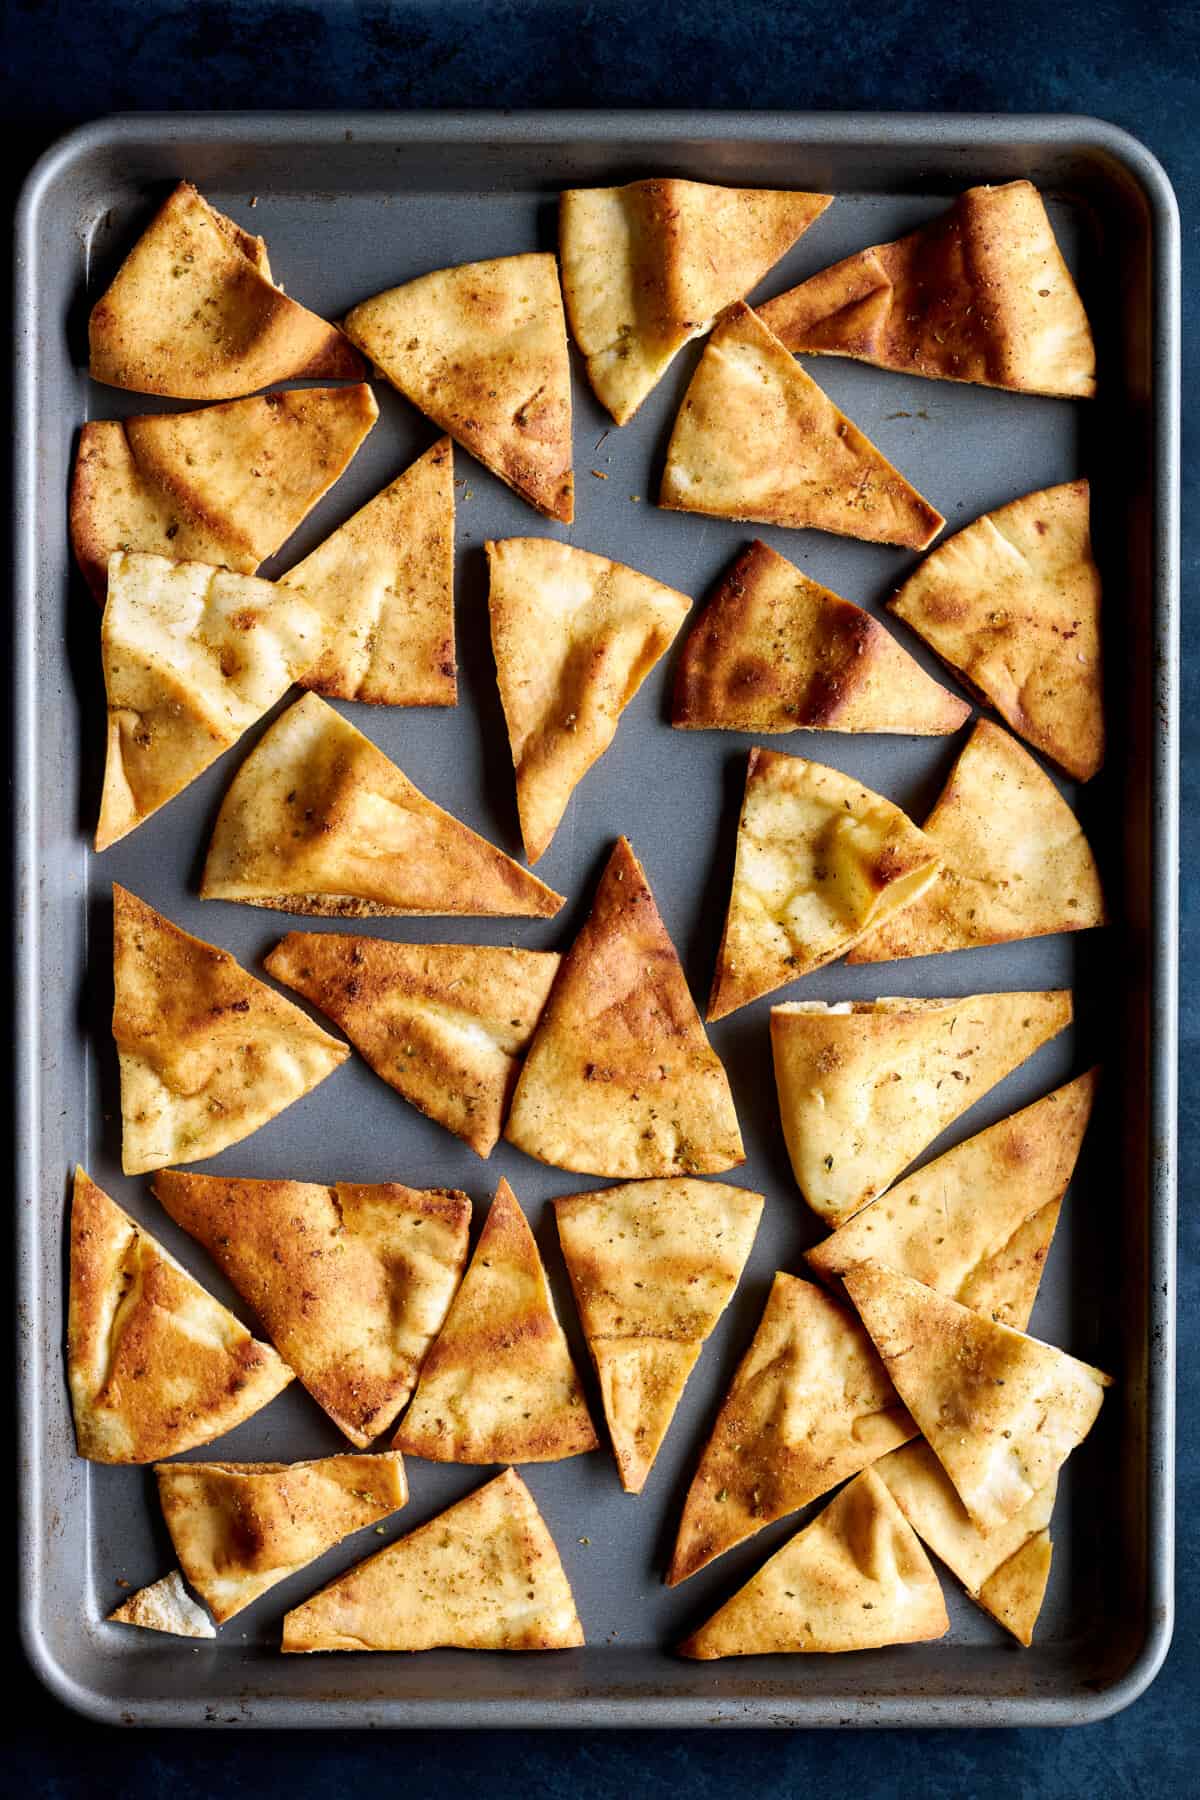
- Prepare the pita bread. Arrange the pita bread on a clean work surface, and slice each round into wedges or triangles.
- Season. Whisk the oil and seasonings in a small bowl. Then, add the pita pieces to a large bowl, and drizzle the seasoning mixture on top. Gently toss to combine and coat each chip.
- Bake. Arrange the pita pieces in a single layer on baking sheets, and transfer them to a preheated oven. Bake until the chips are golden brown and crispy, flipping halfway through.
- Cool. Allow the chips to cool on the baking sheet completely before serving.
Tips for Success
- Don’t use
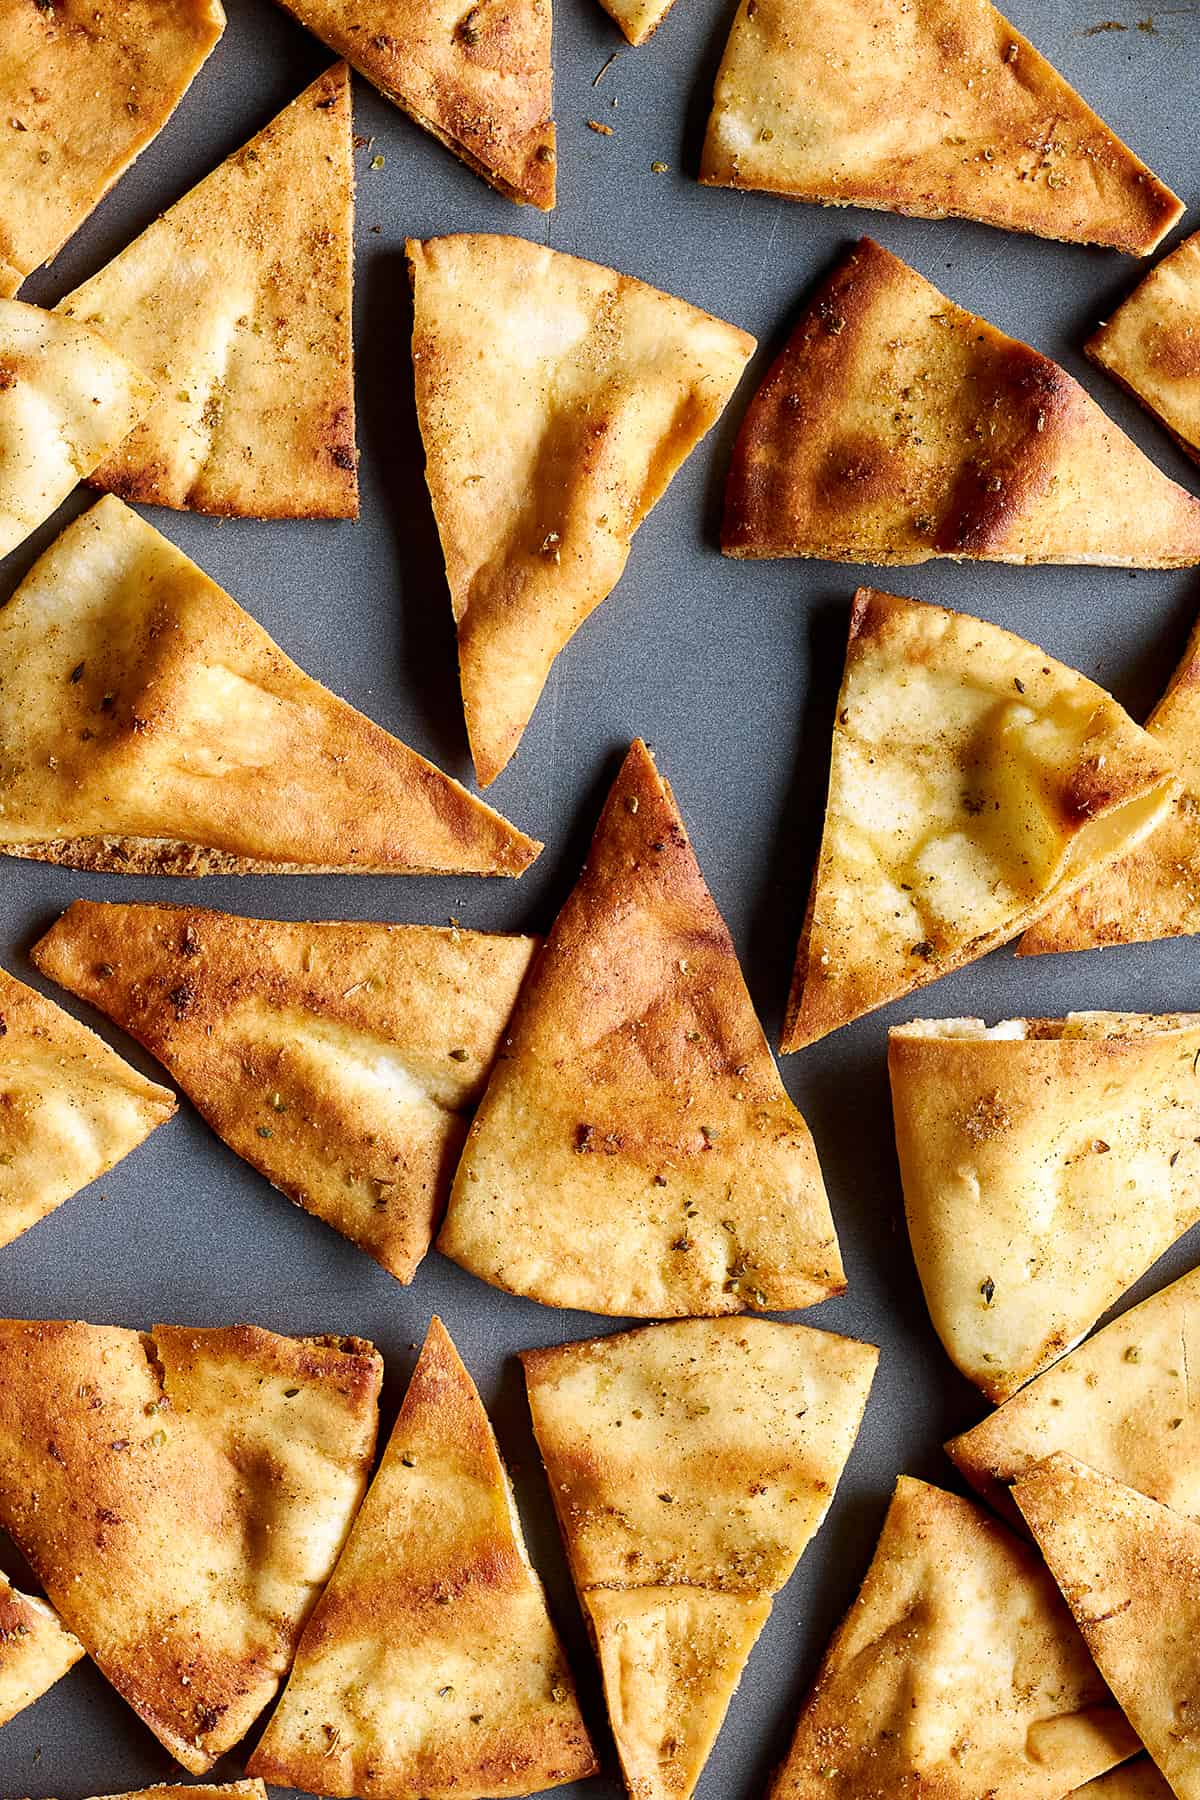
parchment paper . We have tested this recipe withparchment paper on the baking sheet, but it prevents the chips from crisping up nicely. - Make even pieces. Choose to make large or small pita chips, depending on your preferences. Smaller pieces will become crispier while larger pieces maintain a slight chewiness. However, no matter what size you choose, try to slice them into equal-sized pieces to ensure even baking.
- Use multiple baking sheets. Leave a bit of space between each homemade pita chip to allow them to crisp in the oven. Depending on how many chips you’re making, you may need to use multiple baking sheets and work in batches.
- Avoid overbaking. This recipe cooks quickly, and the chips can burn easily. So, keep a close eye on them as they bake, and remove them from the oven as soon as they’re golden brown!
- Cool completely. Be sure to allow the chips to cool on the baking sheet completely before transferring them to a bowl or container. Otherwise, they are more likely to become soggy.
Serving Suggestions
Indulge in the crunchy deliciousness of these homemade pita chips all on their own or pair them with salads and soups like Egyptian lentil soup, fattoush salad, and Greek salad.
You can also use them as a dipper to elevate your culinary spreads, sauces, and other dishes like burrata with roasted tomatoes, baba ganoush, chunky garlic hummus, and roasted eggplant and tomatoes with yogurt dip.
How to Store Pita Chips
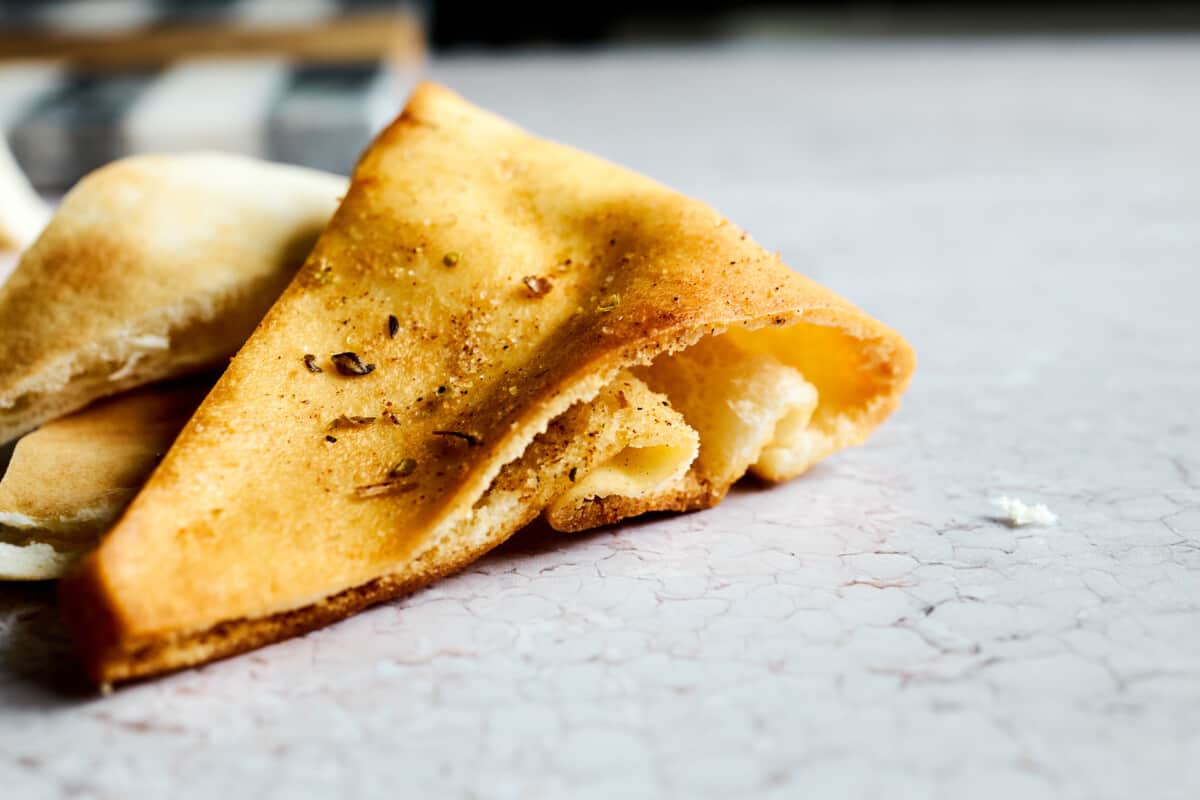
Store leftovers in an airtight container or sealable bag, pressing out as much air as possible. They’re best eaten right away but will stay fresh for up to three to seven days!
You can freeze pita chips, too! To do so, place them in a freezer-safe container or bag, squeezing out any excess air, and freeze them for up to two to three months.
Thaw at room temperature. Or, warm them in the oven for a few minutes to help them crisp back up.
More Homemade Snacks
- Spanakopita Triangles
- Hummus with Meat
- Fried Feta Rolls with Hot Honey
- Za’atar
Air Fryer Potato Wedges
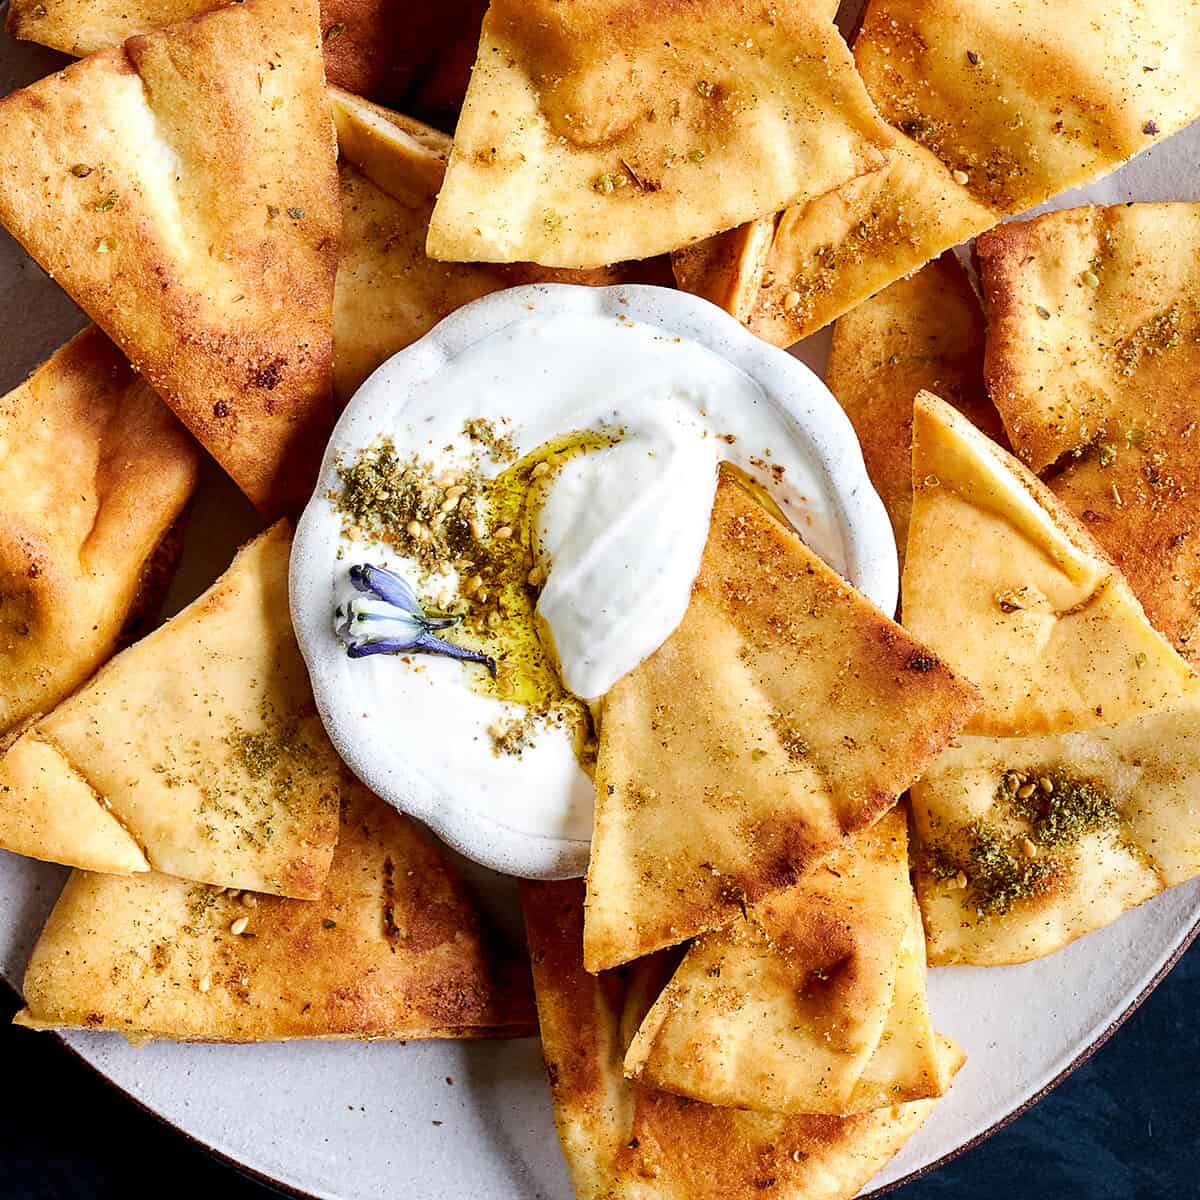
Homemade Pita Chips Recipe
Ingredients
- 4 (6-8 inch) pita bread rounds
- 1/4 cup extra virgin olive oil
- 1 teaspoon dried oregano
- 1 teaspoon garlic powder
- ½ teaspoon paprika or smoked paprika for more of a smokey flavor
- ½ teaspoon sea salt
- ¼ teaspoon ground black pepper
Instructions
- Preheat the oven to 400 degrees Fahrenheit.
- Lay out the pita bread rounds on a clean work surface4 (6-8 inch) pita bread rounds
- Cut each pita round into wedges or triangles. Cut them into whatever size you prefer. Smaller pieces will become crispier, while larger pieces will be slightly chewier. Aim for relatively even sizes to ensure even baking.
- Season the Chips: In a bowl, combine the olive oil, oregano, garlic powder, paprika, salt and pepper. Mix well.1/4 cup extra virgin olive oil, 1 teaspoon dried oregano, 1 teaspoon garlic powder, ½ teaspoon paprika or smoked paprika for more of a smokey flavor, ½ teaspoon sea salt, ¼ teaspoon ground black pepper
- Place the pita chips into a large mixing bowl. Drizzle the seasoned olive oil mixture over the pita chips and toss them gently to ensure each chip is evenly coated.
- Spread the seasoned pita chips in a single layer on baking sheets. Use multiple sheets or bake in batches, if needed.
- Place the baking sheets in the preheated oven, and bake for about 10-12 minutes or until the pita chips are golden brown and crispy. Flip them half way through.
- Note: Keep a close eye on them, as they can go from perfectly crisp to overdone quickly.
- Once the pita chips are done, remove them from the oven, and let them cool completely. They will continue to crisp up as they cool down.
- Once completely cooled, serve your homemade pita chips with your favorite dips, like hummus, tzatziki, salsa, or any dip of choice.
Equipment
Notes
Would you like to save this? 🔖
Nutrition
Nutrition information is automatically calculated, so should only be used as an approximation.


Yum! I will have to try this recipe! I have made pita chips similarly using Za’atar seasoning. They are delicious,
and I am sure these are also!
Would you get the same result if you brushed oil and sprinkled spices then cut them?
It would probably be okay! Please let us know how it turns out if you do give it a try. 😊
Xo,
Alia & Radwa
That is how I usually make them. Just keep an eye on them, they start to burn quickly when they get close to done!
Made these last night. So simple yet so tasty!
Thank you, Chelsey! We’re so glad you enjoy them!
Xo,
Alia & Radwa
I make these for Super Bowl party and they were a major hit. I doubled the recipe for the regular one and made one spicy recipe. I can also confirmed that they were still extra crispy after 3 days. I cooked them 4min on one side and 3 on the other side in a convection oven. I will be making these often.