One of the most popular desserts in Egypt, Baklava is a sweet treat that takes us back to our childhood when our mom made it for so many occasions, from family gatherings and holidays to school potlucks. This recipe closely resembles the one she used to whip up the most scrumptious baklava that had everyone asking for more — we guarantee your friends and family will too!
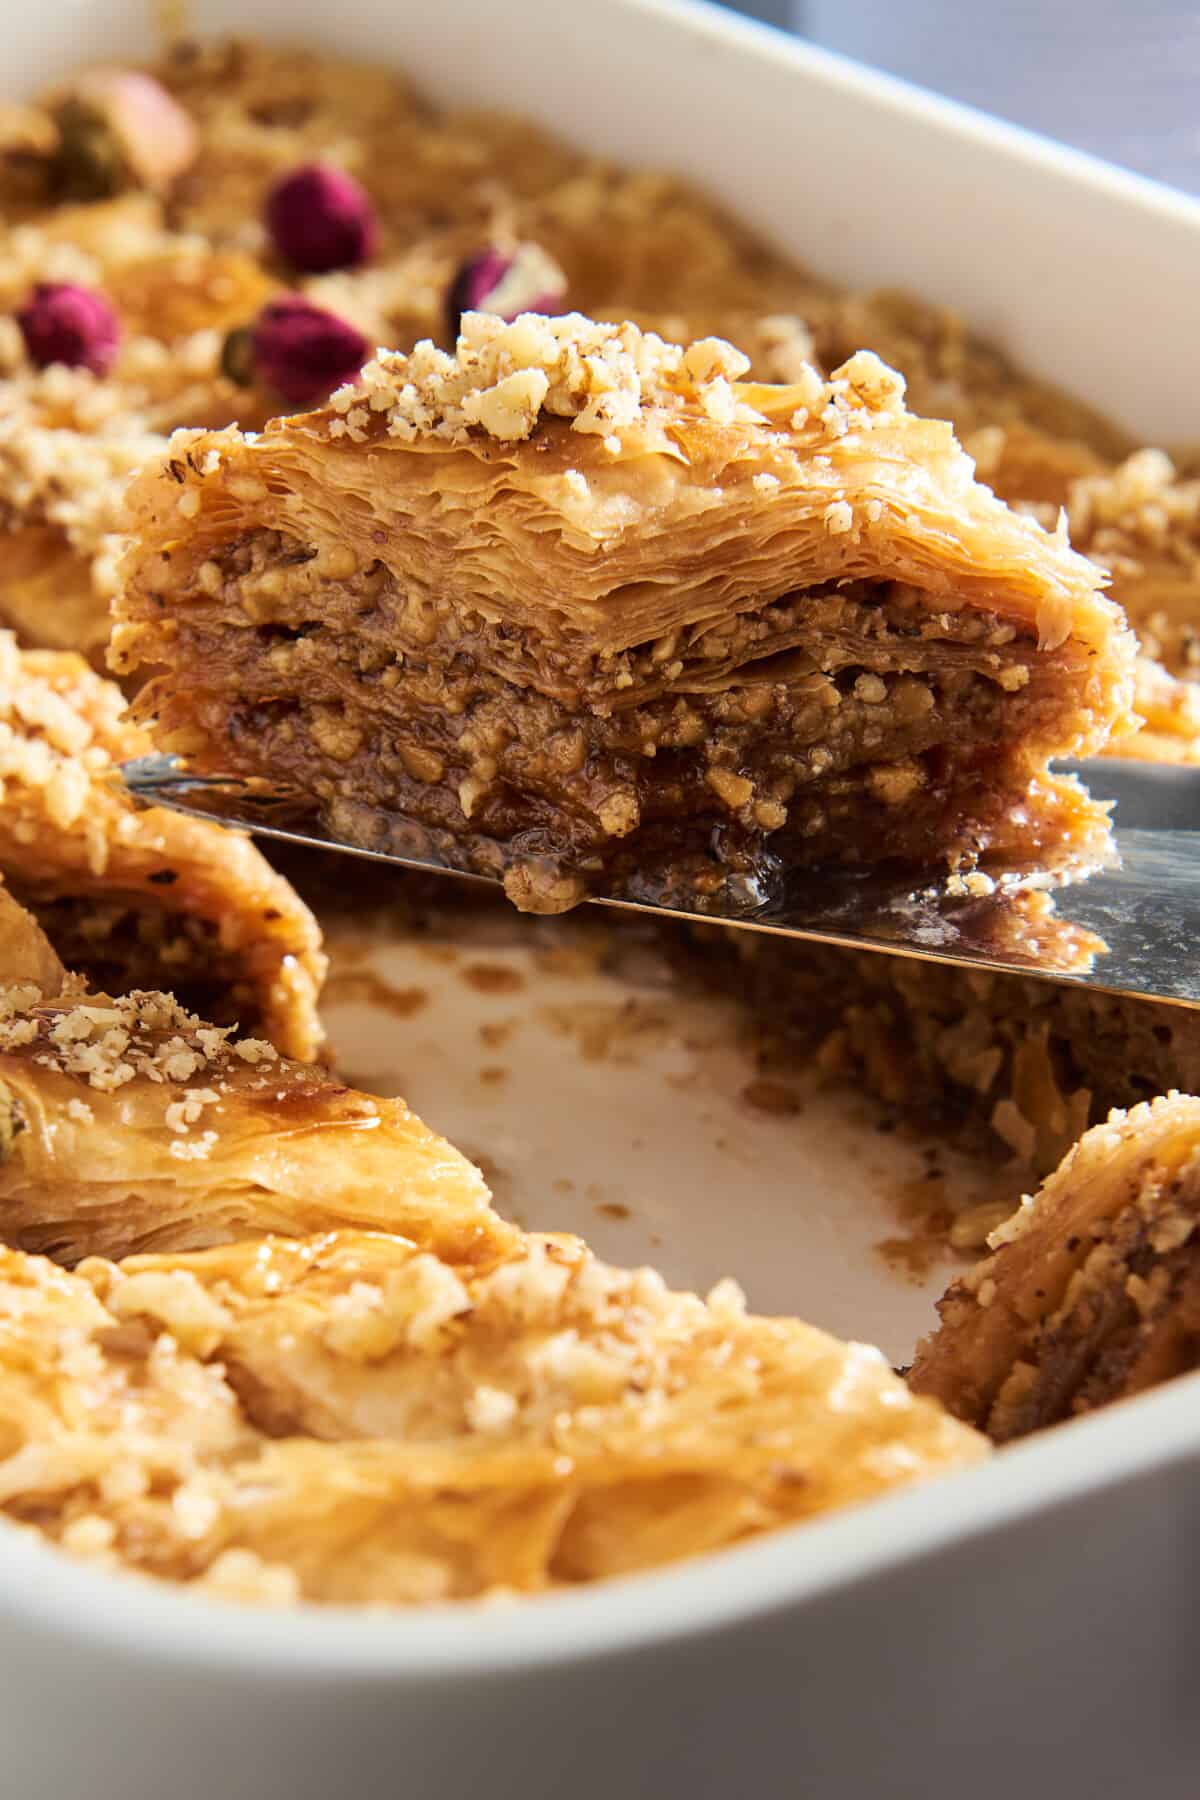
Table of Contents
What Is Baklava?
Baklava is a type of sweet, flaky pastry made with phyllo (or filo) dough and nuts soaked in syrup or honey. It is a popular dessert enjoyed throughout the Middle East and Mediterranean regions of the world and is often enjoyed for special celebrations like weddings and graduation parties.
What Is Authentic Baklava Made Of?
Traditional Turkish baklava, also sometimes known as fistikli baklava or pistachio baklava, is made with phyllo dough, pistachios, butter, and simple syrup.
That said, this decadent dessert can vary from country to country and many families even have their own special recipe. Some versions have rosewater for flavoring and others, like Greek baklava, use walnuts and cinnamon. It’s also not uncommon to incorporate different nuts or to use a combination.
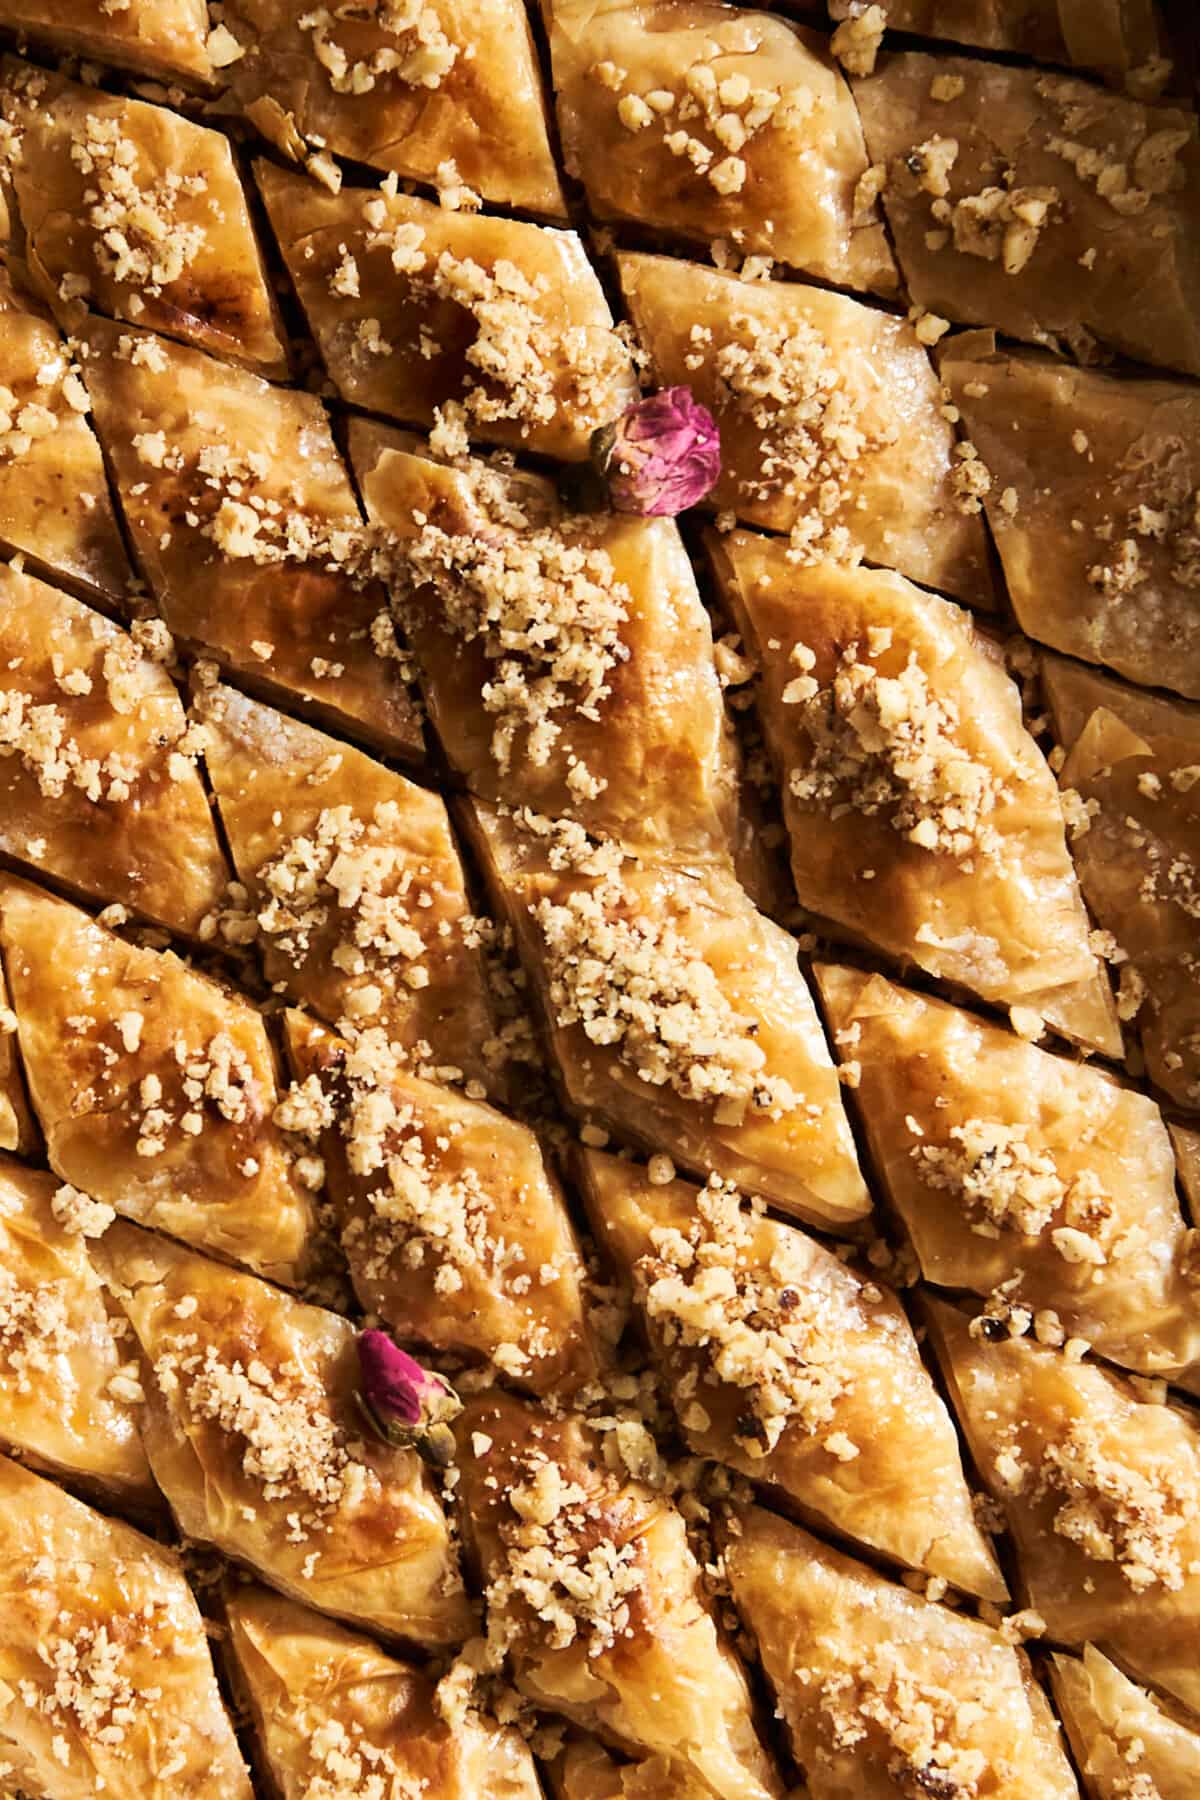
This recipe most closely resembles Greek baklava. We take delicate layers of phyllo dough and brush them with melted ghee before stacking them with a generous filling of crunchy walnuts with sugar and cinnamon. Once baked to golden perfection, the baklava is drizzled with a simple syrup that seeps into every nook and cranny, adding moisture and sweetness that complements the nutty crunch perfectly!
How to Make Baklava
As mentioned, this baklava recipe is not completely traditional or authentic, but it is how we grew up eating it and how we still make it to this day!
Ingredients
- Granulated Sugar – Used to sweeten the syrup.
- Water – Forms the base of the liquid, combining the ingredients.
- Corn Syrup – A sweet thickener that creates the thick consistency and sticky texture of the syrup, taking the place of honey in traditional recipes.
- Lemon Juice – Freshly squeezed is best.
- Sea Salt – Adjust to taste.
- Walnuts – Feel free to use pistachios instead.
- Phyllo Dough – Find this in the frozen or refrigerated section of your local grocery store.
- Melted Ghee – Use unsalted butter, and clarify it yourself, if preferred.
Instructions
- Prepare the simple syrup. Combine all the ingredients for the syrup in a saucepan, stirring to dissolve the sugar. Then, bring the liquid to a boil, reduce the heat, and let it simmer until it thickens. Remove the mixture from the heat, and set it aside to cool slightly.
- Chop. Use a sharp knife to cut the nuts into fine pieces, or pulse them in the food processor a few times.
- Prepare. Preheat the oven, and coat a baking dish with the ghee.
- Layer the phyllo. Place a sheet of phyllo dough in the bottom of the prepared baking dish, and coat it with the melted ghee. Repeat this process, layering ten sheets.
- Add the filling. Sprinkle part of the chopped nuts on top. Then, add the remaining phyllo sheets, buttering each piece in between.
- Slice. Carefully cut the baklava into diamond shapes or squares.
- Bake. Transfer the baking dish to the preheated oven, and bake just until the dough is golden brown and crisp.
- Coat. Immediately pour the simple syrup on top, coating the baklava recipe evenly.
Tips for Success
- Thaw the dough. If your dough is frozen, transfer it to the fridge a day in advance. Otherwise, it’s nearly impossible to work with.
- Keep the dough covered. Prevent the dough from drying out by storing the sheets between damp paper towels while you work.
- Don’t chop the nuts too finely. You want the nuts to be finely chopped but still have some texture and crunch. They should not be fine like flour or sand!
- Wet your hands. If your dough starts sticking to your fingers while you work, keep a bowl of water next to your workstation, and dip your fingertips in after layering each piece.
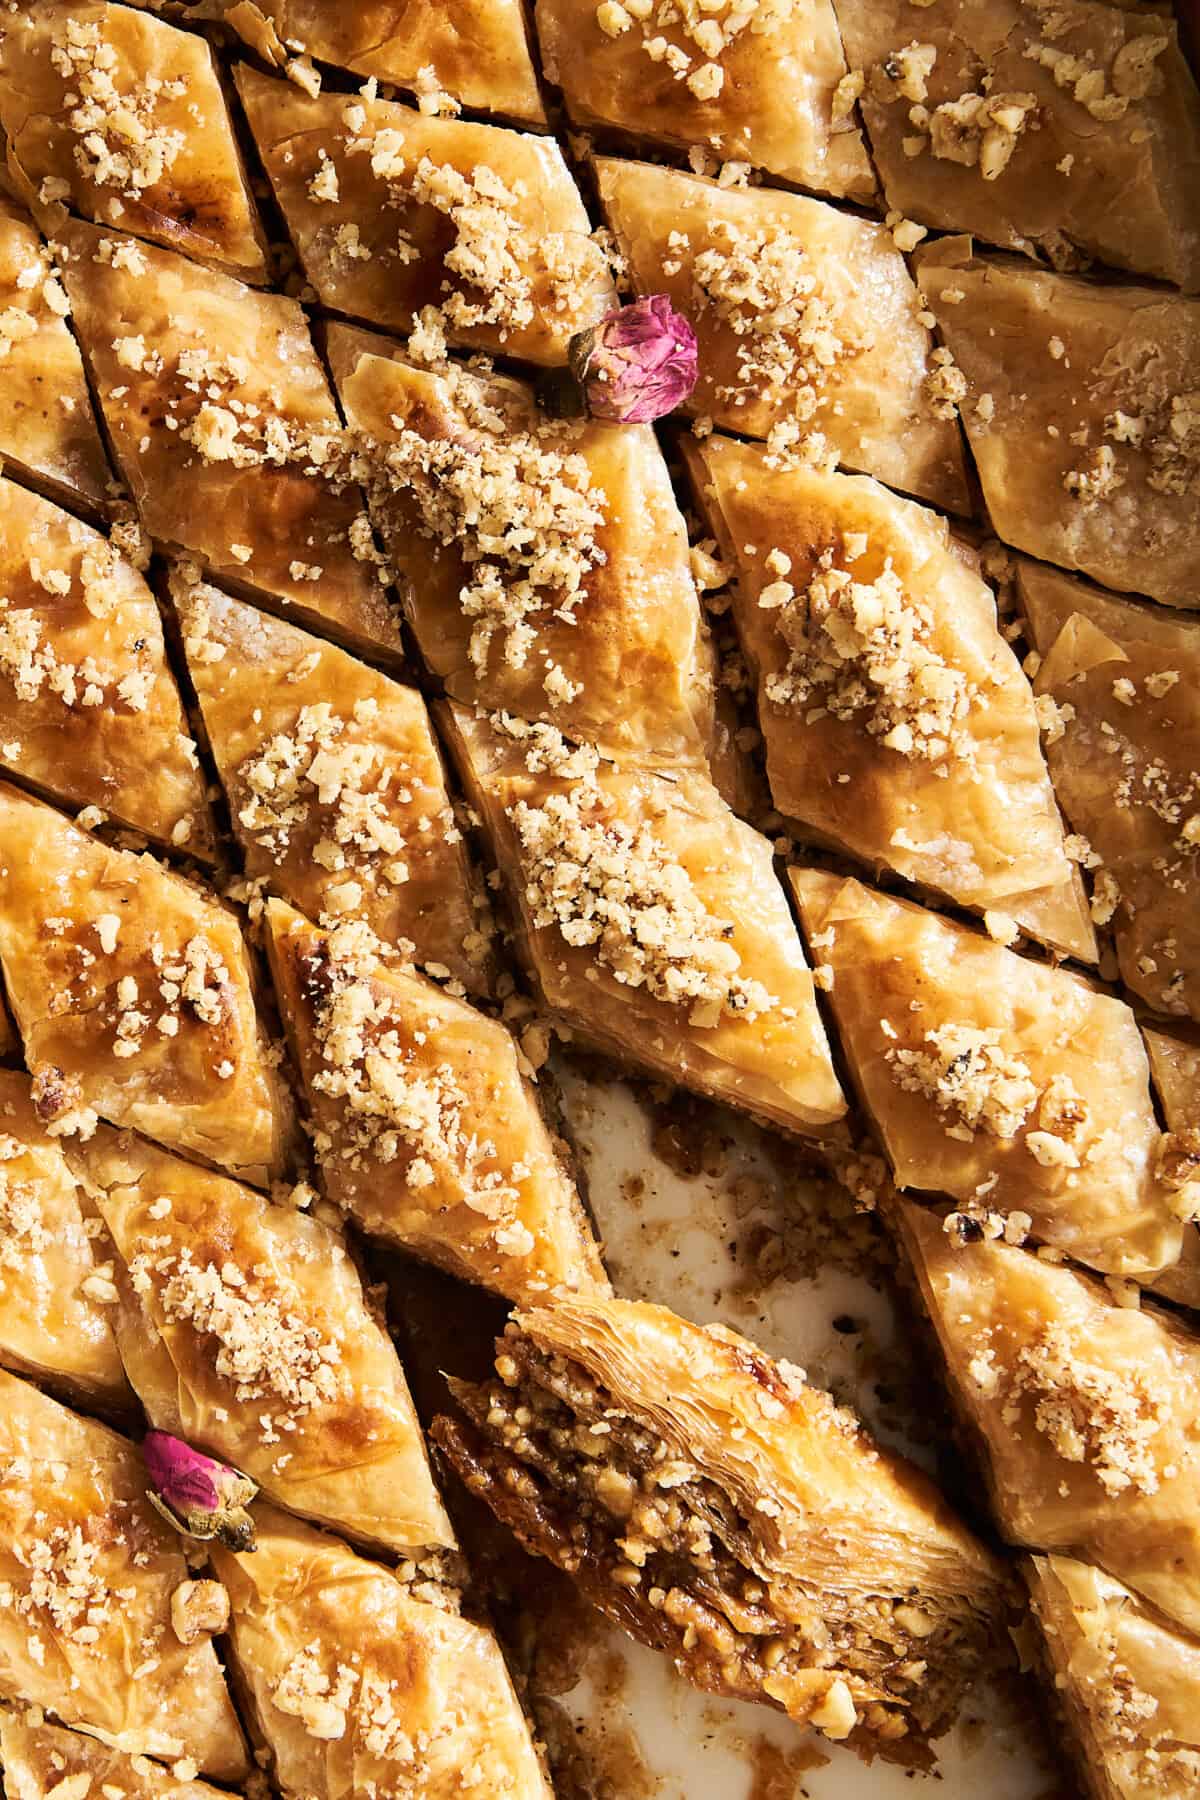
- Be sure to slice the baklava dessert before baking! This is crucial for serving because the dough becomes flakey and not very pliable once baked. As a result, trying to slice your baklava recipe after removing it from the oven will cause it to fall apart.
Common Questions About This Baklava Recipe
Although the differences vary based on who’s baking, Turkish baklava typically uses a light cooking oil and pistachios whereas Greek baklava uses melted butter and walnuts.
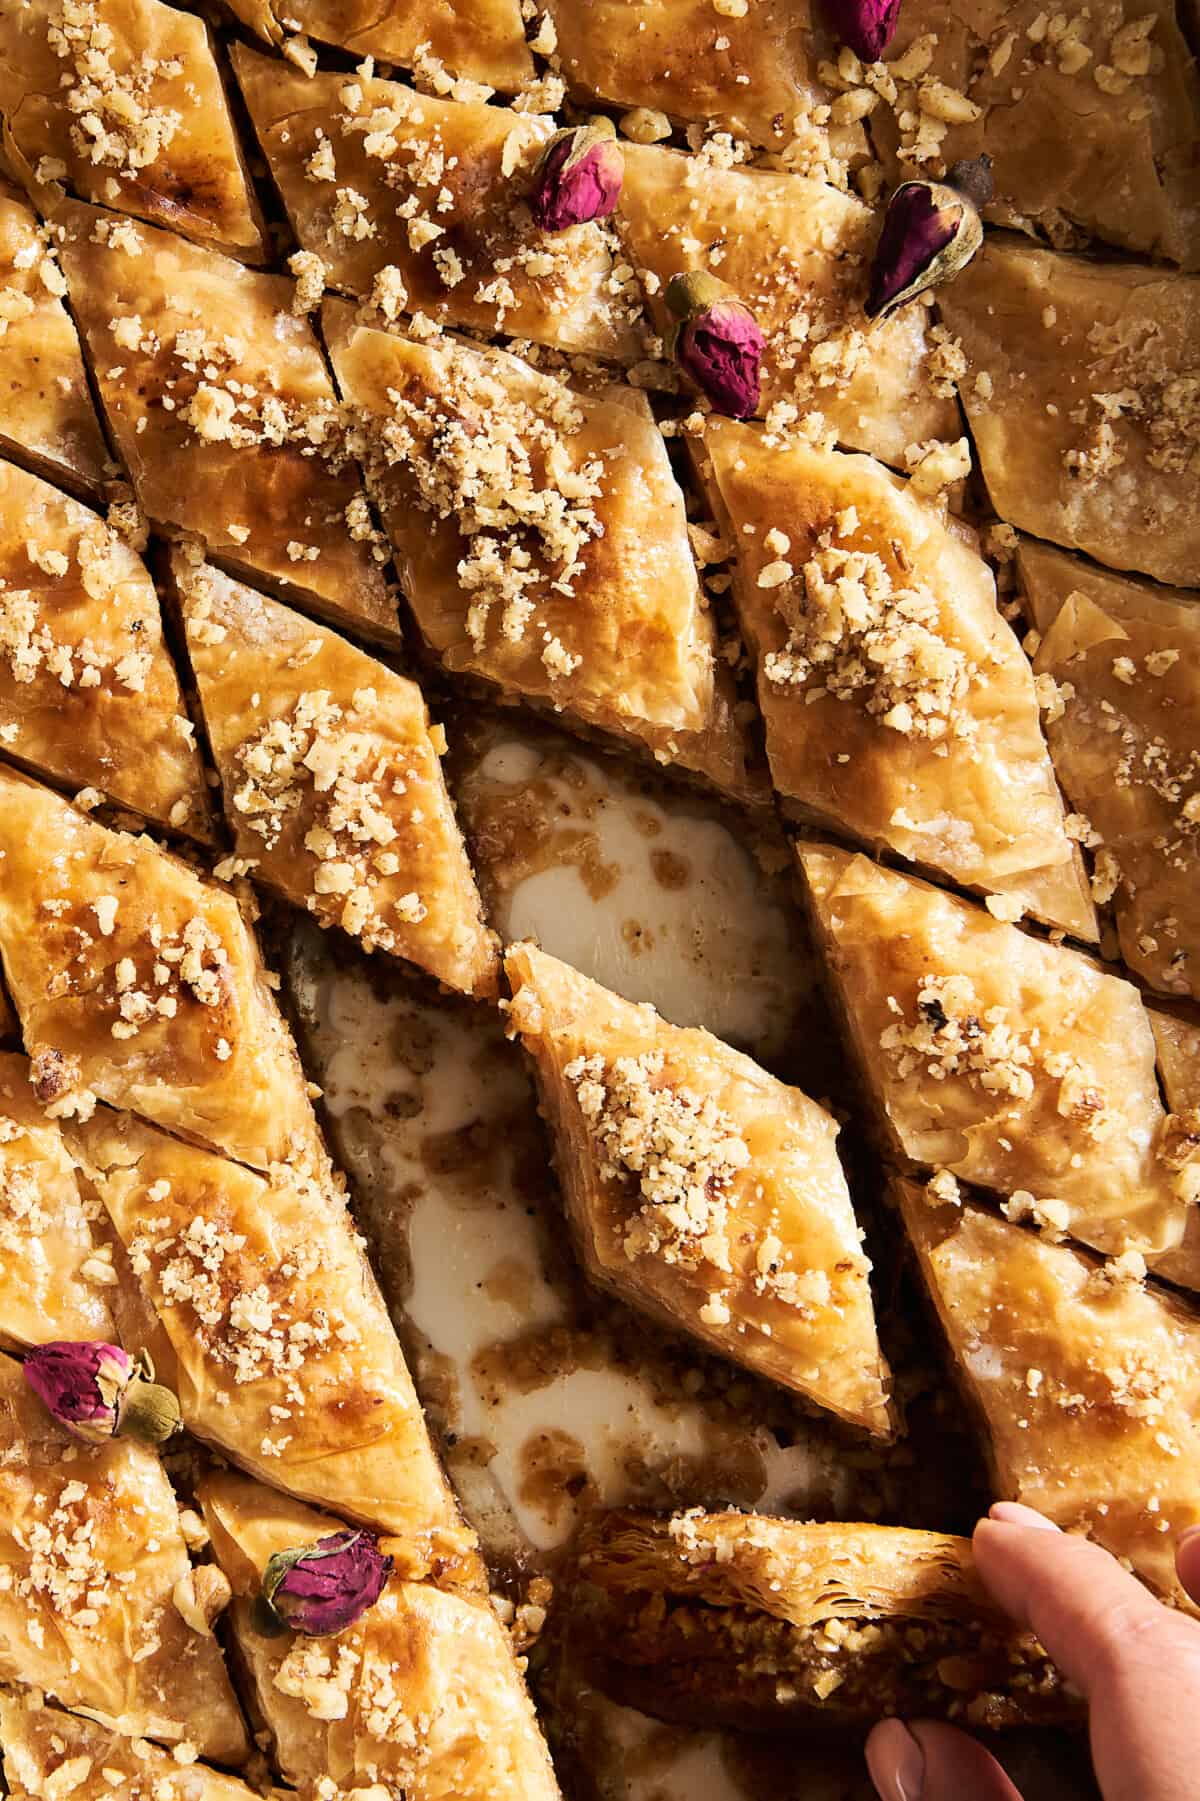
Once cooled, baklava can be transferred to an airtight container and stored at room temperature or in the fridge for up to two weeks.
Yes! Wrap it in plastic wrap and two layers of aluminum foil, or transfer it to a freezer-safe container. It can be frozen for up to three months. Then, just thaw leftovers in the fridge overnight before serving.
More Baklava-Inspired Recipes
If you’re as in love with the flavors of baklava as we are, you’ll want to check out our other recipes that channel the flavors of this decadent dessert!

Baklava Recipe
Ingredients
For the Sugar Syrup:
- 1¾ cups granulated sugar
- 1 cup water
- 2 Tablespoons corn syrup
- 2 teaspoons lemon juice
- ⅛ teaspoon sea salt
For the Nut Filling:
- 3 cups shelled raw walnuts, plus more for garnish
For the Pastry:
- 1 1/4 cup melted ghee or 1 3/4 cups unsalted butter, clarified per instructions below, melted, and cooled slightly
- 2 8 ounces each packages phyllo dough, a total of 30 sheets, thawed
Instructions
For the Sugar Syrup:
- In a saucepan, combine the granulated sugar, water, corn syrup, lemon juice, and sea salt.1¾ cups granulated sugar, 1 cup water, 2 Tablespoons corn syrup, 2 teaspoons lemon juice, ⅛ teaspoon sea salt
- Stir the mixture to combine and dissolve the sugar.
- Place the saucepan over medium heat, and bring the mixture to a boil.
- Once it boils, reduce the heat to low and simmer for about 10 minutes until it slightly thickens.
- Remove the saucepan from the heat and let the syrup cool to room temperature.
For the Nut Filling:
- Finely chop the shelled, raw walnuts.3 cups shelled
For the Pastry:
- Preheat the oven to 350 degrees Fahrenheit (180 degrees Celsius).
Assembly:
- Brush a 9×13-inch (23×33 cm) baking dish with some of the melted ghee or clarified butter.1 1/4 cup melted ghee
- Place one sheet of phyllo dough into the baking dish, and brush it generously with the melted ghee or clarified butter. Repeat this process for 10 sheets, making sure to brush each sheet with butter.2 8 ounces each packages phyllo dough, a total of 30 sheets, thawed
- Sprinkle a portion of the chopped walnuts evenly over the 10th phyllo sheet.
- Continue layering the phyllo sheets and walnuts all the walnuts are used, finishing with a top layer of 10 buttered phyllo sheets.
- Using a sharp knife, cut the baklava into diamond or square shapes.
Baking:
- Place the baking dish in the preheated oven, and bake for about 45-55 minutes or until the baklava is golden brown and crispy.
- Remove the baklava from the oven, and immediately pour the cooled sugar syrup evenly over the hot baklava.
- Allow the baklava to cool completely before serving, which will allow it to absorb the syrup.
Equipment
Notes
- 1 3/4 cups of unsalted butter
- Cut the unsalted butter into smaller pieces. This can be done by cubing or slicing it. This step makes the melting process more even.
- Place the cut butter in a heavy-bottomed saucepan. Use a saucepan large enough to accommodate the butter without overflowing.
- Heat the butter over low to medium heat. Use a gentle heat setting to prevent the butter from boiling or splattering.
- As the butter melts, you’ll notice the three layers forming: foam on top, clarified butter in the middle, and milk solids at the bottom.
- Continue simmering the butter, and you’ll see the foam rise to the top. This is the water evaporating and the milk solids separating.
- Skim off the foam using a spoon or fine mesh skimmer. Discard the foam or save it for other recipes if desired.
- Monitor the butter as it clarifies, watching for it to become clear with sediment at the bottom (the milk solids). This should take around 20-30 minutes.
- Remove the pan from the heat and allow it to cool for a few minutes.
- Place a fine mesh strainer or a piece of cheesecloth over a clean, dry glass jar or container. Carefully pour the clarified butter through the strainer to separate the milk solids. The clear liquid that passes through is your clarified butter.
Would you like to save this? 🔖
Nutrition
Nutrition information is automatically calculated, so should only be used as an approximation.
