Tangy, creamy, and perfectly balanced, these Easy Lemon Cheesecake Bars are like a burst of sunshine on your taste buds! With their buttery shortbread crust, luscious citrusy cheesecake filling, and crumbly sugar cookie topping, these bars are perfect for springtime. We guarantee they’ll be a hit at any gathering or celebration!
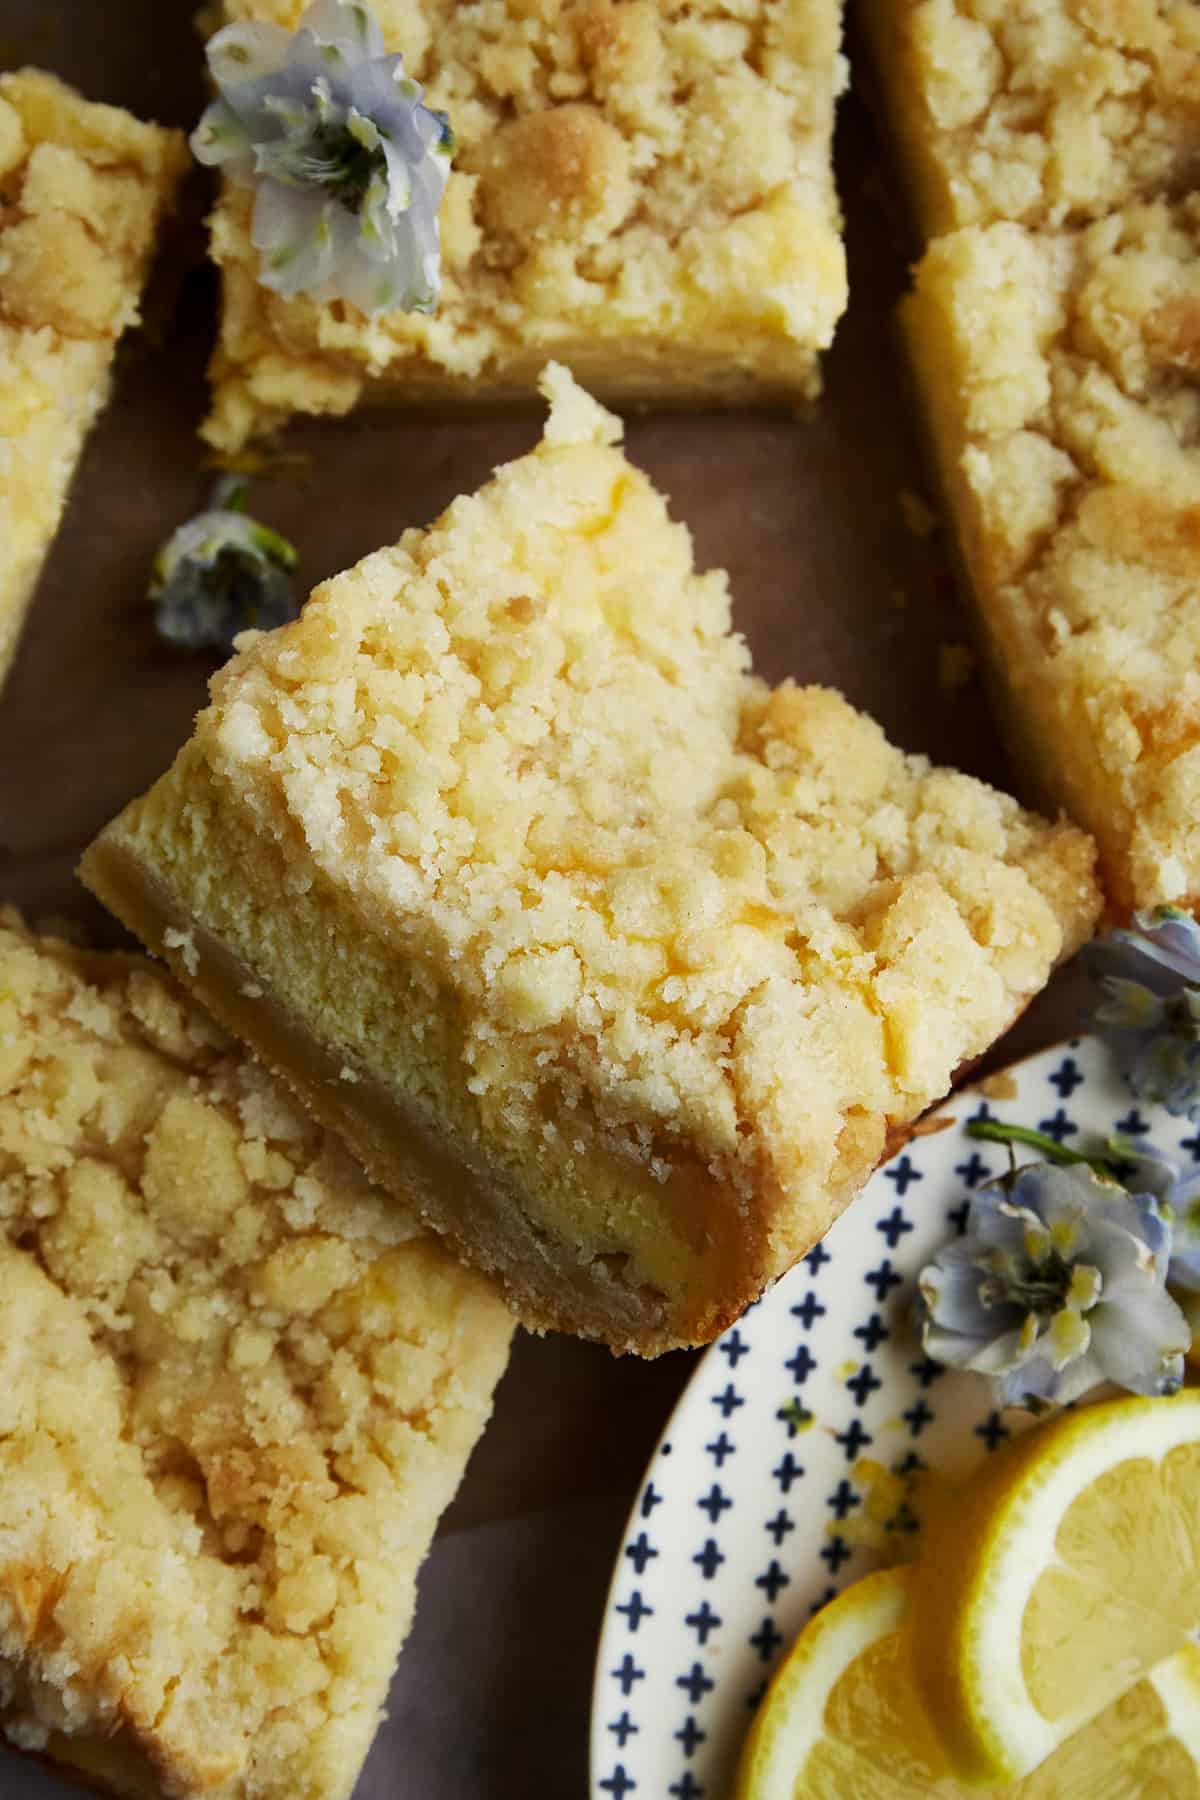
Table of Contents
Why You’ll Love These Lemon Cheesecake Bars
Whether it’s Oreo brookie bars, no-bake cookie monster bars, or these lemon cheesecake bars, we’re pretty sure all your favorite treats taste better in bar form. Don’t get us wrong, we’ll never say no to a full cheesecake! However, there’s just something so irresistible about little bite-sized squares. Especially when they’re loaded with bright lemon flavor!
However, that’s not the only reason why we love these lemon cheesecake bars. They’re also:
- Created with just a handful of simple ingredients.
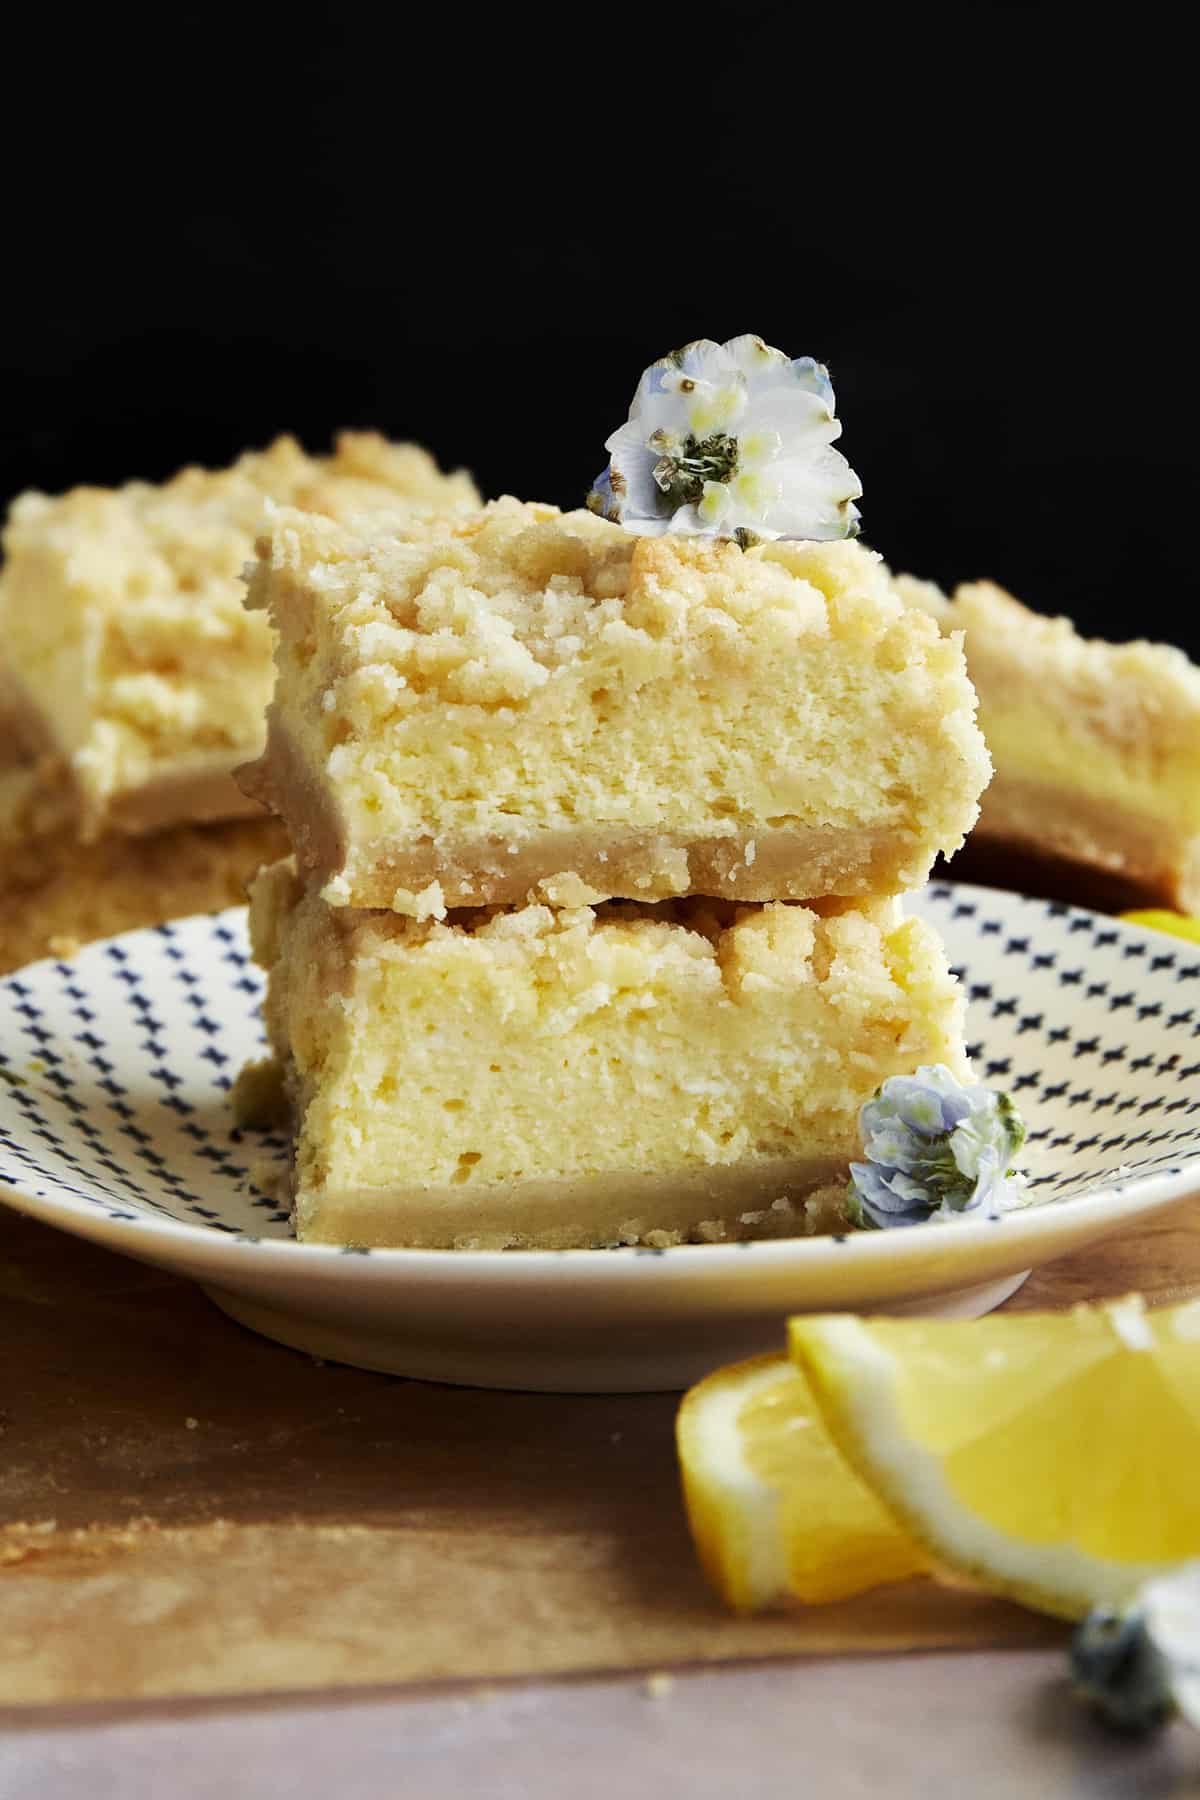
- Made with 3 layers for a texture that is soft, crumbly, and crunchy all at the same time.
- Perfectly sweet with a refreshing zing from the lemon.
- Great for preparing in advance and feeding a crowd!
Ingredients You Need
For this recipe, we pulled inspiration from classic summer crumbles infusing them with the creamy texture and light taste of cheesecake. Here’s everything you need:
Crust Ingredients
- Flour – Regular all-purpose flour forms the base of the shortbread crust. If needed, feel free to swap it out for a 1:1 gluten-free all-purpose alternative.
- Sugar – Granulated sugar helps sweeten the dough.
- Butter – Cubed into the mixture unsalted butter makes it rich and mouthwatering.
- Salt – You only need a pinch!
Cheesecake Filling
- Cream Cheese – For the best flavor, we recommend using full-fat cream cheese. However, whatever you have on hand will taste great as long as it’s plain.
- Sugar – Cane sugar helps cut through some of the acidity of the lemon and the tang of the cream cheese for a well-balanced dessert.
- Lemon – You’ll need large regular lemons. Both lemon juice and lemon zest are included for a vibrant, refreshing flavor.
- Eggs – Large whole eggs add structure to the filling, enriching its flavor and helping it hold its shape.
- Vanilla Extract – Pure vanilla extract enhances the rest of the ingredients for next-level bars.
Sugar Cookie Crumble
- Sugar – Granulated sugar sweetens the crumble, lending it its classic sugar cookie taste.
- Flour – All-purpose flour provides structure for the toppings, making it extra crumbly. Again, if you need these bars to be gluten-free, 1:1 gluten-free all-purpose flour can be used in its place.
- Butter – Unsalted dough melts into the mixture making it super decadent and allowing it to crisp up in the oven.
- Salt – This helps bring out the natural sweetness of the rest of the ingredients.
- Lemon Juice – Just a splash adds refreshing flavor, tying the crumble in with the rest of the dish for cohesive layers you’ll adore.
How to Make Easy Lemon Cheesecake Bars
These easy lemon cheesecake bars look like they came straight from a bakery, but they’re super easy to make! Just follow the simple steps below.
- Create the Crumble. In a small bowl, add all the ingredients. Next, use a fork or your hands to cube the butter into the mixture, and combine the ingredients until they’re well-incorporated and crumbly. Chill in the refrigerator.
- Prepare the Crust. In a medium bowl, add the flour, sugar, and salt for the crust. Then, use a fork or pastry blender to cut the mixture until it comes together. Press it evenly into the bottom of a baking pan. Bake until it is golden brown, and set aside.
- Make the Filling. In the bowl of a stand mixer or using a hand mixer and a large bowl beat the cream cheese and sugar on medium speed until the mixture is smooth and creamy. Add the eggs one at a time, and beat again. Add the remaining ingredients, and beat on low speed until smooth. Pour the mixture over the baked crust.
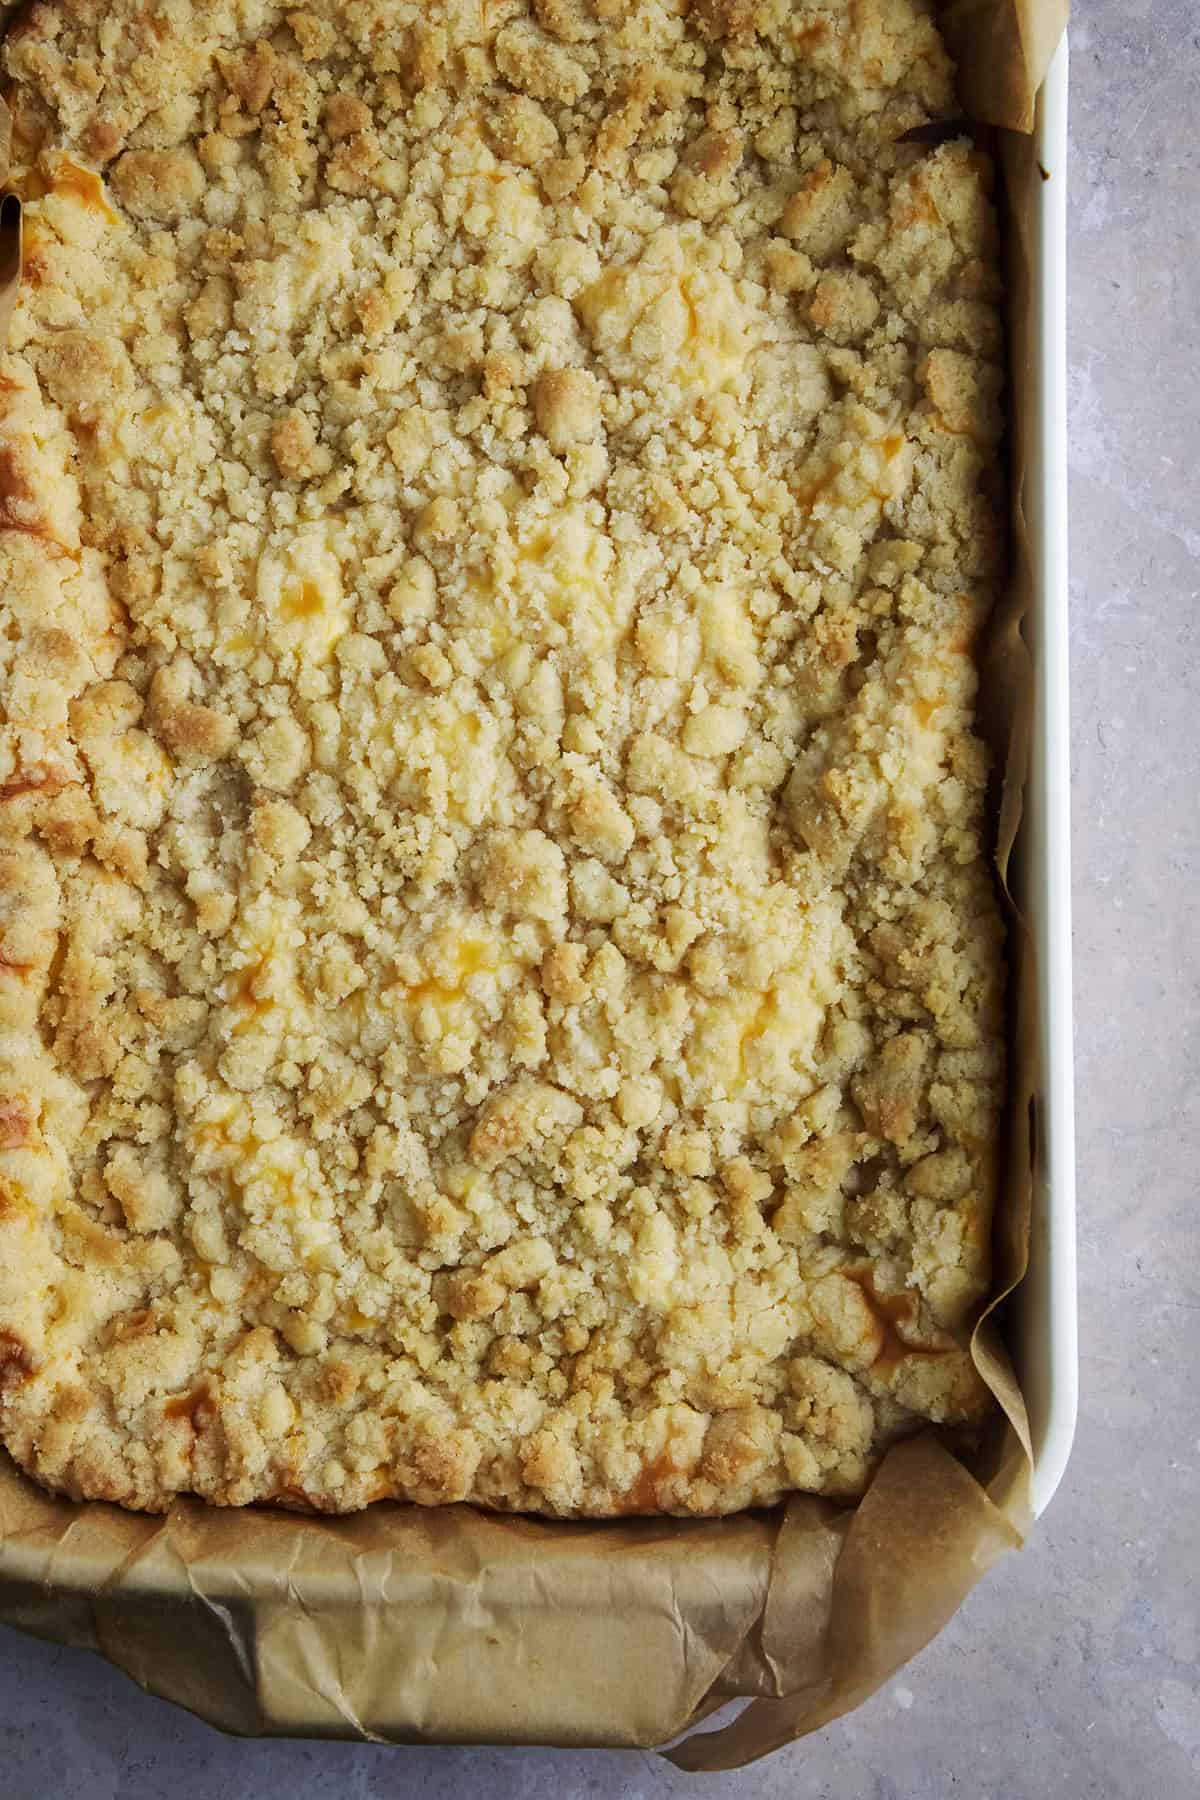
- Top and Bake. Sprinkle the crumble evenly over the cheesecake layer. Place the baking dish in the oven until the filling has set.
- Chill. Transfer your bars to the fridge overnight. Then, slice, serve, and dig in the next day!
Baking Tips
Still a little nervous about making your own lemon cheesecake bars? We’ve got you covered! Use the tips below, and you’ll have the perfect creamy lemon cheesecake bars every time!
- Measure Carefully. The key to successful baking is to measure properly! For the best results, we recommend a food scale. However, when it comes to dry ingredients, the spoon and level method works well, too.
- Use Room Temperature Ingredients. Before you begin, let your ingredients set out and come to room temperature. This allows for super easy mixing, making your cheesecake filling extra smooth.
- Include Fresh Lemon Juice. Trust us, you want to use freshly squeezed lemon juice and not the pre-made varieties. They just won’t yield the same bold lemon taste!
- Scrape the Bowl. Scrape the edges of your mixing bowl periodically to ensure the ingredients are well incorporated and nothing gets left out.
- Don’t Overbake. Keep a close eye on your oven, and avoid overbaking your cheesecake bars! You want the crumble topping to be golden brown and the filing to be set but not hard. It should hold its shape but remain a little jiggly when shaken gently.
- Use
Parchment Paper . To make it super easy to serve your bars, placeparchment paper in the bottom of your baking pan, letting it hand over both ends. Then, all you have to do is lift it up to remove your bars! - Add Toppings. Personally, we think the crumble topping is more than enough topping for this fresh lemon dessert. However, if you want to switch it up fresh berries, whipped cream, a dollop of lemon curd, or coconut flakes make for lovely additions to these homemade lemon bars.
How to Store
These lemon cheesecake bars disappear fast! In fact, you probably want to go ahead and make a double batch. However, if you want to prepare in advance or happen to have leftovers they can easily be stored for later.
Refrigerator: Cover your baking dish with plastic wrap. Or, transfer your bars to an airtight container, and store them in the fridge for up to 5 days.
Freezer: For a longer-lasting option, place your bars in the freezer instead. They’ll stay fresh for up to 1 month. Then, just thaw them out in the fridge when you’re ready to eat and enjoy!
Common Questions About Lemon Cheesecake Bars
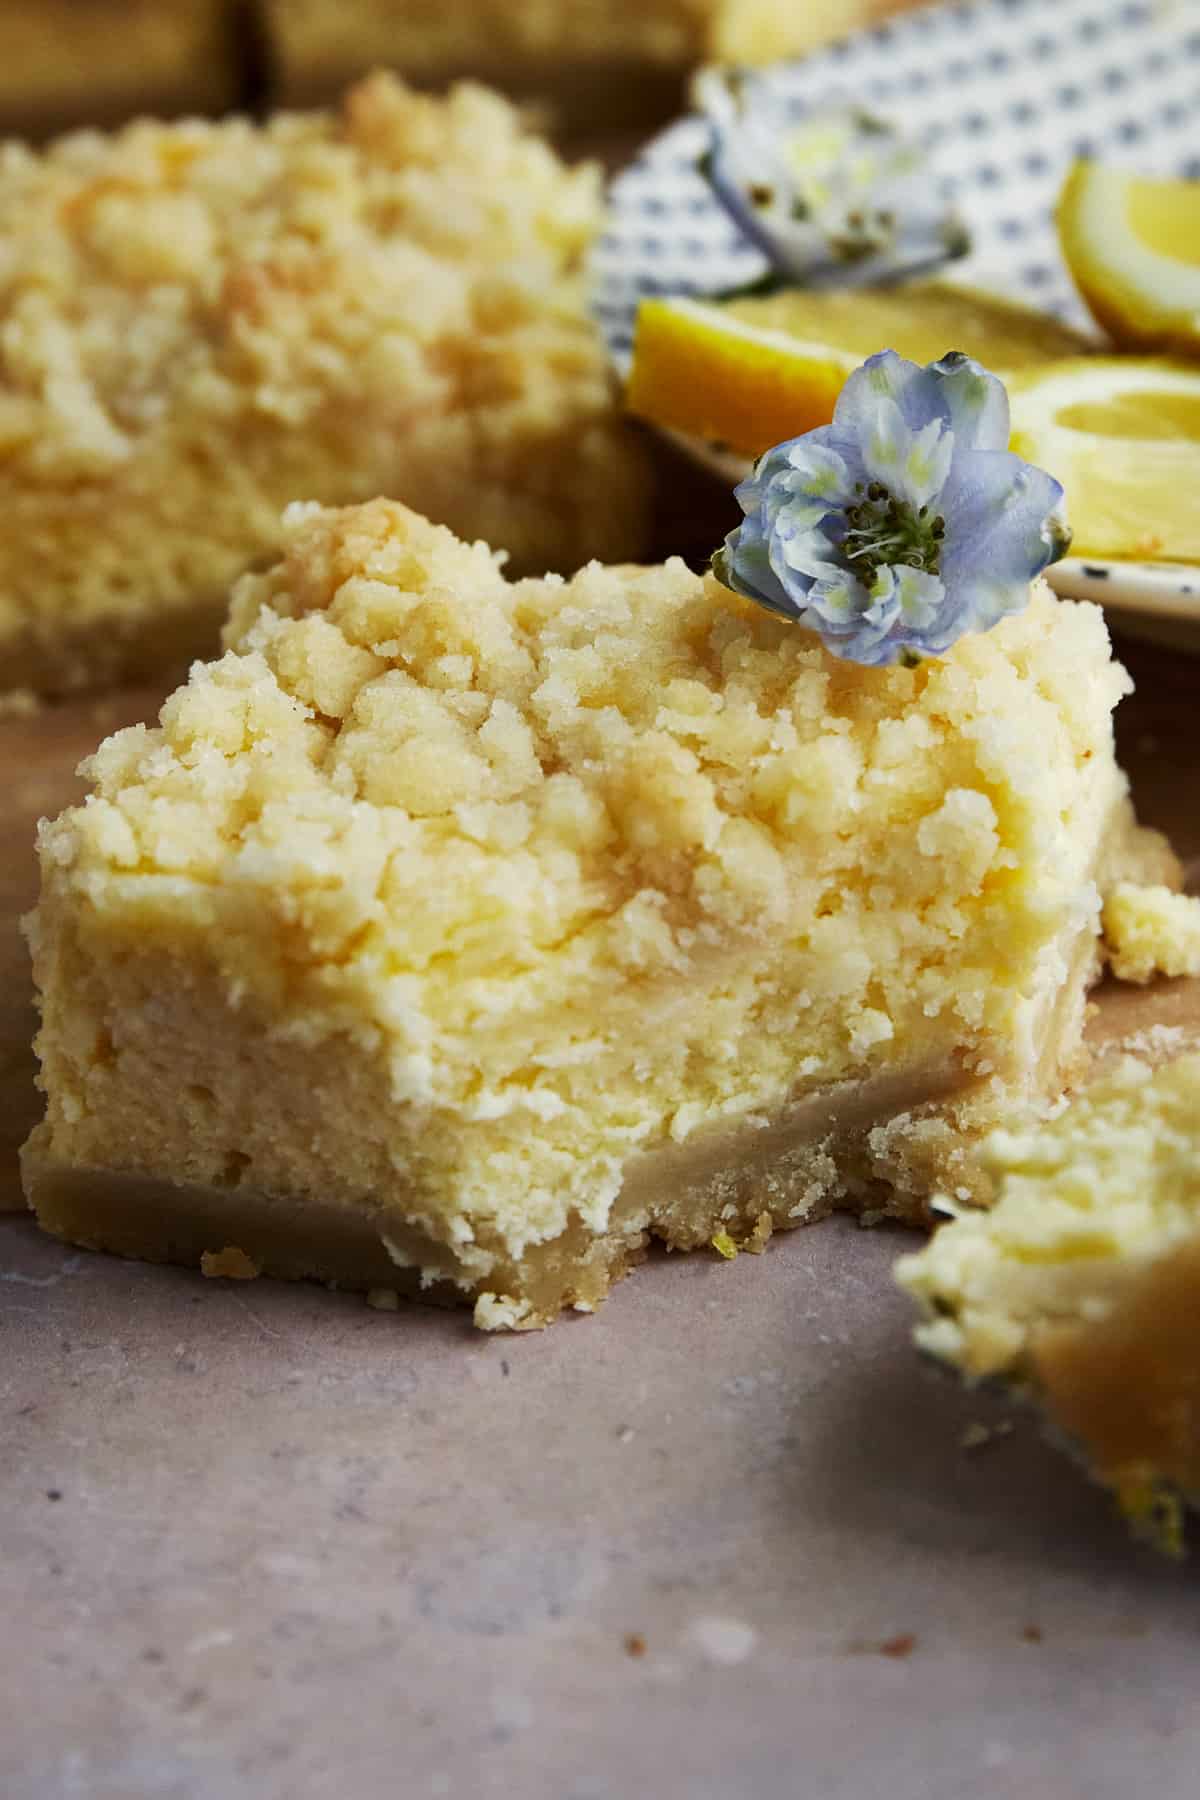
Lemon cheesecake bars are meant to be soft. However, if they turn out gooey, it’s likely because they were underbaked or not given enough time to chill in the fridge.
To cut smooth, clean bars use a sharp knife (preferably serrated). Make even cuts, and wipe it off with a damp cloth or clean paper towels after each slice. You can also run it under warm water to make it easy to slice through the cream cheese layer.
Sure! Simply omit the flour, and adjust the rest of the ingredients as needed. Or, for the best results, use a pre-made graham cracker crust instead of whole graham crackers.
More Easy Spring Desserts
While we love lemon desserts, we can’t help but indulge in all the different flavors of spring treats! If you feel the same, you won’t want to miss out on these recipes that celebrate the season:
- Strawberry Lemon Bundt Cake
- The Best Lemon Loaf Recipe
- No-Bake Strawberry Cheesecake Squares
- Strawberry Crisp with Oat Crumble

Lemon Cheesecake Bars Recipe
Ingredients
Sugar Cookie Crumble Topping:
- 3/4 cup granulated sugar
- 1 1/4 cups all-purpose flour
- 1 stick 1/2 cup butter, softened
- 1/2 teaspoon kosher salt
- 2 teaspoons lemon juice
Crust:
- 2 cups all-purpose flour
- ½ cup granulated sugar
- 2 sticks 1 cup butter, softened
- Pinch kosher salt
Cheesecake Filling:
- 3 8- ounce packages plain cream cheese, softened
- 1 cup organic cane sugar
- 4 large eggs
- 1 teaspoons vanilla extract
- Zest of 1 large lemon
- 1/3 cup lemon juice freshly squeezed
Instructions
- Preheat the oven to 350 degrees Fahrenheit.
For the Crumble:
- In a small bowl, combine all the crumble ingredients. Using a fork or two hands, cut the butter into the mixture. Stir to combine until all of the ingredients are well incorporated and crumbly. Refrigerate until ready to use.3/4 cup granulated sugar, 1 1/4 cups all-purpose flour, 1 stick, 1/2 teaspoon kosher salt, 2 teaspoons lemon juice
For the Crust:
- In a medium bowl, combine the flour, sugar, salt, and butter. Using a fork or a pastry blender cut the mixture together until smooth. Press the crust into a 9×13 baking pan lined with tin foil. Bake for 15 minutes or until lightly browned.2 cups all-purpose flour, ½ cup granulated sugar, Pinch kosher salt, 2 sticks
For the Cheesecake Layer:
- In a stand mixer fitted with a whisk attachment, beat the cream cheese with the sugar on medium speed until smooth. Add the eggs, 1 at a time, making sure to scrape down the sides. Add the vanilla, lemon zest, and lemon juice. Stir to combine. Pour the mixture over the warm crust.3 8- ounce packages plain cream cheese, softened, 1 cup organic cane sugar, Zest of 1 large lemon, 4 large eggs, 1 teaspoons vanilla extract, 1/3 cup lemon juice
- Break the crumble into small crumbles. Sprinkle it evenly over the cheesecake.
- Bake 40-45 minutes, or until the filling is set and the crumble is golden.
- Cool completely, and refrigerate overnight. Cut into bars.
- Store covered in the fridge for up to 5 days.
Equipment
Would you like to save this? 🔖
Nutrition
Nutrition information is automatically calculated, so should only be used as an approximation.



Hi Food Dolls,
This sounds like a great dessert!
I’d like to try cook it but having difficulties with measures.. in Baking Tips you mention weighing with kitchen scale, but what do I weigh? 🙂 I’m not sure what cup to use. Can you share all the ingredients in mass units (grams) please? For the people from Europe and anywhere else that use mass weight measurement. Love your website and already cooked many of them (meat, salad recipes are eaiser to cook with those cup/tbsp amounts, but baking is a bit different)
Thank you so much!
Hi Katya,
We will work on including mass units. Most of our ingredients contain gram measurements on the bags, which is why we recommend weighing.
We hope you continue to enjoy the recipes!
Xo,
Alia & Radwa