This Easy Pita Bread Recipe uses simple ingredients to create a homemade recipe that’s mildly sweet and perfectly fluffy. Use it for dipping into your favorite spreads, stuffing with mouthwatering meats, or even dunking into soups!
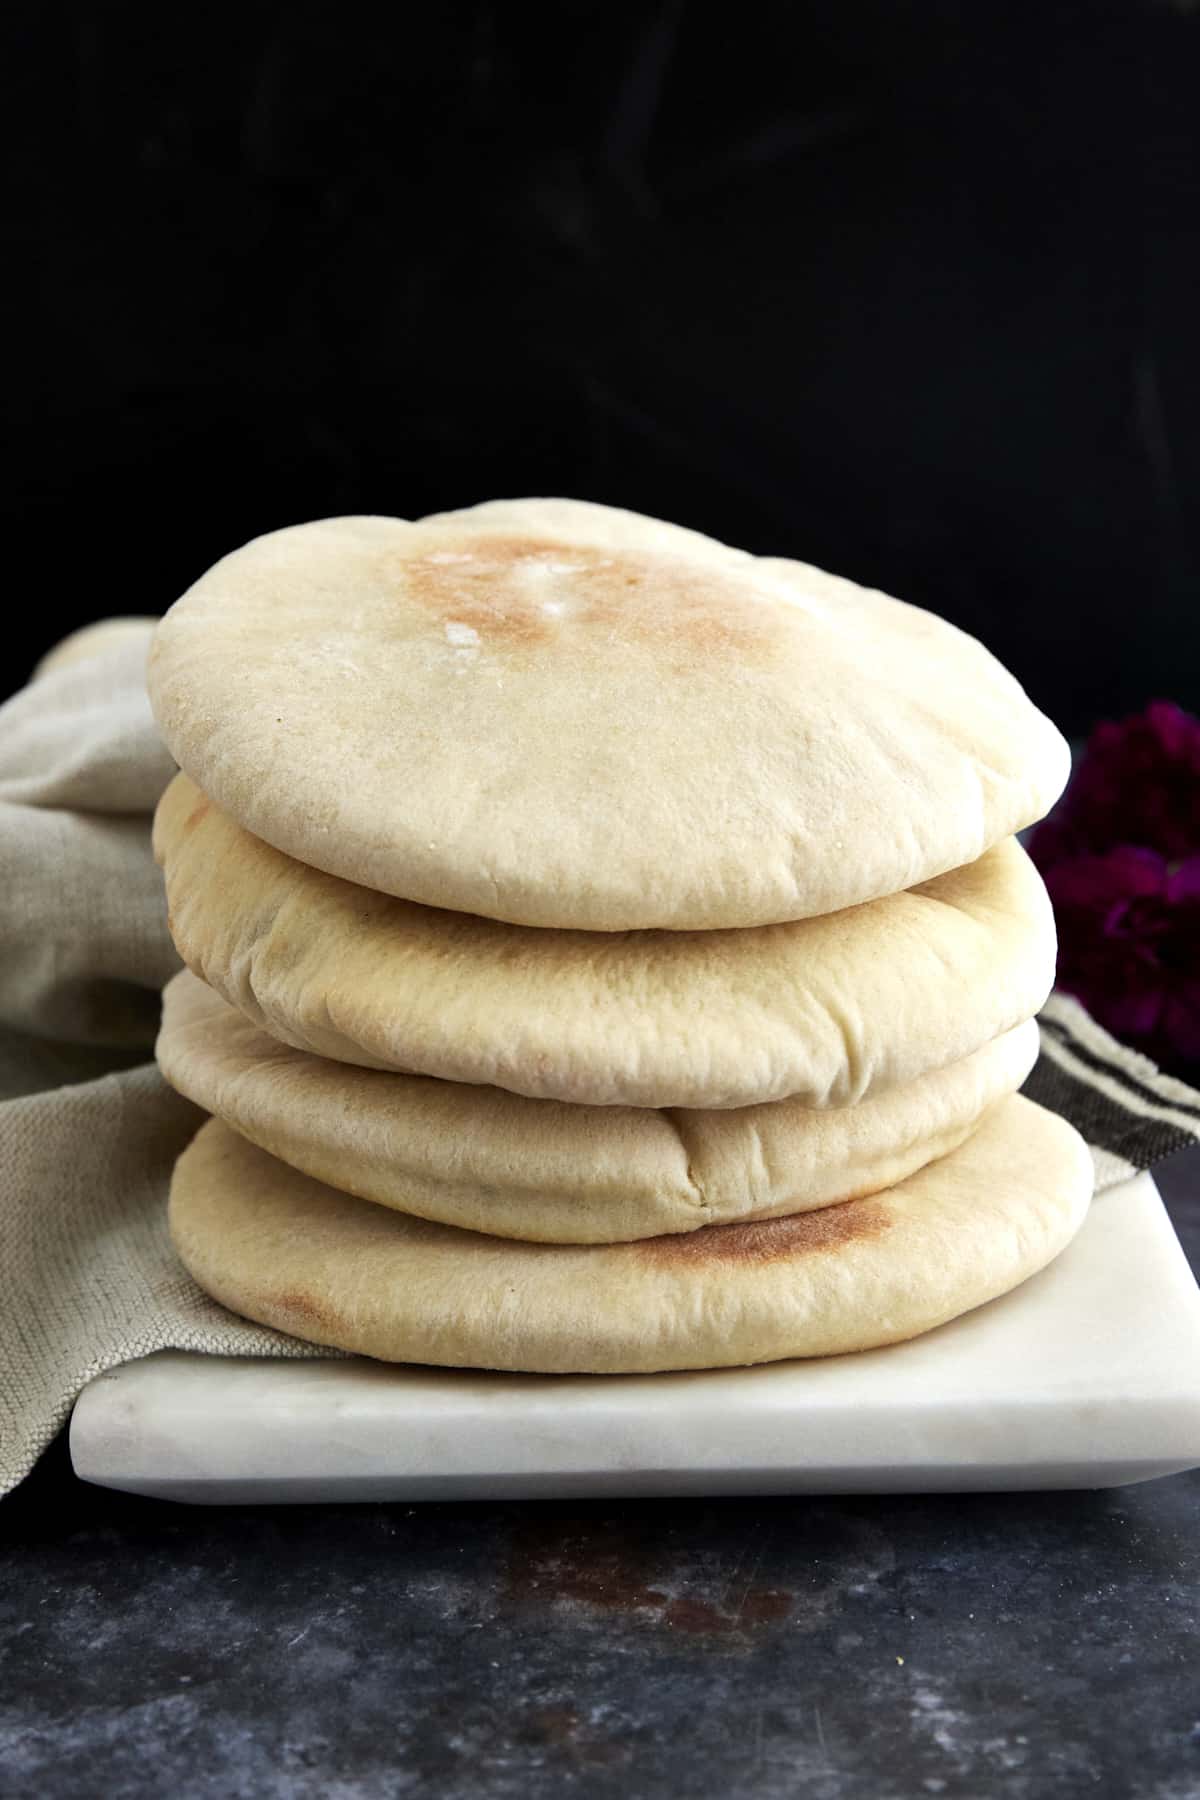
Table of Contents
What Is Pita Bread?
The word pita, also known as pitta, comes from the Greek language. The bread has been a staple in Middle Eastern cuisine for thousands of years. A type of leavened flatbread, it consists of a combination of yeast, water, and flour.
Many recipes also contain sugar and salt. Traditionally, it bakes on a stone surface. However, most chefs today use conventional ovens and bake at extremely high temperatures. As a result, the water in the dough steams, and the bread puffs up.
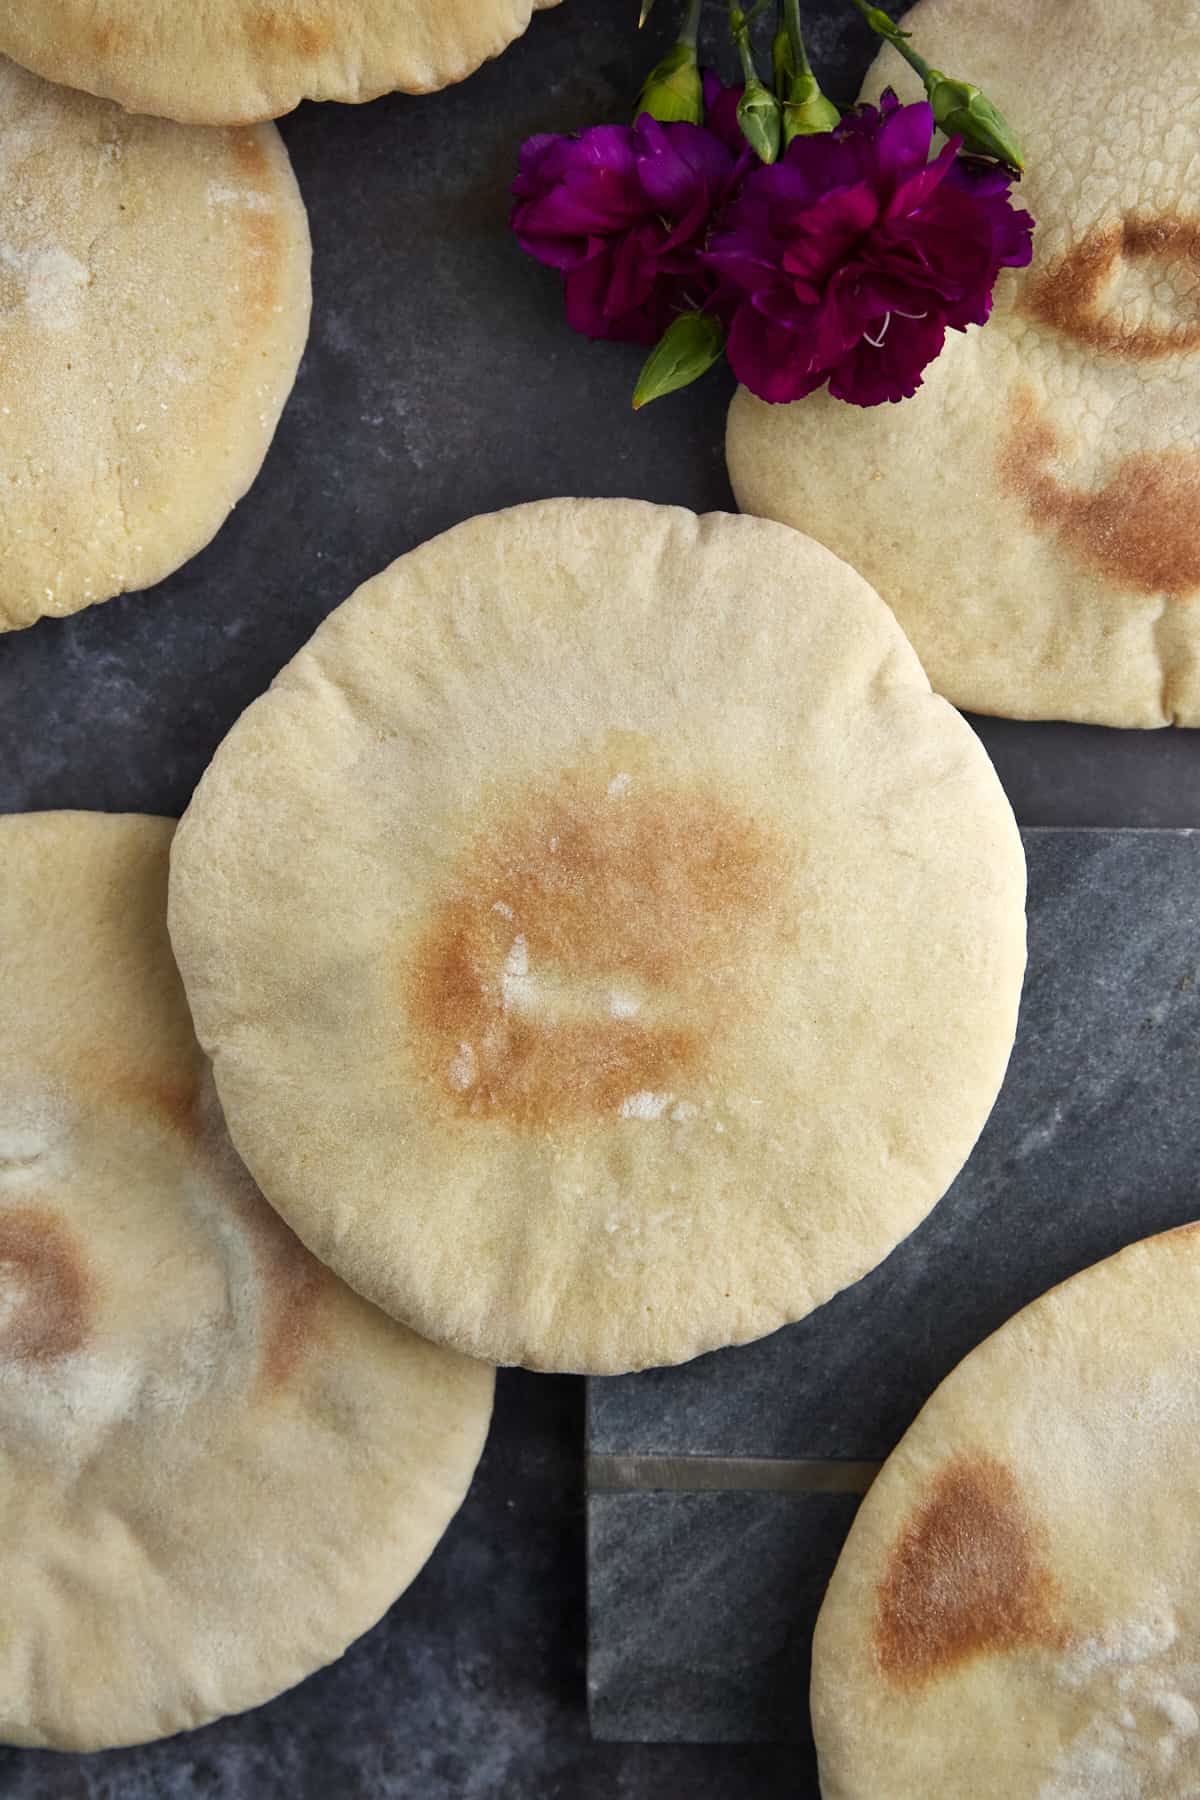
On its own, pita bread has a fairly neutral, slightly sweet flavor. The texture is light, slightly dense, and chewy all at the same time. As a result, it’s extremely versatile, and the flavor is easy to customize with various herbs and spices to meet all your needs.
What’s the Difference Between Greek Pita and Regular Pita?
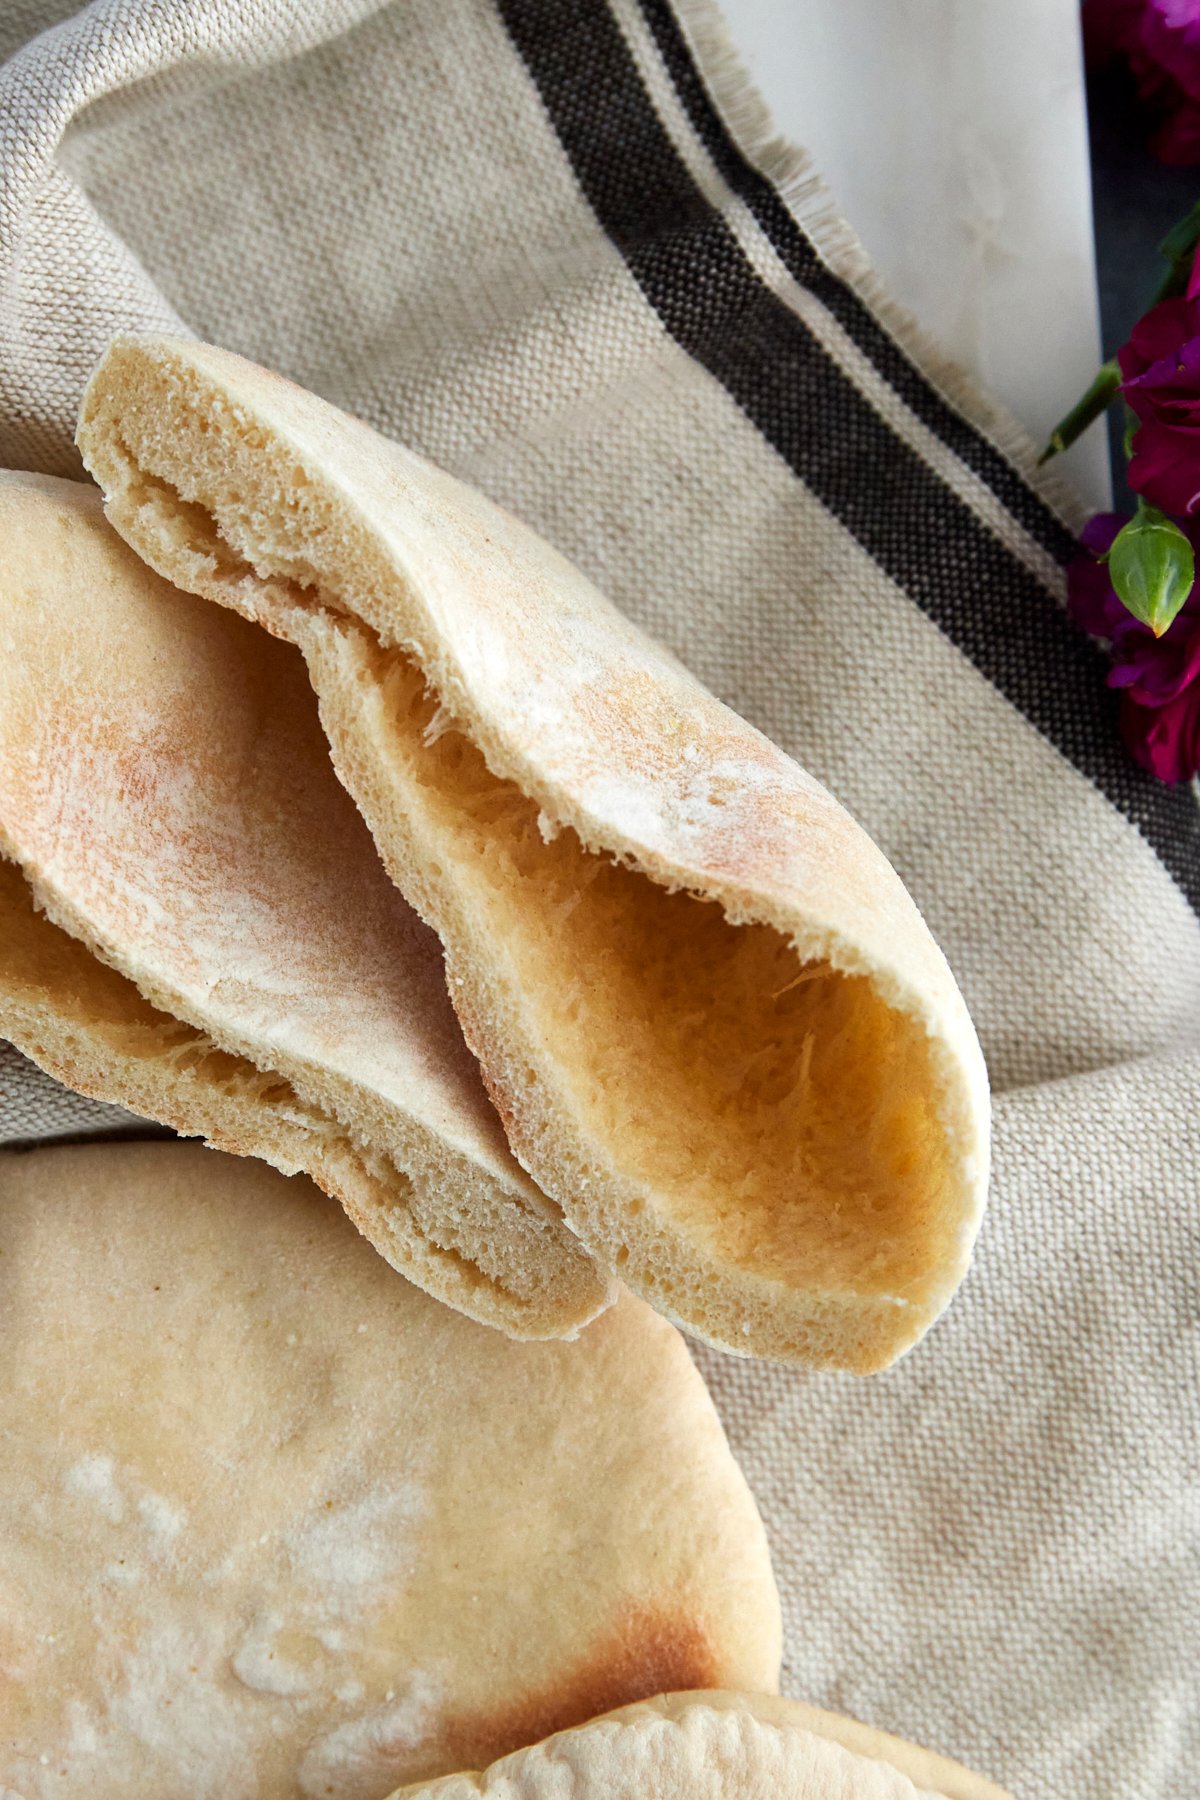
In most cases when people refer to pita, they’re talking about regular or Mediterranean pita. This type of pita has a pocket, making it perfect for stuffing.
However, there are two kinds of pita bread! Greek pita is lesser known but equally delicious. Unlike regular pita, it has no pocket and is slightly softer and thicker than traditional pita bread.
Ingredients You’ll Need
Creating this simple recipe for pita bread is a breeze with a short and sweet list of baking staples. Here’s everything you’ll need:
- Flour – Regular all-purpose flour forms the base of the dough for this easy pita bread recipe. It also coats your working surface and rolling pin. If preferred, you can substitute wheat flour.
- Sea Salt – Helps enhance the rest of the ingredients.
- Olive Oil – Used to prevent the dough from sticking and adds a nice savory flavor along with some healthy fat.
- Sugar – This adds the perfect amount of sweetness.
- Baking Powder – Make sure it’s fresh, or your pita won’t rise!
- Warm Water – This is crucial to activating the yeast. If it’s too hot or too cold the recipe won’t work!
- Yeast – You can find regular packets of instant yeast in the baking section of most grocery stores.
How to Make This Easy Pita Bread Recipe
One bite of this homemade pita bread, and you’ll never go back to buying store-bought pita bread again! Here’s what to do:
- Activate the yeast. Add lukewarm water to the bowl of a stand mixer. Stir in the yeast and sugar until dissolved. Cover the bowl, and set it aside until bubbles begin to form.
- Create the dough. Sift the flour, baking powder, salt, and sugar into the bowl with the yeast. Using a dough hook attachment, knead the dough until it is soft and combined, adding more water as needed.
Note: Be careful not to add too much water! Start by adding one tablespoon at a time. Make sure it incorporates completely before adding more.
- Rest. Lightly brush a mixing bowl with olive oil, and add the dough. Cover the bowl tightly with plastic wrap followed by a towel. Set it aside in a cool, dry place until the dough has doubled in size.
- Shape the pita. Use your fists to deflate the dough, and place it on a clean, floured workspace. Divide the dough into 10-12 equal pieces, and roll the dough into balls.
- Let the pita dough rise. Cover them with a towel again, and let them rest for 20 minutes. Then, use a floured rolling pin to roll each round into a circle.
- Bake pitas. Place the pita on a baking sheet, and let them bake for two minutes. Use tongs to carefully flip them over, and continue to bake until it puffs up.
- Repeat. Remove the pita from the oven, and cover them with a clean kitchen towel. Repeat the process to use up all the dough.
Make Ahead and Storage Options
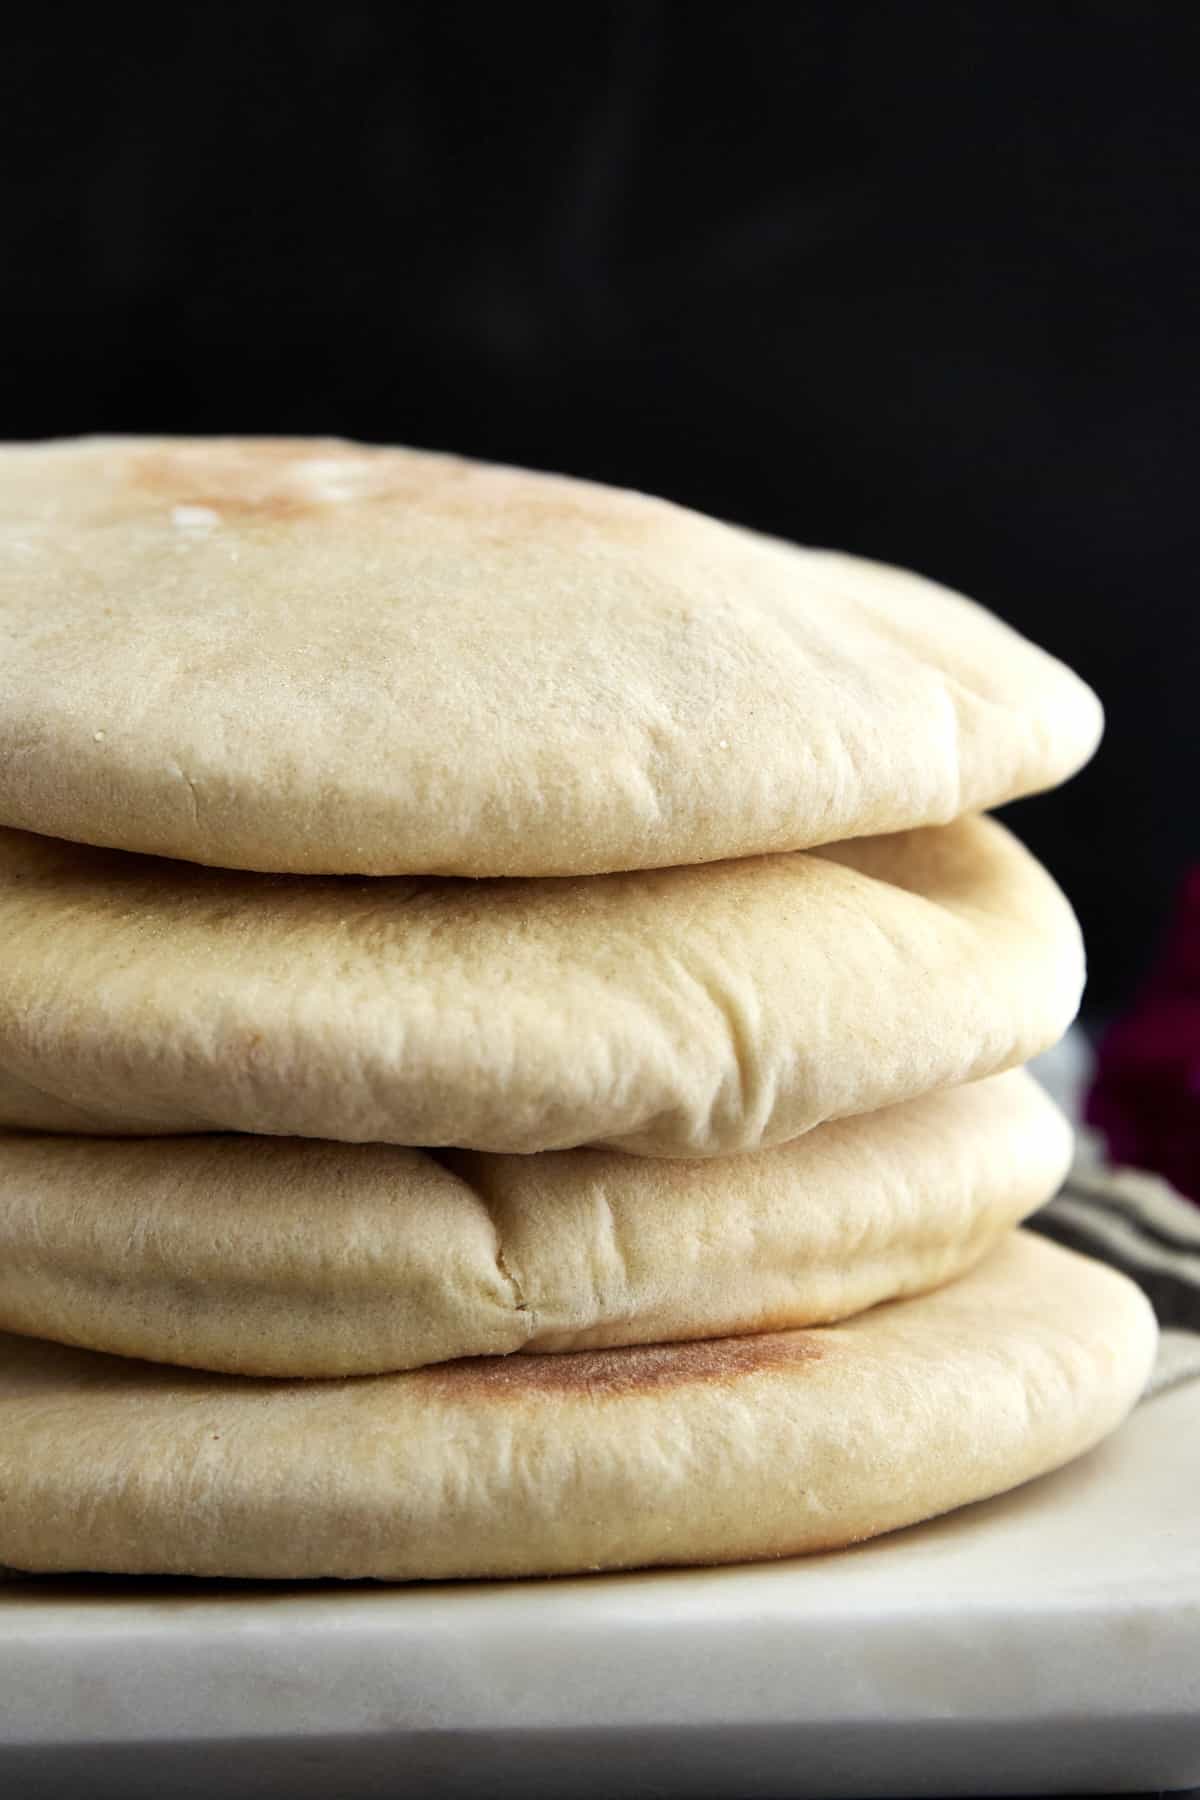
Indulging in the goodness of this easy pita bread right away, while it’s still warm, is the best way to go. However, unless you’re feeding a crowd, you’re likely going to have leftovers. Luckily, they store well! Follow the tips below to keep your pita fresh.
- To Store – Transfer the cooled pita to an airtight container or sealable bag. Store it in a cool, dry place at room temperature for up to three days.
- To Freeze – For a longer-lasting option, freeze your pita in a sealable bag. For the best results, place a sheet of wax paper between each piece, and squeeze out all excess air. Then, keep them frozen for up to three months.
- To Reheat – Warm frozen or thawed pita in the oven, air fryer, or toaster until heated through!
Serving Suggestions
We’ve lost count of all the ways to enjoy this pita bread recipe! Personally, we love to snack on it all on its own while it’s still warm. However, there’s no shortage of ways to use it. Here are a few of our faves:
- As bread to make gyros or stuffed pita sandwiches with kofta, cheese, tzatziki, and more.
- Coated with oil and seasonings to make homemade pita chips.
- Dunked into soups like Egyptian Lentil Soup and Slow Cooker Moroccan Harira Soup
- As a dipper with appetizers such as Spinach Olive Dip, Baba Ganoush, and Roasted Red Pepper Feta Dip.
Common Questions About This Easy Pita Bread Recipe
No, all-purpose flour contains gluten. However, the recipe should work with a 1:1 gluten-free flour alternative.
No, it makes the process easier, but you can knead the dough by hand if needed.
There are many reasons why your pita may not have puffed up in the oven. However, the main reason this happened is that the oven was not hot enough. Be sure to set the temperature to 500 degrees Fahrenheit, and allow plenty of time for it to heat. Also, be sure to use fresh ingredients, and properly activate the yeast!
More Bread Recipes
On the hunt for more tasty bread to bake? Try out some of our super easy favorites!

Easy Pita Bread Recipe
Ingredients
- 1 cup lukewarm water +⅓ cup additional if needed
- 1 heaping Tablespoon yeast
- 2 Tablespoons granulated sugar, divided
- 4 cups all-purpose flour plus more for dusting
- 1/2 teaspoon baking powder
- 1 teaspoon sea salt
- 2 teaspoons olive oil
Instructions
- In the bowl of a stand mixer, add 1 cup lukewarm water. Add the yeast and 1 tablespoon sugar, stirring until they are dissolved. Cover, and set aside for 15 minutes or until bubbles begin to form.1 cup lukewarm water +⅓ cup additional, 1 heaping Tablespoon yeast, 2 Tablespoons granulated sugar, divided
- Sift in the flour, baking powder, salt, and the remaining sugar. Then, using a dough hook attachment, knead the dough on a low speed. If needed, add more water 1 tablespoon at a time until the dough is well combined and soft. Note: If the dough becomes too runny, simply add 1 tablespoon flour at a time until the desired temperature is reached.4 cups all-purpose flour, 1/2 teaspoon baking powder, 1 teaspoon sea salt
- Lightly brush a mixing bowl with olive oil, and add the dough. Cover the bowl tightly with plastic wrap followed by a towel. Set is aside in a dry, warm place for at least an hour or until the dough has doubled in size.2 teaspoons olive oil
- Punch the dough down, deflating it with fists. Then, transfer it to a floured work surface. Using two hands, divide the dough into 10-12 equal mounds. Roll them between two palms until they resemble round balls. Cover the dough with a towel, and let it rest for 20 minutes.
- Using a floured rolling pin, roll each dough ball into a circle roughly 8 inches round and a quarter-inch thick. Dust the dough with more flour as needed to prevent it from sticking.
- Preheat the oven to 500 degrees Fahrenheit, and place the dough on a sheet pan. Bake for 2 minutes. Then, using tongs, carefully turn each pita over, and place the pan back in the oven for 1 minute or until the pita is puffy.
- Remove the pan from the oven, cover the baked pita bread with a clean towel, and repeat the process until all of the dough has been used.
- Store in an airtight container at room temperature for up to 3 days.
Notes
Would you like to save this? 🔖
Nutrition
Nutrition information is automatically calculated, so should only be used as an approximation.



Could you possible tell me how much fresh yeast I would need to use for this recipe 3x? So looking forward to trying it.
Hi! You’ll need to use twice as much fresh yeast as instant yeast. So, it would be 2 heaping tablespoons. Hope this helps!
xo,
Alia & Radwa
in step 3 the recipe says to set dough in a “cool, warm” place…. as long as you are making updates!
Thank you, Pam! We updated the recipe card. 😊
Xo,
Alia & Radwa
Hey sisters!
The only reason I don’t give this a 5/5 is the instructions need to be updated to reflect 2x or 3x amount. It took me a minute, but I was able to gauge the 1x recipe was the amount of balls reflected in the last steps. Also, rolling out to 8 inches didn’t exactly allow each ball to be 1/4 inch thick. No real worries though because they turned out so great! My daughter and I made these 5/12/24 for Mother’s Day and they turned out amazing! We played with the thickness and decided we’d see what size and thickness turned out the way we wanted it.
Paired these with the hummus (yummmmm) too! Even my picky eater gobbled the pairing!
I’m making my way through many of your recipes…..so good! Thanks for putting your talents on the world wide web for me to enjoy!
Thank you for the feedback, Amy! We’re so glad they still turned out well for you! Happy belated Mother’s Day!
Xo,
Alia & Radwa
It’s sounds delicious but I’m confused. I thought Greek pita bread didn’t have a pocket, yet there’s a picture of pita bread with a pocket. Can you clarify this for me? I’d really like to try this recipe but not if it has a pocket. They always dry out. Thank you 😊
Sorry for any confusion! These pitas do have pockets. 😊 We will look into updating the copy!
Xo,
Alia & Radwa