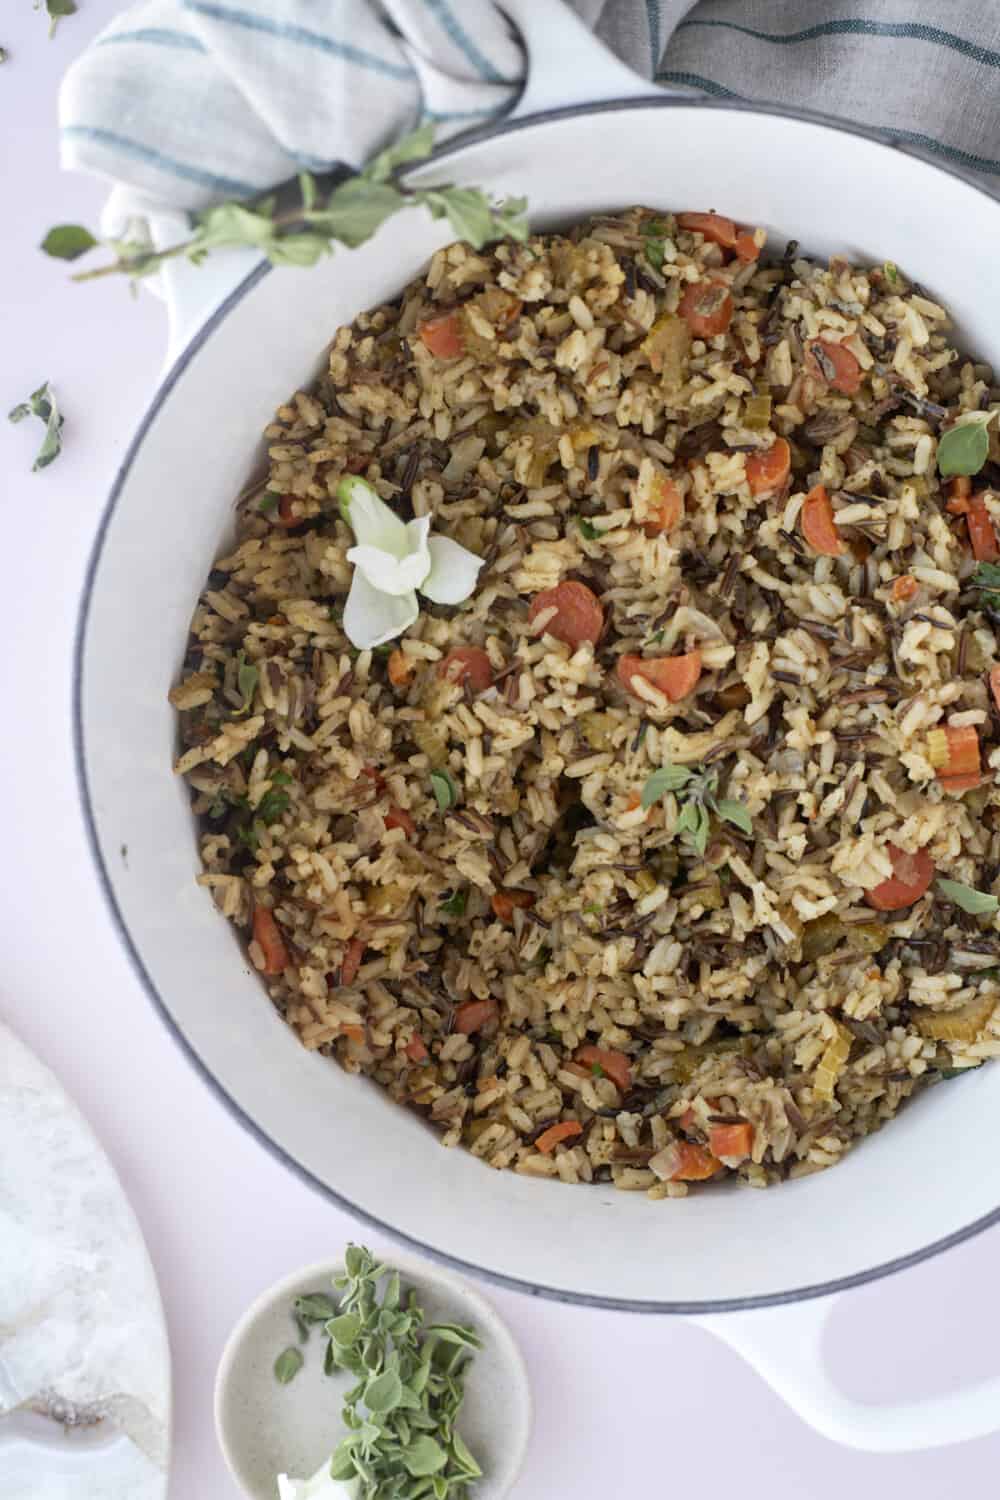
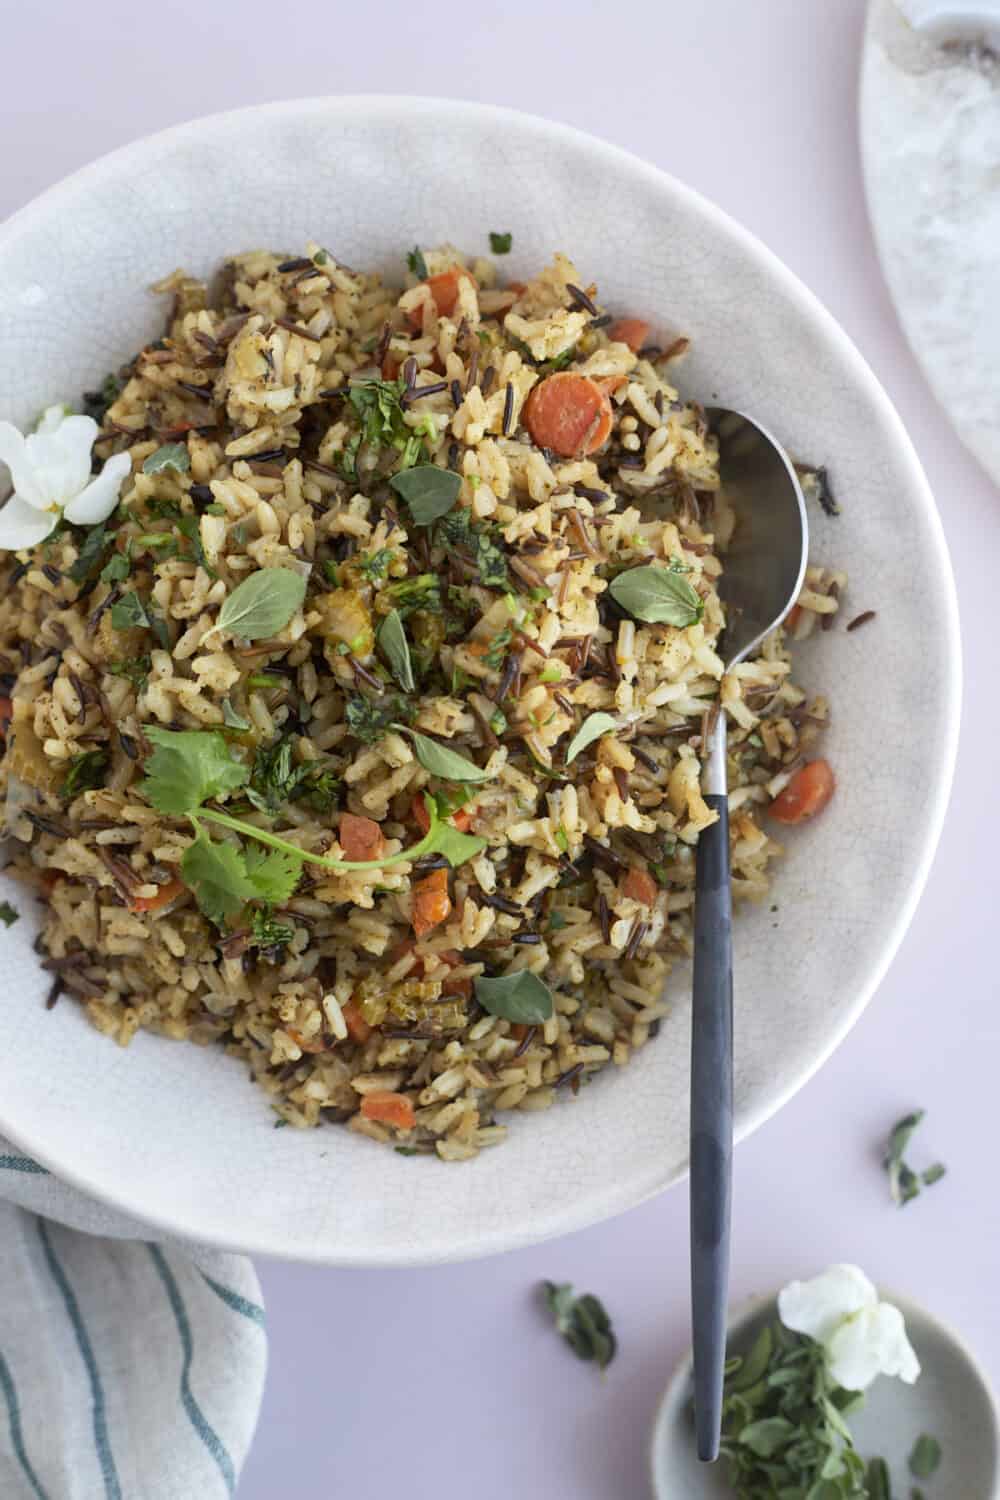
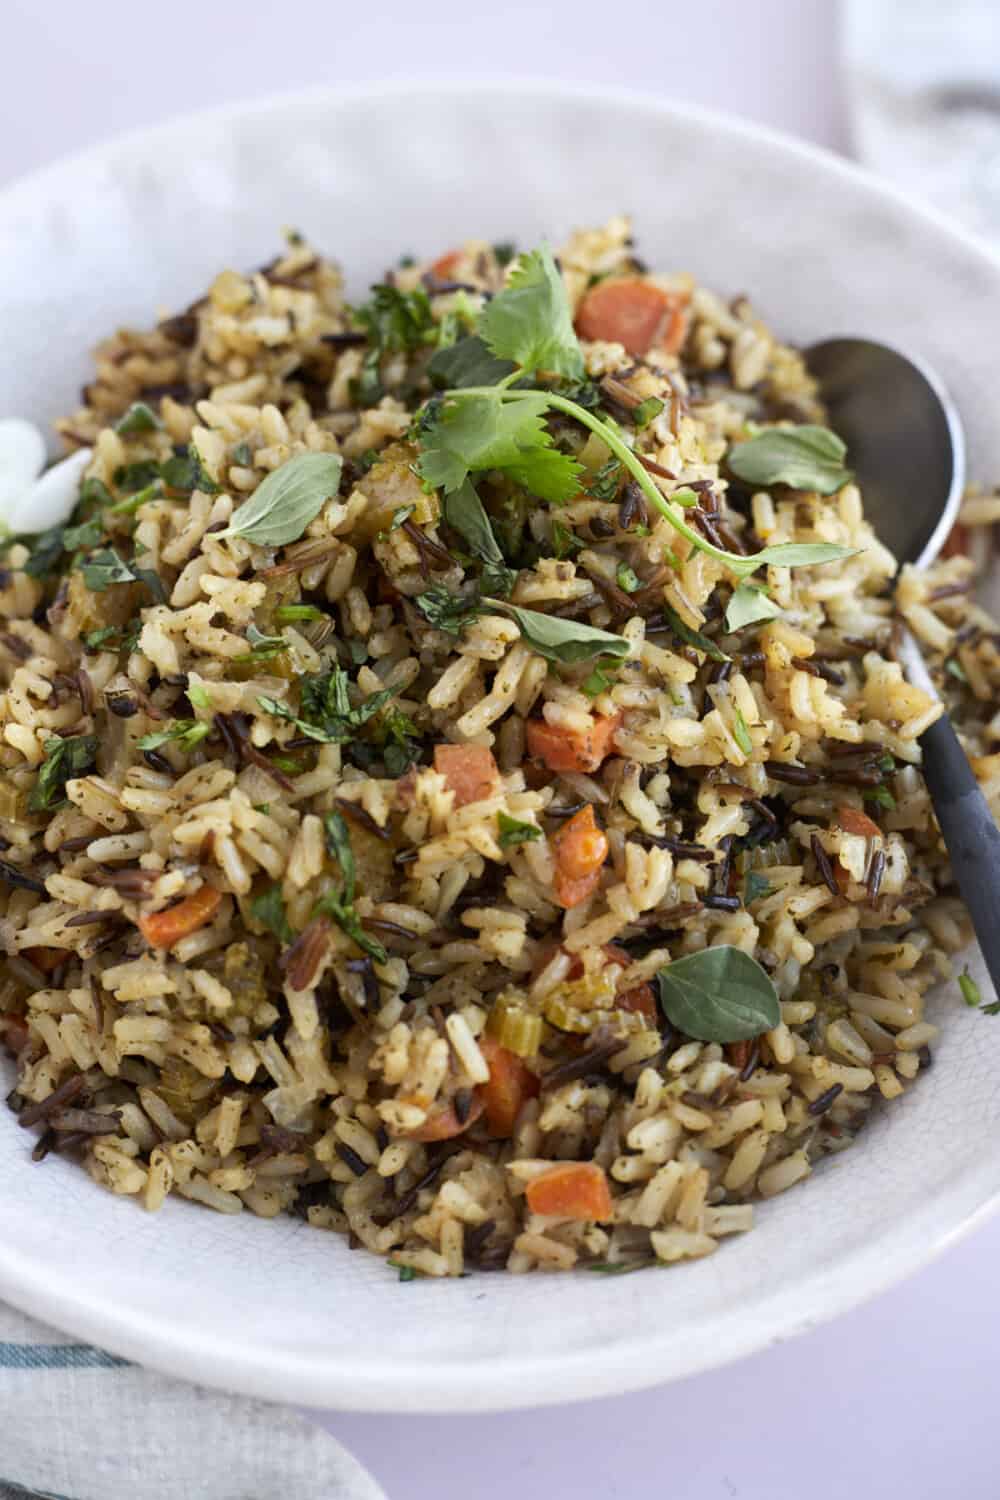
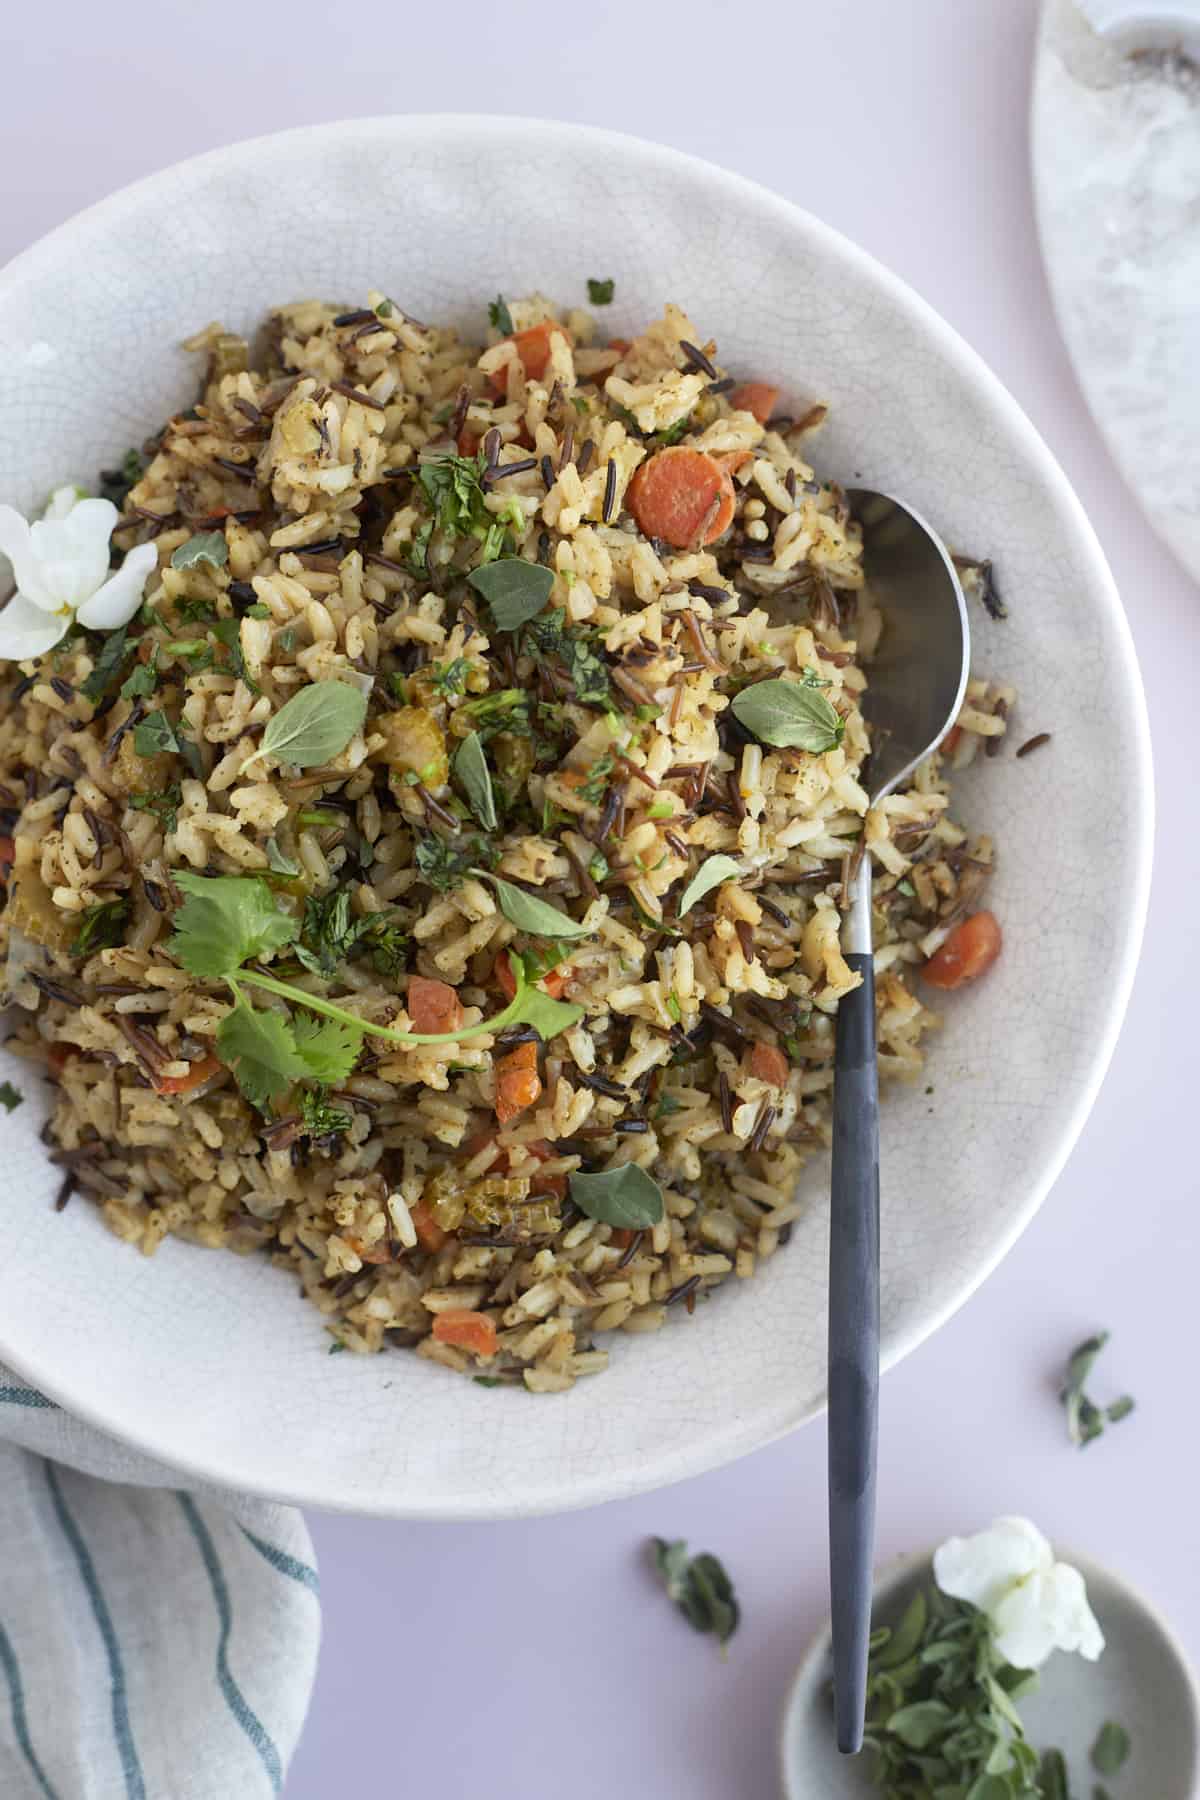
Healthy and bursting with flavor, this Easy Seasoned Rice Pilaf Recipe is packed with fresh veggies and herbs for a hearty side dish you’ll adore. Perfectly paired with chicken, fish, or your favorite main courses, it’s a versatile dish you’ll keep coming back to!
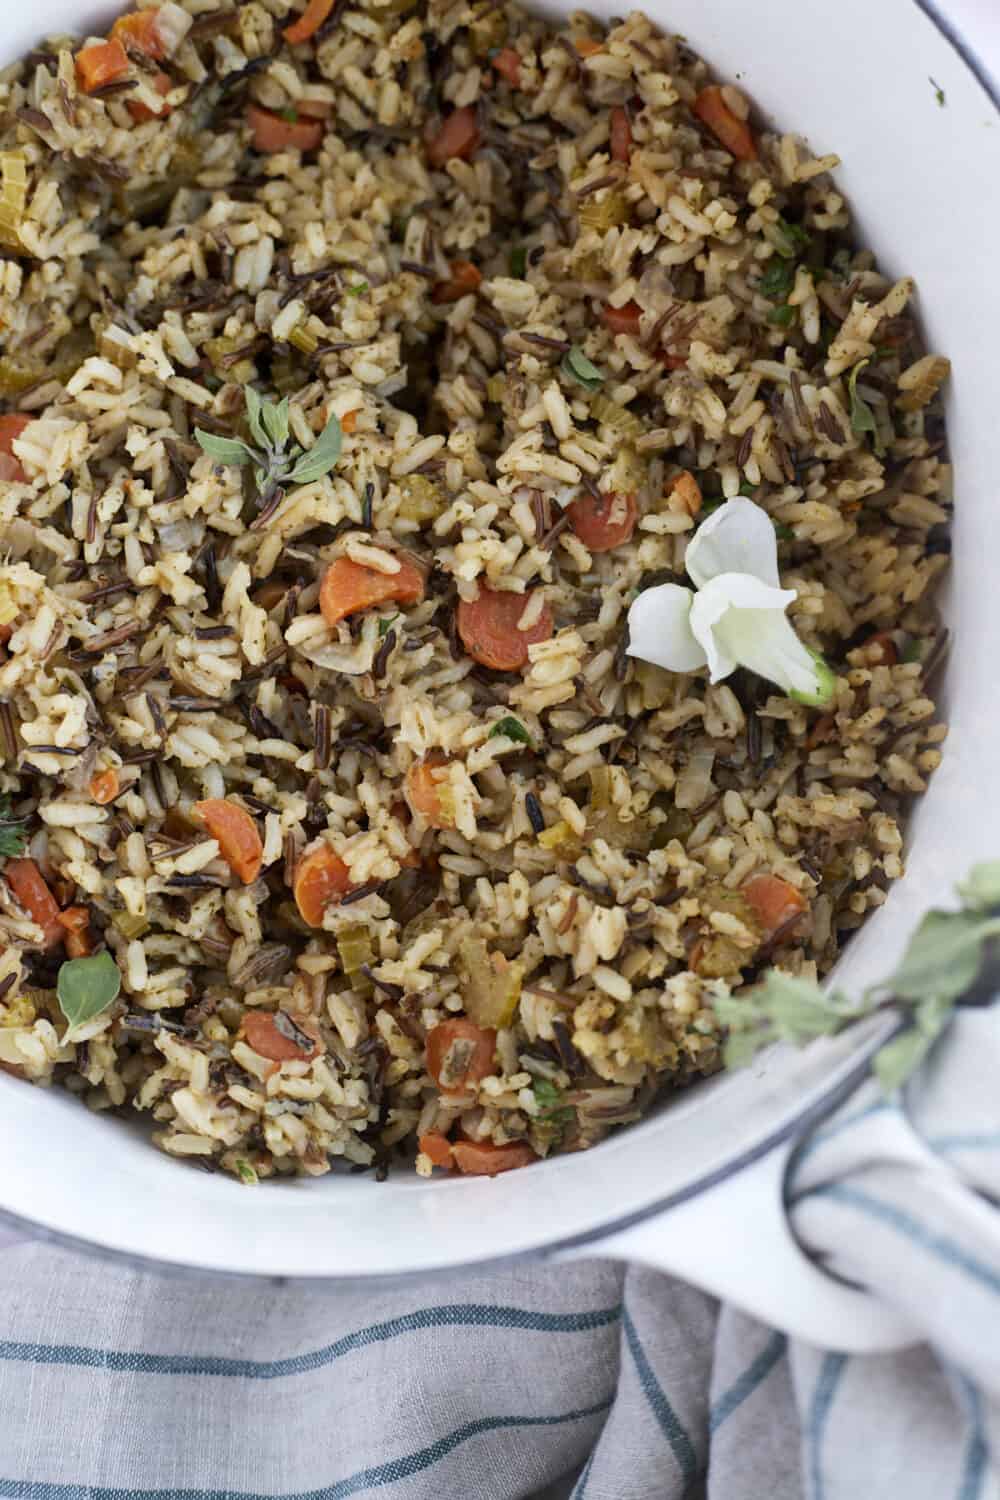
Table of Contents
- Why You’ll Love This Rice Pilaf Recipe
- What Is Rice Pilaf?
- What’s the Difference Between Regular Rice and Rice Pilaf?
- What’s the Best Rice to Use for Rice Pilaf?
- Ingredients You’ll Need
- How to Make this Rice Pilaf Recipe
- Storage Options
- Serving Suggestions
- More Filling Side Dish Recipes
- Easy Seasoned Rice Pilaf Recipe Recipe
Why You’ll Love This Rice Pilaf Recipe
We love a tasty side dish, and this seasoned rice pilaf is one of our faves! Lately, it’s been on repeat. It’s:
- Easy to customize with your favorite mix-ins.
- Great to pair with all your favorite main courses.
- Full of vitamins, nutrients, and fiber thanks to all the veggies.
- Kid-approved and always delicious.
- Great to make ahead of time and perfect for feeding a crowd!
What Is Rice Pilaf?
Rice pilaf, also known as pilau, is both a dish and a method of cooking. Rice pilaf can have a wide variety of flavors and ingredients and can be as simple as just using rice, broth, and seasonings or as complicated as incorporating orzo, veggies, and mix-ins. However, in general, the method of preparation involves sautéeing onions in butter and oil and then adding uncooked rice to the dish to toast. The rice is then cooked in stock until fluffy and tender. The end result is a flavor-infused dish that’s soft, fluffy, and oh-so-delicious.
What’s the Difference Between Regular Rice and Rice Pilaf?
The primary difference between rice and rice pilaf is the method of cooking used. For instance, rice is typically cooked in plain water without any flavorings added. Meanwhile, as previously mentioned, rice pilaf is made by toasting rice with aromatics to infuse a nutty flavor and cooking it in stock and flavor enhancers for a rich, indulgent flavor.
What’s the Best Rice to Use for Rice Pilaf?
Typically, long-grain rice is used for rice pilaf recipes. However, for a slightly chewier texture and bolder taste, we opted for wild rice. Feel free to use whatever rice you have on hand and like best such as brown rice, wild rice, jasmine rice, and Basmati rice.
Ingredients You’ll Need
One of the great things about seasoned rice pilaf is that it can be made with tons of different ingredients and flavors to meet all your preferences. For this recipe, we kept things simple using the ingredients we had on hand. Here’s what you’ll need!
- Olive Oil – This helps cook the veggies and adds a rich, caramelized flavor.
- Vegetables – We used a combination of carrots, celery, and onion for a pop of color, flavor, and nutrients.
- Broth – Chicken or vegetable broth works great. We recommend opting for low-sodium varieties to avoid overpowering the dish.
- Flavor Enhancers – For a bold, savory flavor, we incorporated the seasoning packet that comes with wild rice, a pinch of salt, oregano, and cilantro.
- Rice – We like wild rice best for its slightly nuttier taste, but any rice you have on hand is totally fine.
How to Make this Rice Pilaf Recipe
This easy side dish is super simple to prepare and simmer on the stove while you prepare the rest of your meal. Just follow the steps below!
- Sauté the Veggies. Sautê the celery, onions, and carrots in olive oil using a medium skillet over medium-high heat until the veggies are soft.
- Toast the Rice. Add the rice to the skillet, and allow it to toast, stirring frequently, until all of the oil has been absorbed.
- Boil. Pour the seasoning packet along with the broth, and stir to combine. Then, cover the skillet, and bring the ingredients to a boil. Reduce the heat to low, and simmer the rice until nearly all of the liquid has been absorbed. Remove the skillet from the heat, and let the rice sit and absorb any remaining broth.
- Fluff. Use a fork to fluff the rice, garnish with fresh herbs, and enjoy!
Storage Options
One of our favorite
Refrigerator: Once cooled, transfer your leftovers to an airtight container, and store it in the fridge for up to 5 days.
Freezer: For a longer-lasting option, transfer your pilaf to a freezer-safe container or sealable bag, and keep it frozen for up to 3 months.
To Reheat: When you’re ready to eat, let your rice pilaf thaw in the fridge overnight. Then, warm it in a pot on the stovetop, or just pop it in the microwave until your desired temperature has been reached! If your rice seems a little dry, add a dash of broth to spruce it back up.
Serving Suggestions
We love to serve this seasoned rice pilaf with anything and everything! However, some of our favorite pairings include:
- Sheet Pan Salmon with Vegetables
- Oven-Baked Chipotle Chicken Skewers
- Crispy
Air Fryer Chicken Wings - Baked Feta Salmon
More Filling Side Dish Recipes
Looking for more satisfying side dishes to serve with all your main courses? Check out these super simple sides!
Easy Seasoned Rice Pilaf Recipe
Ingredients
- 2 Tablespoons olive oil
- 1/2 cup chopped celery
- 1 chopped onion
- 1/2 cup chopped carrots
- 10 oz long grain and wild rice mix, such as Uncle Bens
- 1 packet wild rice seasoning packet in the box in the rice mix
- 2 2/3 cup broth
- 1 teaspoon fresh oregano
- 2 teaspoons fresh cilantro
- Salt to taste
Instructions
- Warm the olive oil in a large skillet over medium-high heat. Add the celery, onion, and carrots, and sauté for 5 minutes or until the onions are translucent and the veggies are tender, stirring frequently.
- Remove the herb packet from the rice and set aside. Add the rice, and stir to combine, heating until all of the oil has been absorbed.
- Pour in the broth and seasoning packet, stirring to combine.
- Cover the pot, and bring the ingredients to a boil. Immediately reduce the heat to low, and allow the rice to simmer for 45-50 minutes.
- Remove the skillet from the heat, and allow the rice to sit for 5-10 minutes to absorb any remaining liquid.
- Fluff with a fork, adjust the seasonings to taste, and enjoy!
- Store leftovers in an airtight container in the fridge for up to 5 days.
Would you like to save this? 🔖
Nutrition
Nutrition information is automatically calculated, so should only be used as an approximation.
