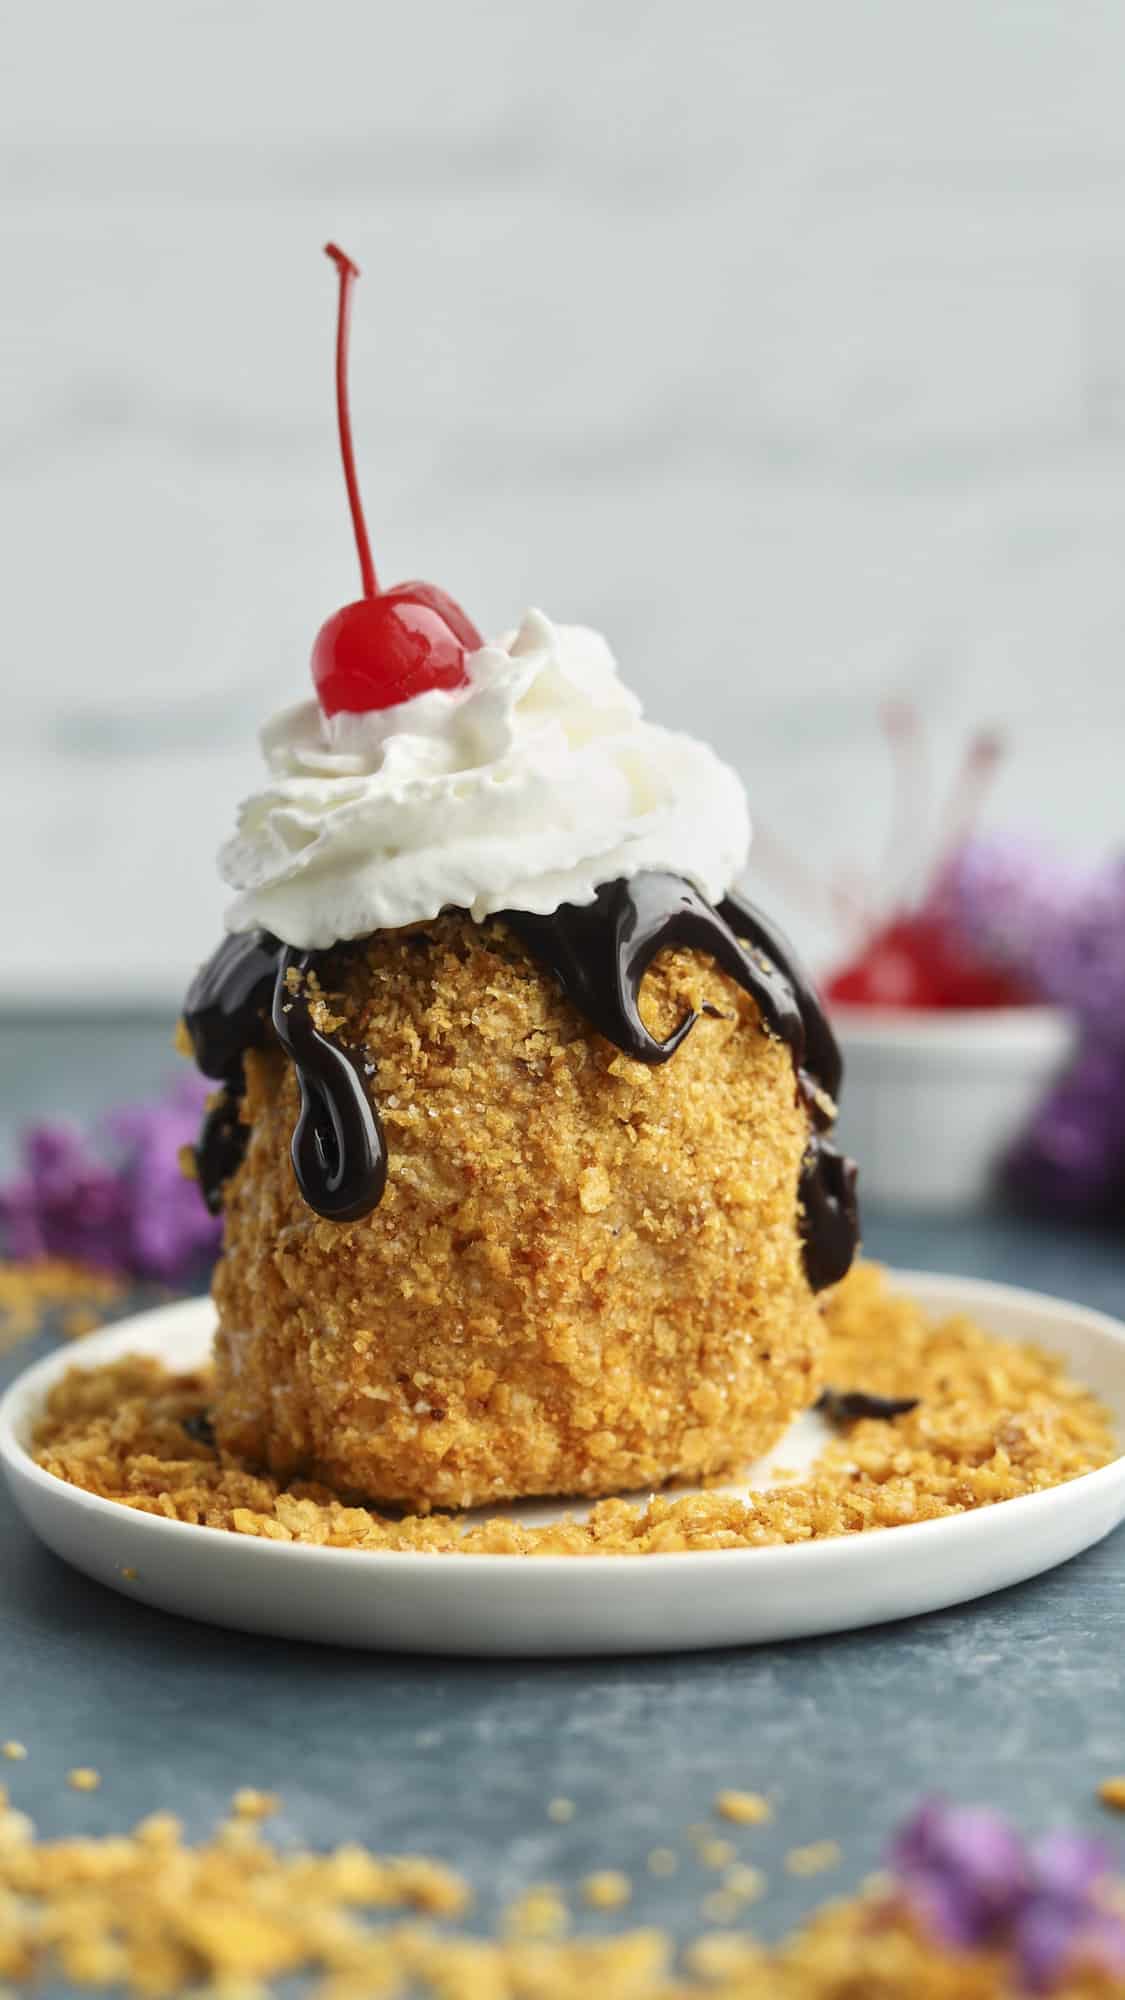
Get ready to experience the magic of Fried Ice Cream right in your own kitchen with this simple recipe! No need for frying—this version retains all the deliciousness of the classic dessert you love from your local Mexican restaurant.
Imagine a scoop of cold, creamy vanilla ice cream coated in a buttery, crunchy cornflake mixture, giving you that perfect contrast of textures. Drizzle it with rich chocolate syrup and a dollop of fluffy whipped cream, and you have a dessert that’s not only delicious but also a real showstopper!
This post is sponsored by Danish Creamery, but all opinions are our own.
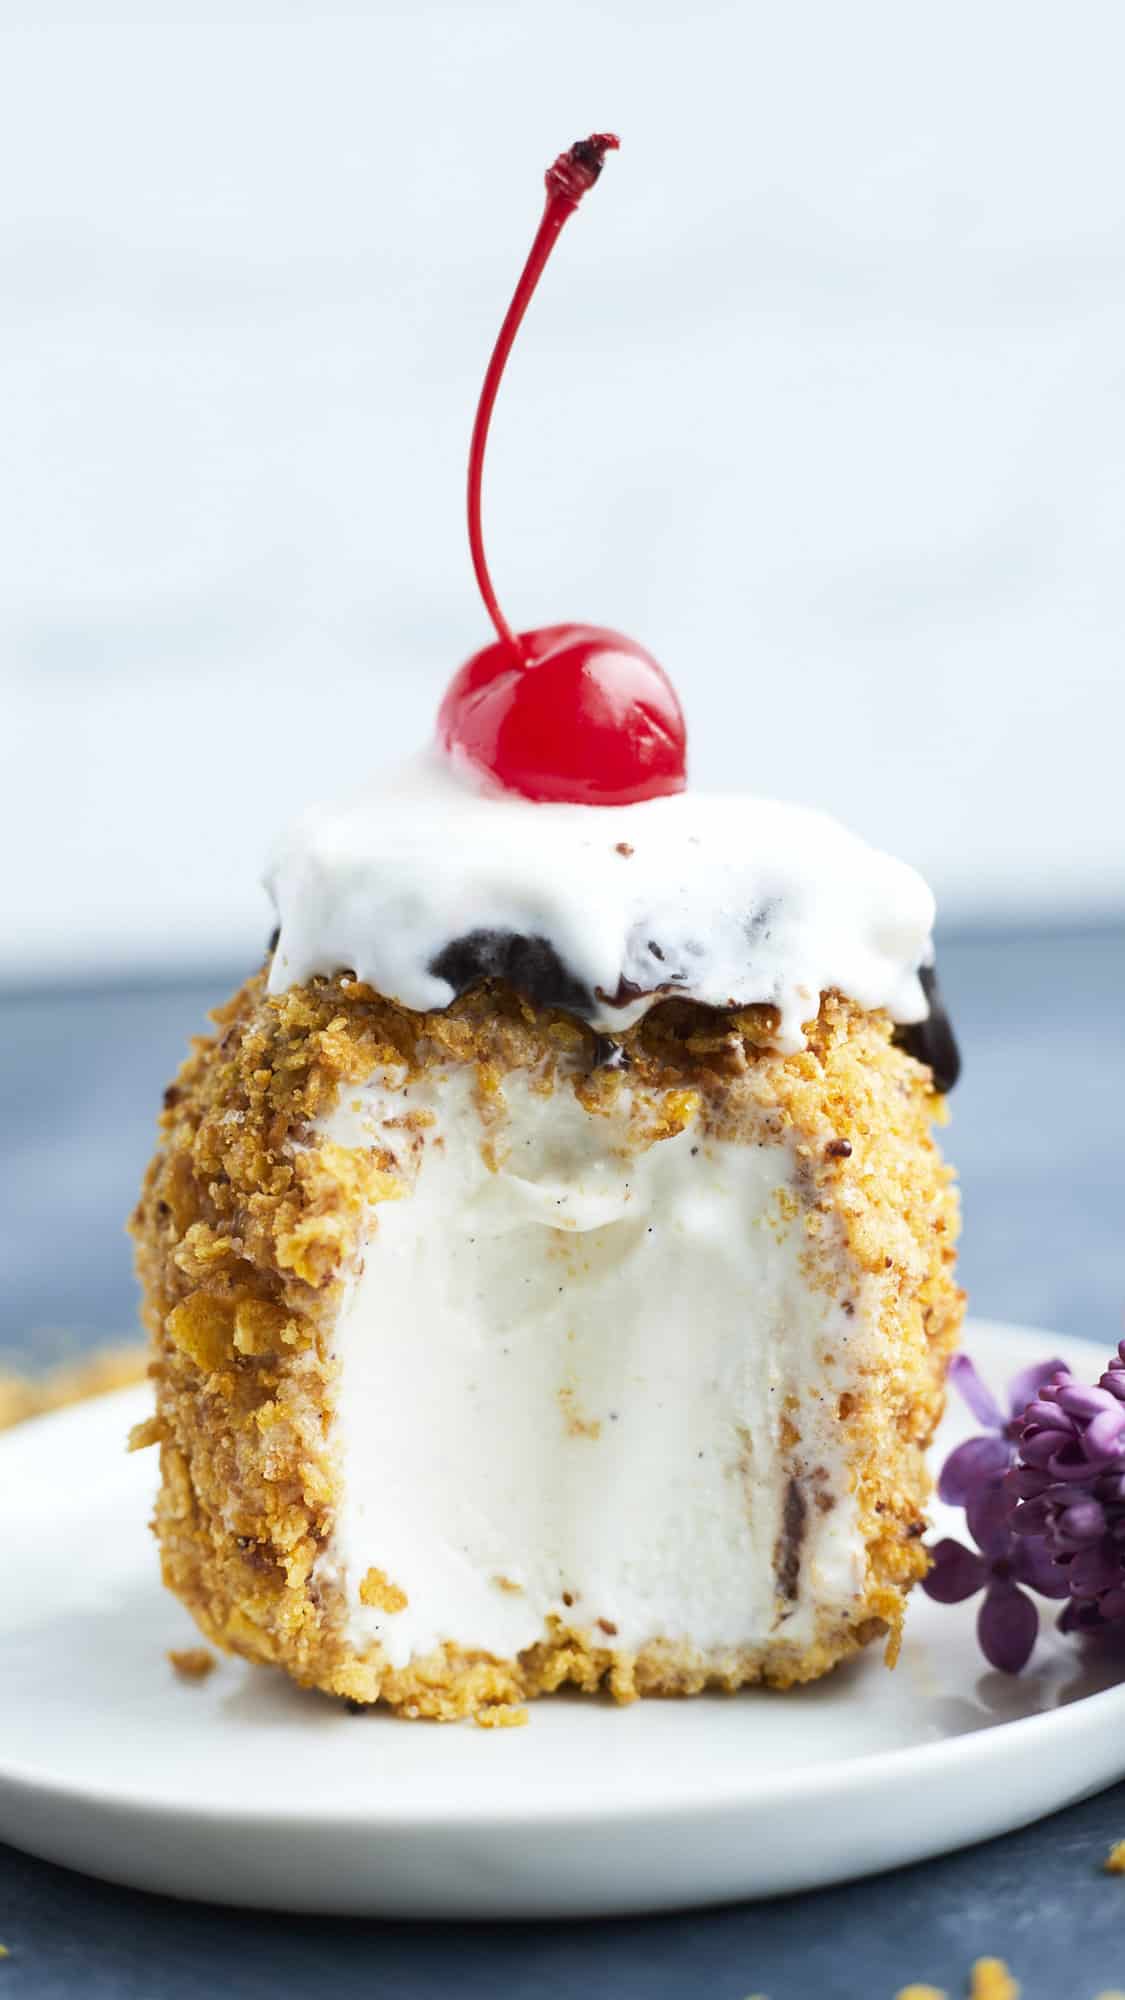
Table of Contents
- What Is Fried Ice Cream?
- The Secret to the Perfect Fried Ice Cream
- Do I Need a Deep Fryer?
- What Is Fried Ice Cream Made Of?
- How to Make Fried Ice Cream Without Actually Frying
- Tips for Success
- Serving Suggestions
- Can I Make this Recipe in Advance?
- Common Questions About This Fried Ice Cream Recipe
- More Crowd-Pleasing Dessert Recipes
- Fried Ice Cream Recipe
What Is Fried Ice Cream?
A popular item at Mexican restaurants, fried ice cream is a dessert that consists of cold ice cream coated in a mixture of crumbs or batter before being deep-fried at a high temperature for a short period of time. Or, sometimes the coating is deep-fried first and stuck to the ice cream.
Either way, the end result is a sweet treat that features a crunchy outer layer surrounding a chilled and intact ice cream center. Usually, it is finished with a generous drizzle of chocolate syrup, a swirl of whipped cream, and a cherry on top.
The end result is a dessert that offers a unique blend of textures, flavors, and temperatures in every drool-worthy bite!
The Secret to the Perfect Fried Ice Cream
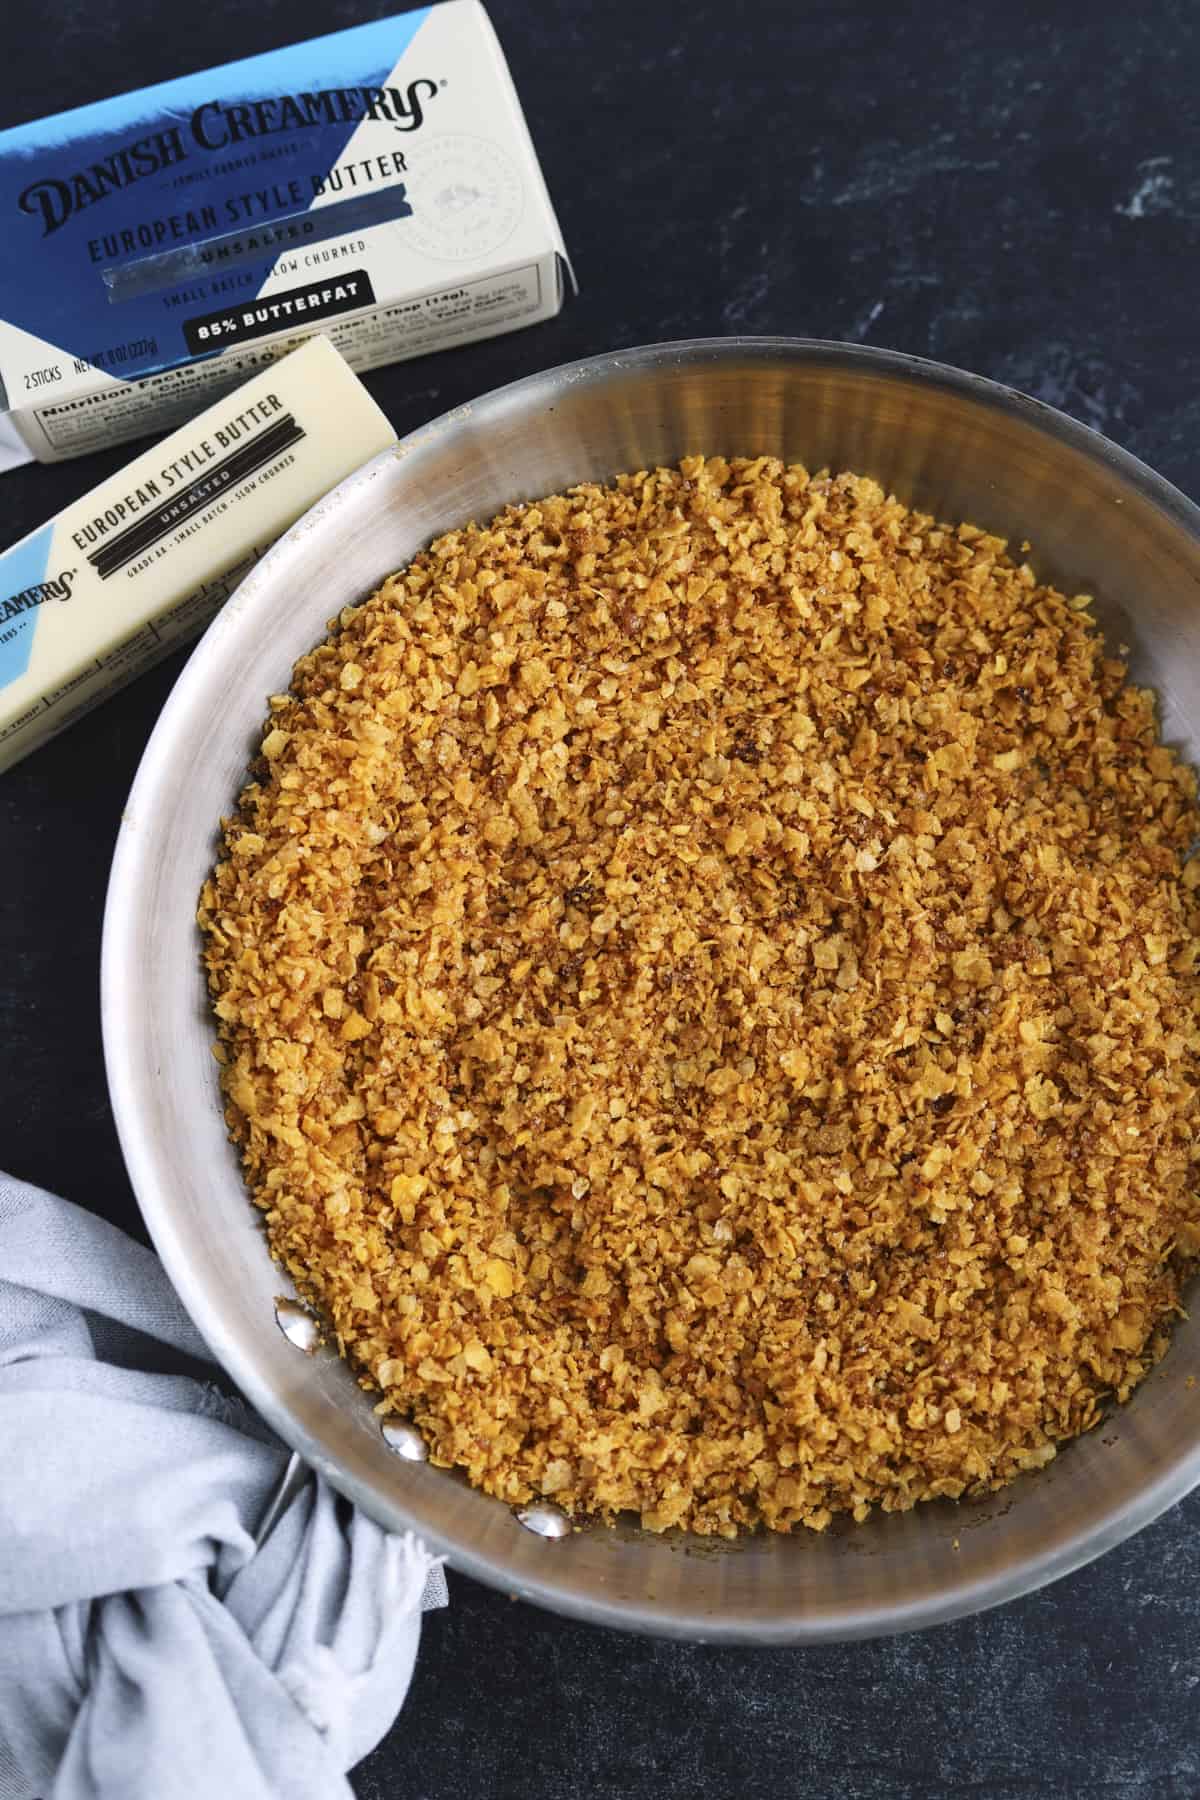
The key to creating a restaurant-worthy fried ice cream recipe is all in nailing the coating. Therefore, to get the perfect flavor and texture for our cornflake crust, we use Danish Creamery butter!
Unlike your average store-bought butter, Danish Creamery butter is rich and creamy, thanks to a recipe that has been around for over a century! Danish Creamery butter consists of just pure sweet cream and sea salt lending to a rich, decadent flavor that elevates any recipe.
The signature thick texture comes from the Danish churning process that they developed in 1895. Used to coat the cornflake crust, it really takes this recipe up a level, as every rich, buttery bite practically melts in your mouth!
Do I Need a Deep Fryer?
The beauty of this recipe is that you do not need any appliances to make our delectable fried ice cream. You read that correctly!
Instead of being dropped into oil, our version delivers that crunchy, indulgent outer layer without all the grease. Our secret to creating a mess-free fried ice cream dessert is that we fry the crust separately.
As a result, the ice cream stays extra cold, and all you need is a skillet and a few minutes.
What Is Fried Ice Cream Made Of?
Believe it or not, this recipe comes together with just six simple ingredients. Here’s what you need:
- Corn Flakes – Any brand of cornflake cereal can be used.
- Butter – You can’t beat Danish Creamery Butter in terms of taste and texture, but any brand you have on hand will do!
- Ground Cinnamon – Adjust the amount used according to taste.
- Sugar – Granulated sugar helps sweeten the coating.
- Salt – Use as little or as much as desired.
- Vanilla Ice Cream – We recommend using full-fat varieties, but any ice cream you like best will taste great!
How to Make Fried Ice Cream Without Actually Frying
With a prep time of 30 minutes and a total time of just 35 minutes, this dessert comes together in less time than it takes to order at your local restaurant!
- Portion the Ice Cream. Use a large ice cream scoop to create balls of ice cream, and place them on a
parchment paper -lined baking sheet. - Freeze. Transfer the ice cream to the freezer, and allow the balls to firm up.
- Create the Coating. Melt the butter in a skillet over medium heat. Add the crushed cornflakes, cinnamon, sugar, and salt, and cook just until the cereal is toasted, stirring constantly.
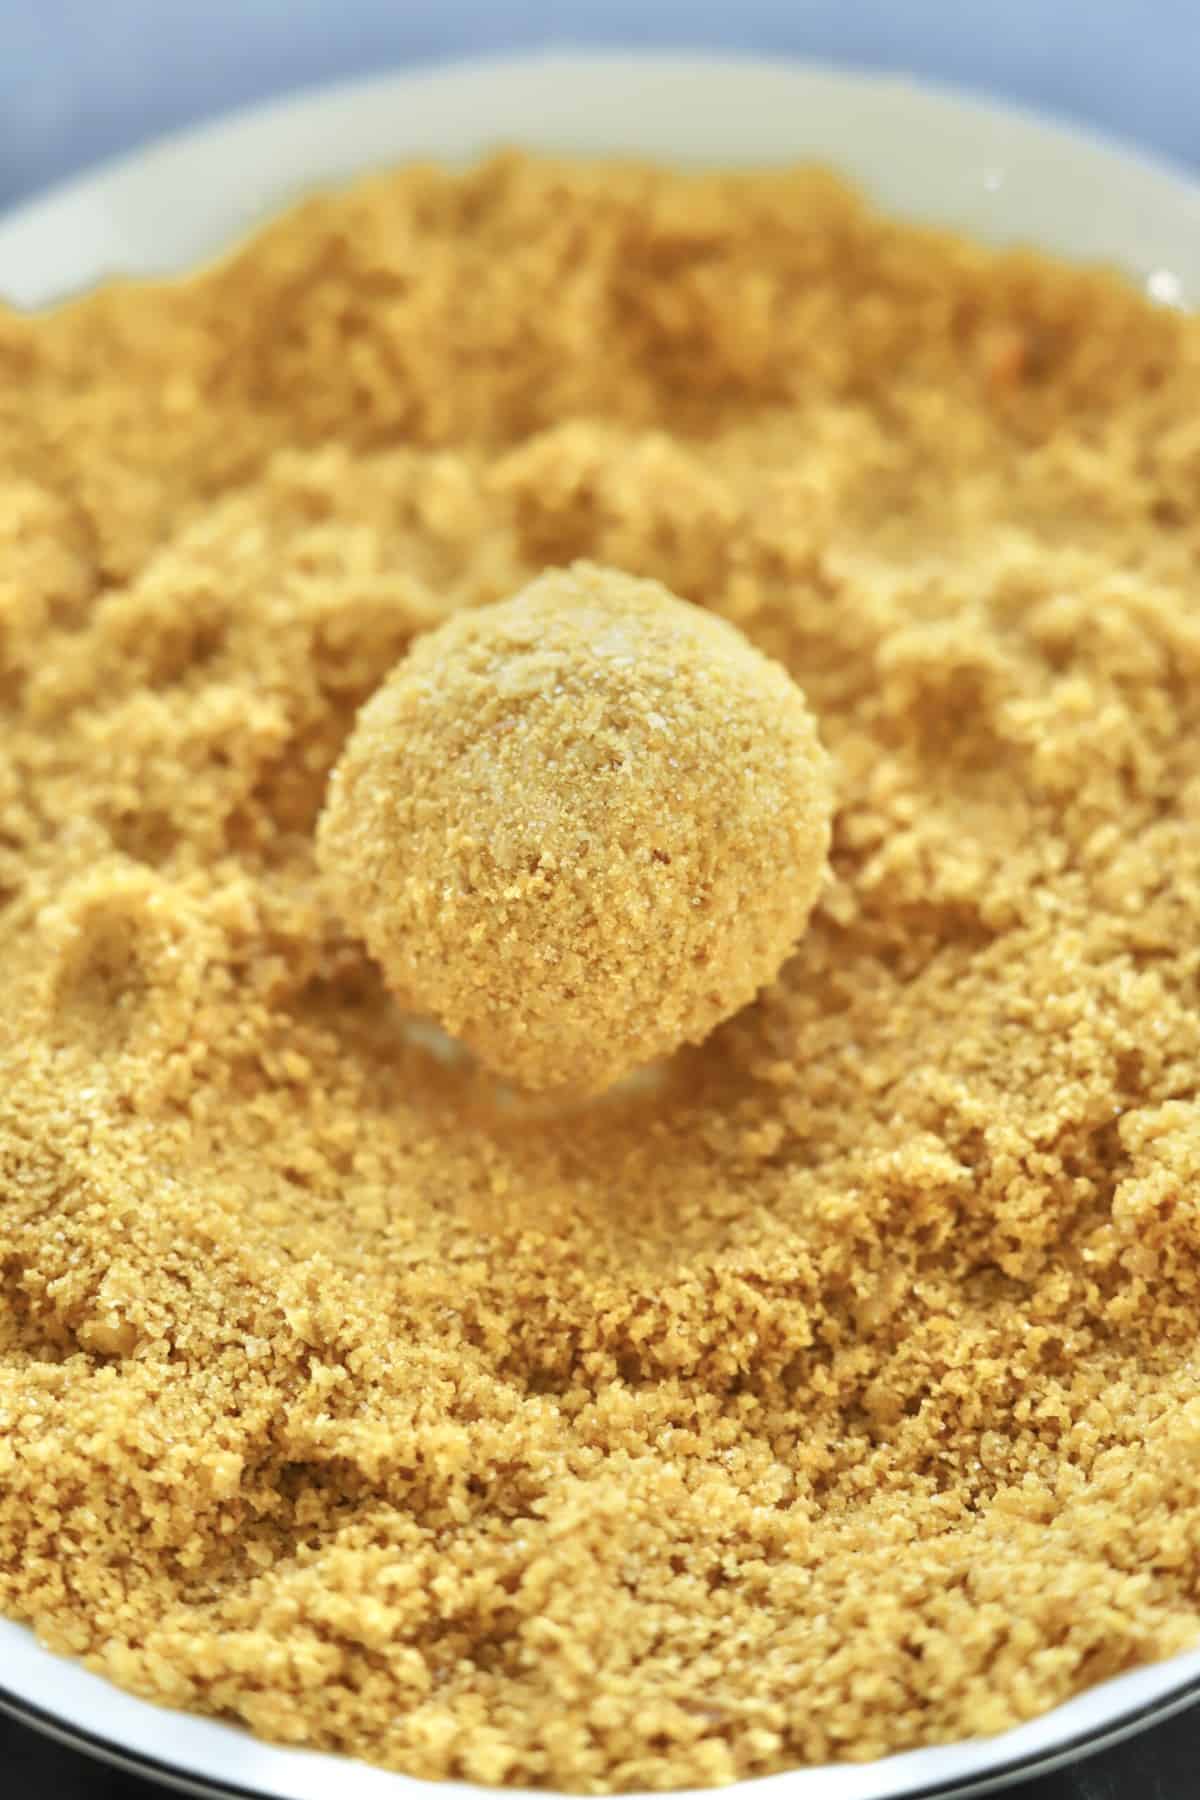
- Coat the Ice Cream. Pour the cereal mixture into a shallow bowl. Roll the ice cream balls on top, coating them completely.
- Enjoy! Transfer the ice cream balls to a bowl or plate, add your favorite toppings, and enjoy immediately.
Tips for Success
We’ve already made this fried ice cream recipe easier than other versions by skipping the deep frying. However, we have a few extra tips to ensure you always have success!
- Make It Even Easier. If you want to eliminate any mess and all fuss from this recipe, simply sauté the cornflake mixture and sprinkle it on top of your ice cream.
- Use Your Hands. Don’t be afraid to get a little hands-on with this recipe! Use your hands to form compact ice cream balls, and gently push the cornflake coating into the ice cream.
- Wear Gloves. Not only do gloves help keep this dessert sanitary, but they also block some of the heat from your hands, helping to keep the ice cream from melting.
Serving Suggestions
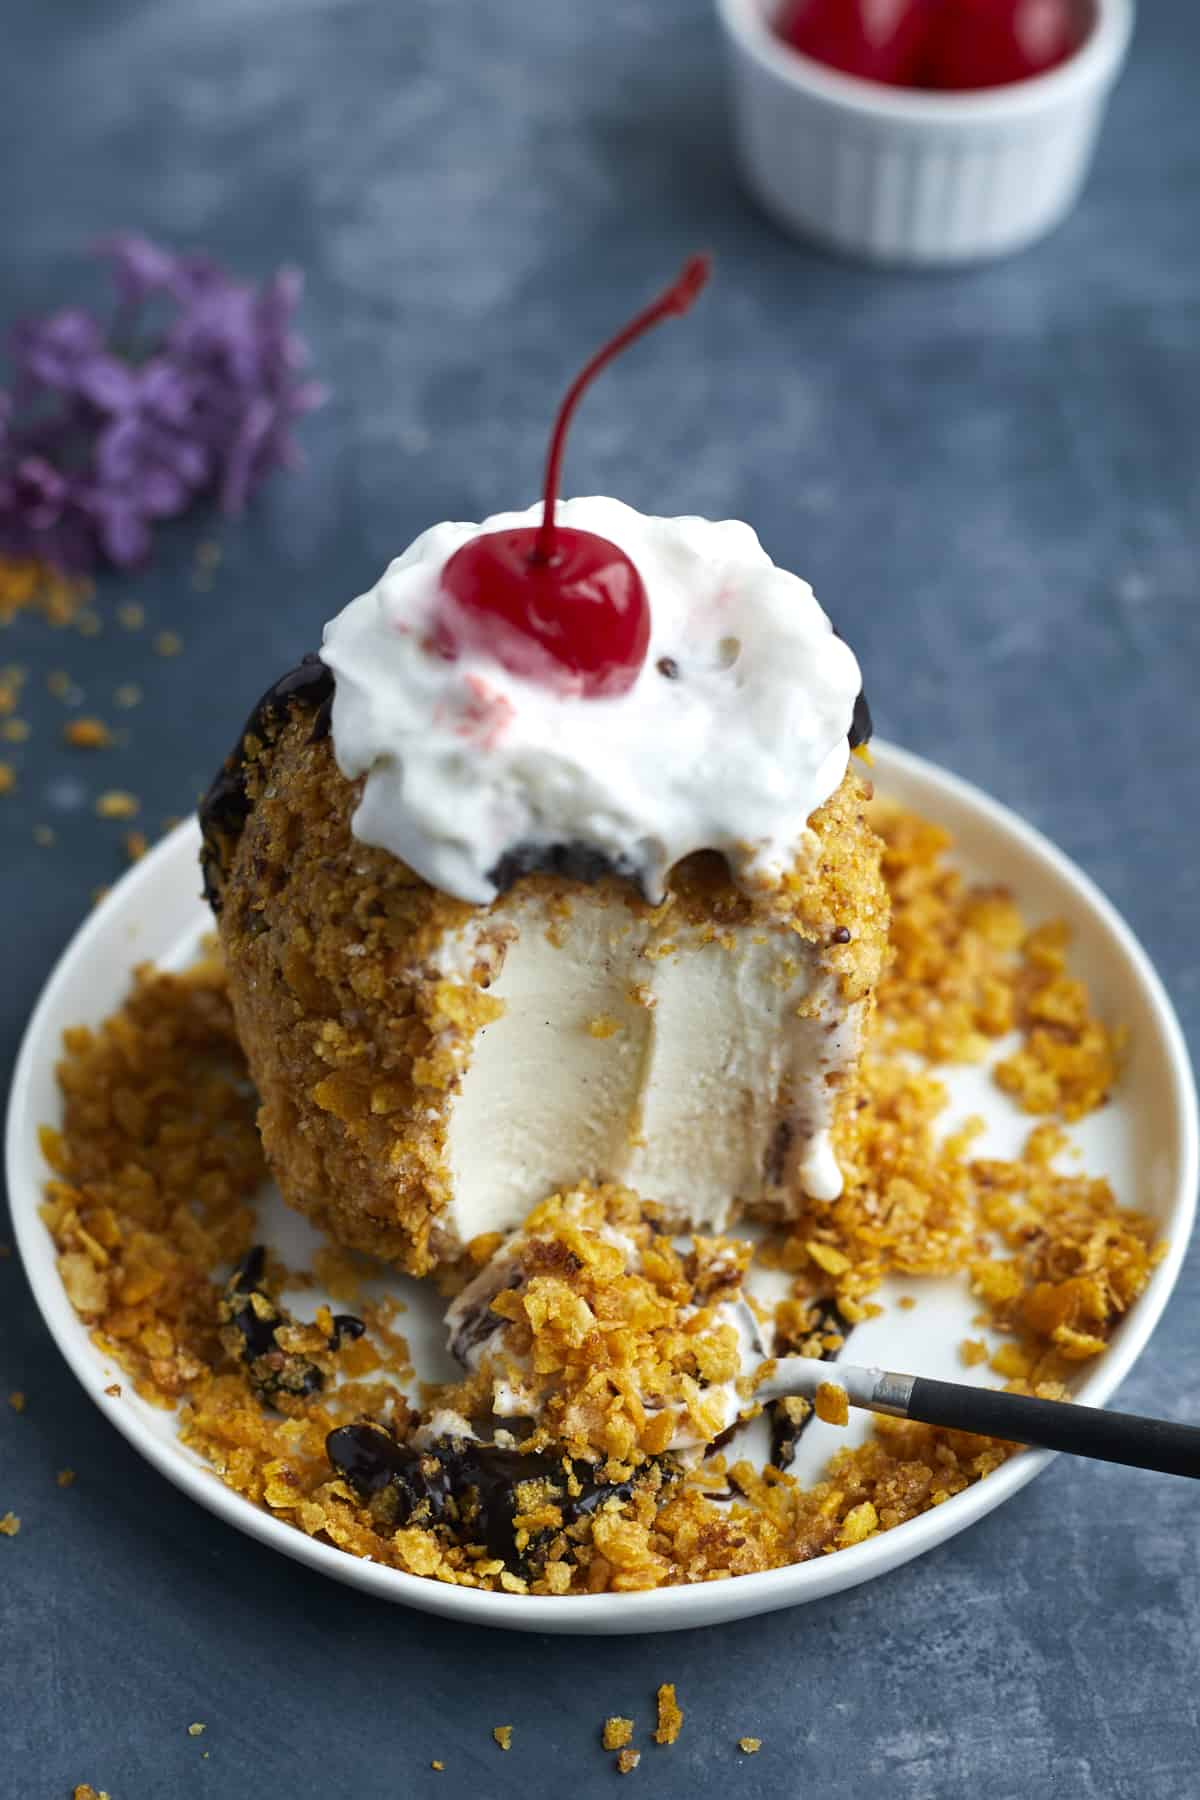
There are loads of ways to serve fried ice cream! Our personal favorite is the classic combination of chocolate syrup and whipped cream with a cherry on top.
But here are some other topping combos that are absolutely delish!
- Peanut butter drizzle and Oreo crumble topping
- Whipped cream combined with any type of chocolate morsel (We like M&Ms, Bunch a Crunch, and even plain chocolate chips!)
- Fresh fruit compote, fruity syrup, jam, or jelly
- Chopped nuts
- Coconut flakes
- Pie filling
- Caramel
- Fresh fruit
- Sprinkles
Can I Make this Recipe in Advance?
Due to the nature of this recipe, we do not recommend storing fried ice cream or making it in advance.
Because of their shape, the ice cream balls are more susceptible to freezer burn, and the cornflake topping does not maintain its crispy texture well. When exposed to the cold of the freezer, it will become soft and mushy.
Make Ahead Tip
However, if you want to make the fired ice cream for a party or gathering, we have a tip for you!
Scoop your ice cream balls, and chill them in the freezer the morning you plan on serving the dessert. Then, make the cornflake coating, and set it aside on the counter. Later that day, quickly assemble your fried ice cream, and enjoy!
This method works best when you prepare the ice cream the same day it is stored, but you can actually prepare up to 24 hours in advance if needed. Any longer than that, and you run the risk of freezer burn!
Common Questions About This Fried Ice Cream Recipe
Shaping the ice cream into tight balls and freezing them until solid helps keep them extra cold. As a result, they’re able to withstand the few minutes they’re exposed to heat without melting.
Although most commonly associated with Mexican restaurants today, fried ice cream is actually believed to have originated in China in the 1800s.
Fried ice cream has a sweet flavor with rich buttery notes and a crisp, satisfying crunch.
Sure! Feel free to use strawberry, chocolate, or whatever flavors you like best.
More Crowd-Pleasing Dessert Recipes
If you love our fried ice cream recipe, get ready to form a crush on these crunchy-on-the-outside, creamy-on-the-inside desserts:
- Our Strawberry Cheesecake Chimichangas are an absolute flavor BOMB!! All you need is just a handful of ingredients and an air fryer and you are on your way to deliciousness.
- Atayef with Whipped Cream and Pistachios may not sound familiar to you, but it is a scrumptious Middle Eastern dessert. It is a simple dish, composed of an outer layer made from a batter similar to a pancake and a creamy filling. We always top it with crushed nuts and/or simple syrup!
- If you love the crunchy outer layer of this fried ice cream, then our S’mores Roll Ups are perfect for you. You do not need a fire to make this amazing fire-side dessert!
- Zeppoles may not have a cream filling, but they are just too good and deserve a spot on this list. You can top them with Nutella, or serve them with your favorite topping
- For a cool summer drink try this Copycat Starbucks Cookies and Cream Frappuccino.
Fried Ice Cream
Ingredients
- 1 quart vanilla ice cream or flavor of choice
- 1/2 cup Danish Creamery Butter
- 5 cups Corn Flakes crushed
- 1 teaspoon ground cinnamon
- 1 Tablespoons granulated sugar
- Salt to taste
- Optional: chocolate sauce whipped cream, Maraschino cherry to topping
Instructions
- Line a baking sheet with parchment paper, and set aside.
- Using an ice cream scooper, shape the ice cream into balls. Place them on the prepared baking sheet.1 quart vanilla ice cream
- Transfer the ice cream to the freezer for 15 minutes or until firm.
- While the ice cream balls chill, melt the butter in a skillet or pan over medium heat.1/2 cup Danish Creamery Butter
- Add the crushed Corn Flakes, cinnamon, sugar, and salt to the pan. Cook for 3-5 minutes or until the cereal is well coated and golden, stirring constantly.5 cups Corn Flakes, 1 teaspoon ground cinnamon, 1 Tablespoons granulated sugar, Salt to taste
- Transfer the Corn Flake mixture to a shallow bowl. Set aside to cool.
- Roll the chilled balls of ice cream in the cooled Corn Flake mixture, coating the ice cream completely.
- Serve with chocolate syrup, whipped cream, and a maraschino cherry, or toppings of choice.Optional: chocolate sauce
Would you like to save this? 🔖
Nutrition
Nutrition information is automatically calculated, so should only be used as an approximation.


This was soo good and a great way to have the fried ice cream look and taste without the clean up and the mess.
Amazing! So glad you liked it!