Why settle for just one flavor when you can have the best of both worlds with this easy Marble Cake recipe? It’s surprisingly simple to whip up, and features the perfect swirl of rich chocolate and smooth vanilla batters.
With its moist texture and tender crumb, this classic treat is bound to be a crowd-pleaser!
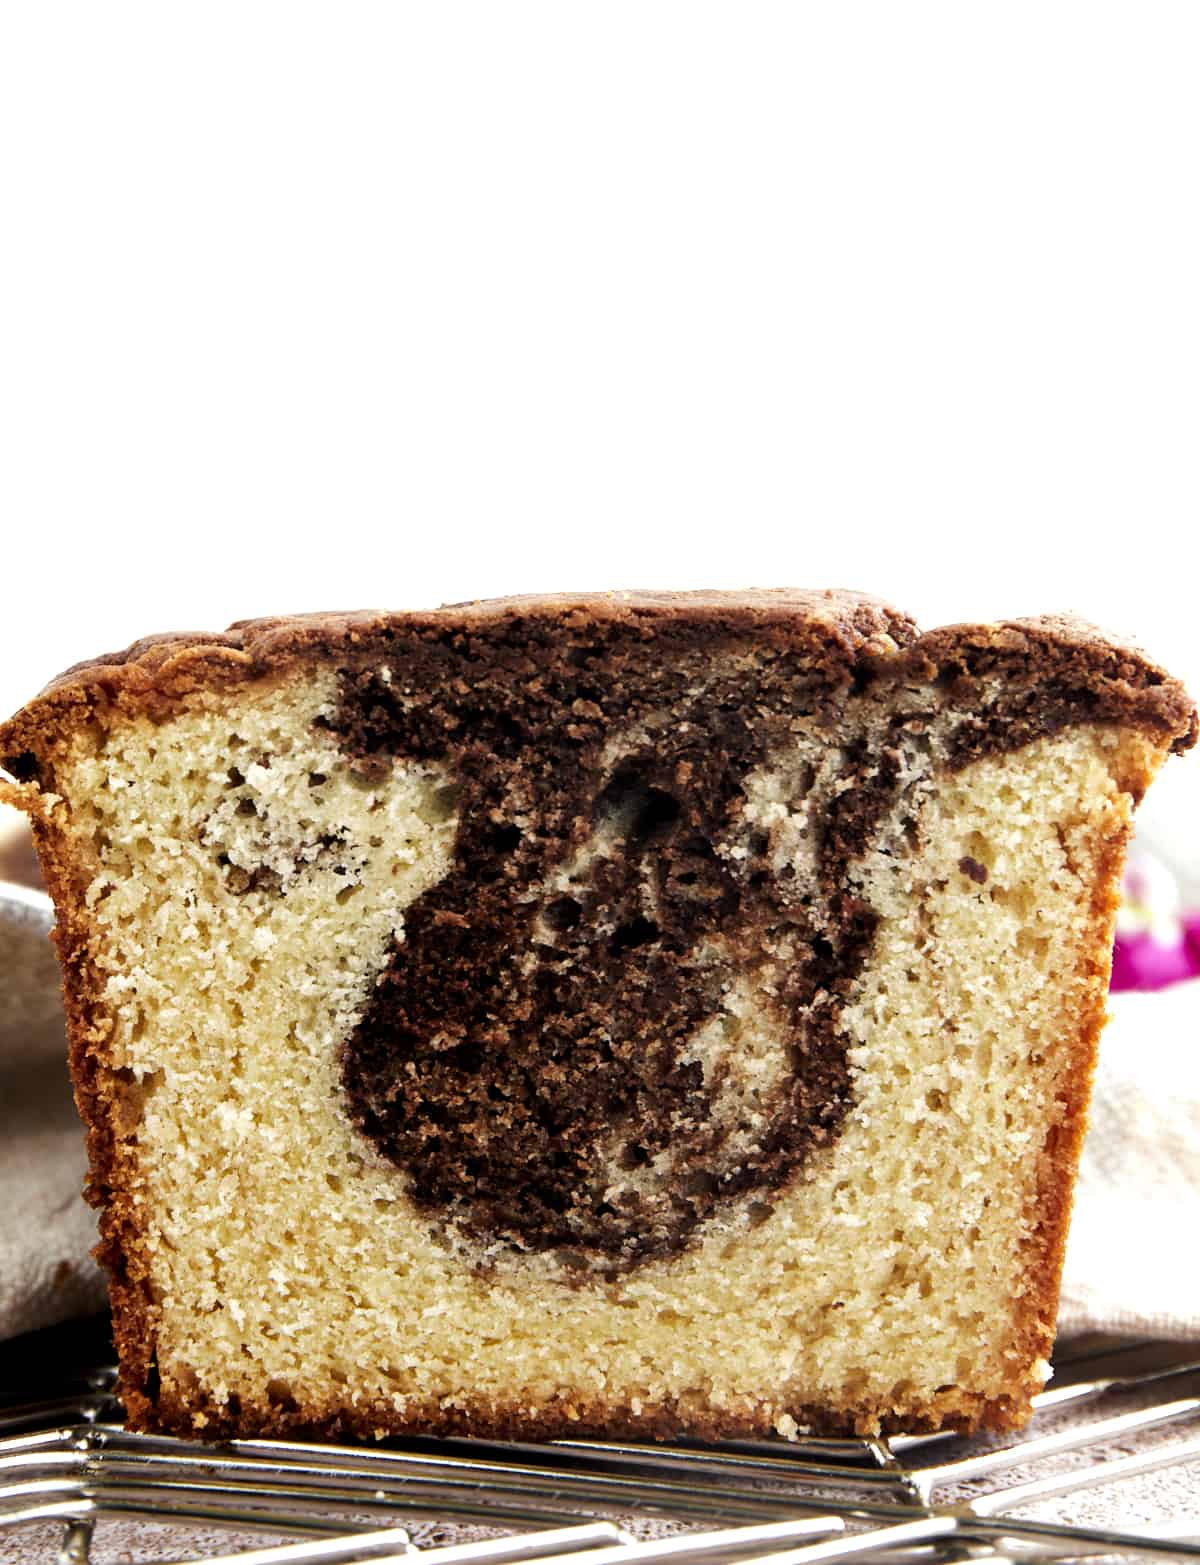
Table of Contents
What Is Marble Cake?
A classic, old-fashioned dessert, the origins of marble cake can be traced back to 19th Century Germany. Originally known as Marmorkuchen, marble cake was first created with simple ingredients including sugar, eggs, butter, and milk flavored with chocolate or vanilla.
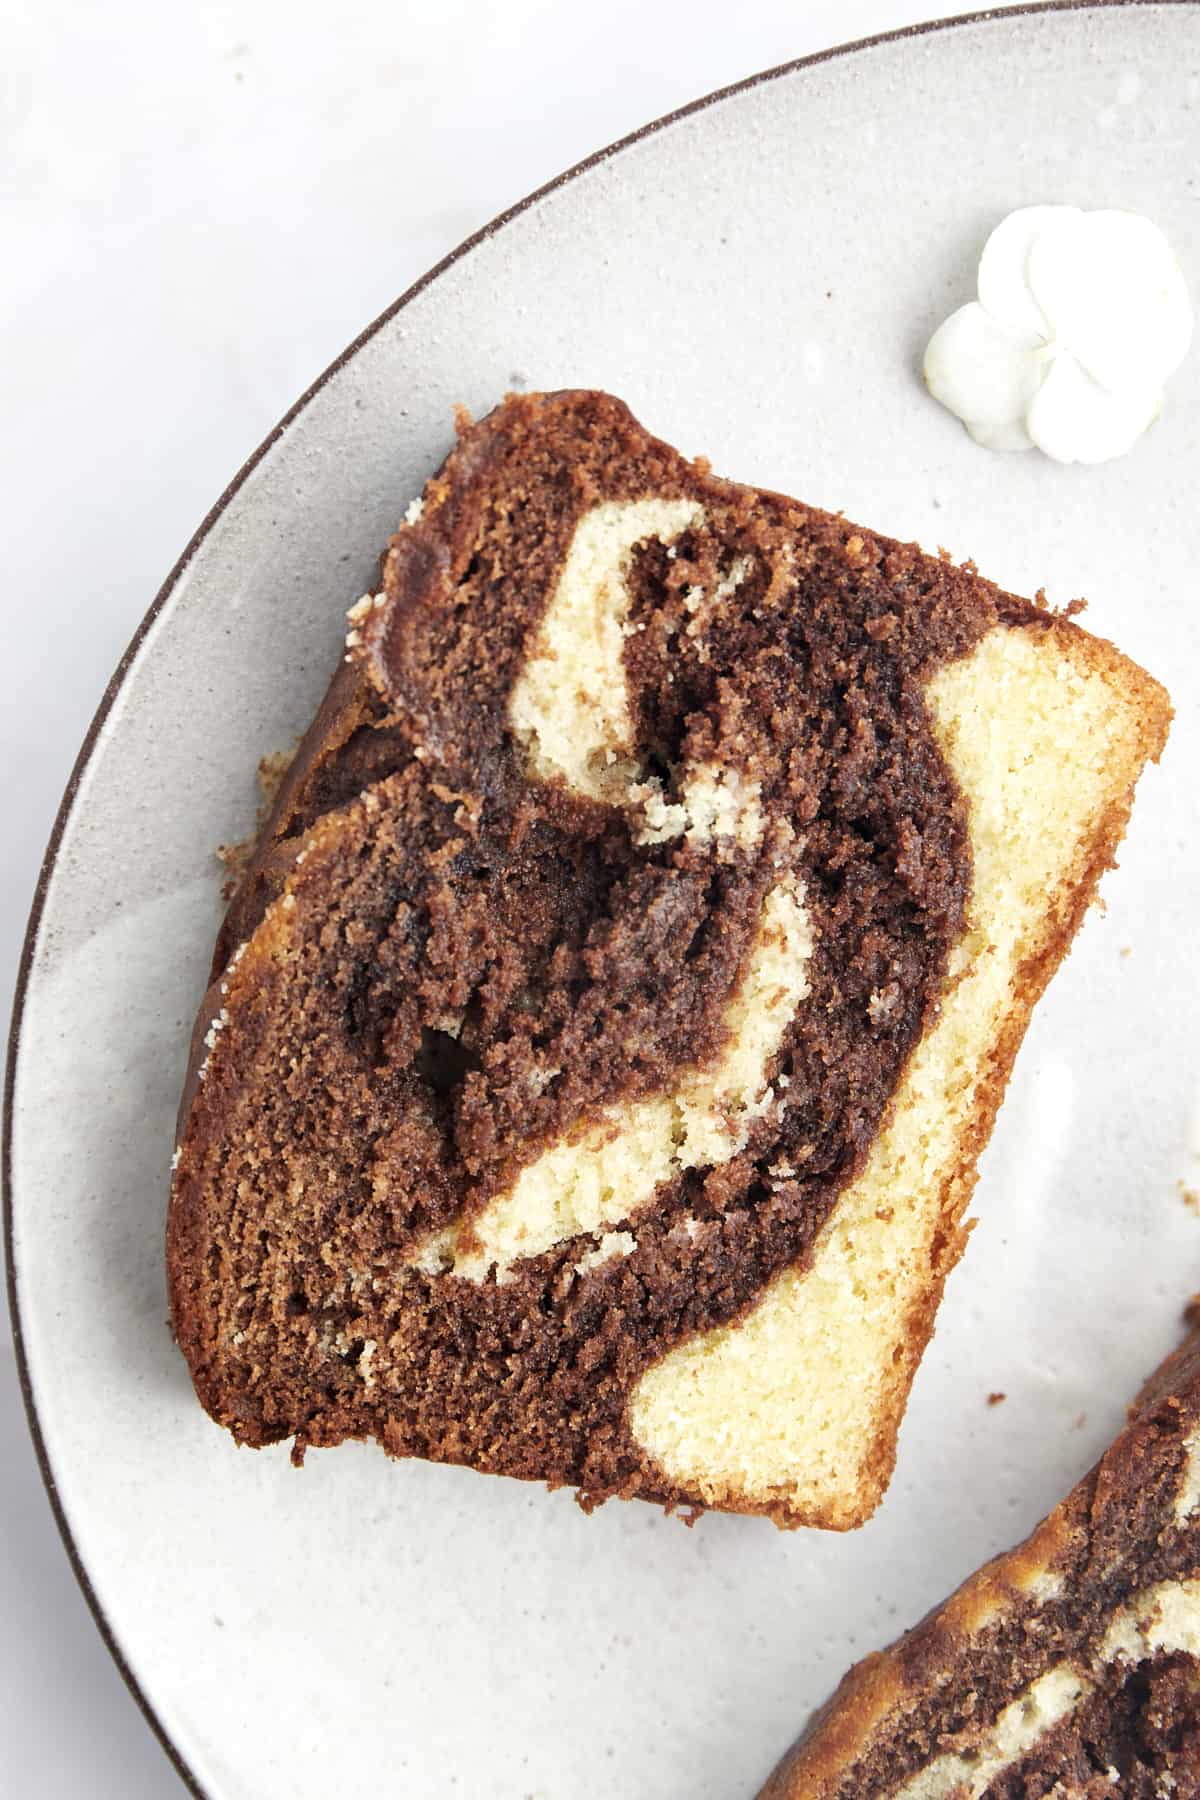
The name marble cake referred to the marbled appearance created by swirling separate vanilla and chocolate cake batters together. Every bit as delicious as it is beautiful, the cake quickly spread throughout Europe.
As a result, it wasn’t long before the recipe made its way to America where it was adopted as a favorite recipe for birthdays, holidays, and weddings. Over time, countless variations of the original recipe have been created with ingredients like raisins, nuts, fruit, cinnamon, and nutmeg being added to the batter.
However, the original marble cake remains as popular as ever and is one of our go-to recipes when we need a crowd-pleasing treat!
What Is Marble Cake Made Of?
Keeping true to the original recipe, we use simple, baking staples with just a few extras to achieve a moist, tender crumb that will have all your guests practically licking their plates.
- Flour – Regular, all-purpose flour forms the base of this marble cake. We haven’t tested it, but a 1:1 gluten-free all-purpose flour alternative should work as well.
- Butter – Unsalted butter helps the cake rise while keeping it moist and contributing to a richer flavor.
- Sugar – Granulated sugar helps sweeten the batter and eliminate any bitterness from the cocoa powder.
- Baking Powder – Used to help the cake rise.
- Salt – Just a pinch helps enhance the flavor of the rest of the ingredients.
- Sour Cream – Full-fat sour cream adds moisture and a satisfying tang without thinning the batter.
- Eggs – These are crucial to providing structure to the cake. Let them come to room temperature before adding them to the batter.
- Vanilla – Pure vanilla extract enhances the flavor of the rest of the ingredients.
- Milk – We highly recommend using full-fat milk for the softest texture and most indulgent flavor, but any milk you have on hand will do.
- Vegetable Oil – This is added to the chocolate batter, enhancing its moistness even further.
- Unsweetened Cocoa Powder – Regular unsweetened cocoa powder or Dutch-processed cocoa can be used for the chocolate batter.
How to Make Marble Cake
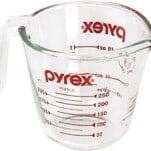
- “Sour the Milk”. In a measuring cup, whisk the milk and vinegar together, and set aside to curdle.
- Whisk the Dry Ingredients. In a large bowl, whisk the flour, baking powder, and salt until well combined.
- Cream the Butter. In a second bowl, use a hand mixer or stand mixer fitted with a paddle attachment to cream the butter and sugar together until smooth.
- Beat the Wet Ingredients. Add the eggs to the butter mixture, and beat to combine. Beat in the sour cream and vanilla extract, scraping down the sides of the bowl as needed. The mixture may appear lumpy, but that’s normal!
- Combine the Wet and Dry Ingredients. With the mixer on low speed, slowly pour the dry ingredients into the bowl of wet ingredients. Mix until just combined.
- Divide the Batter. Transfer 1 cup of the cake batter to a separate, clean bowl. Add the vegetable oil and cocoa powder, stirring just until combined.
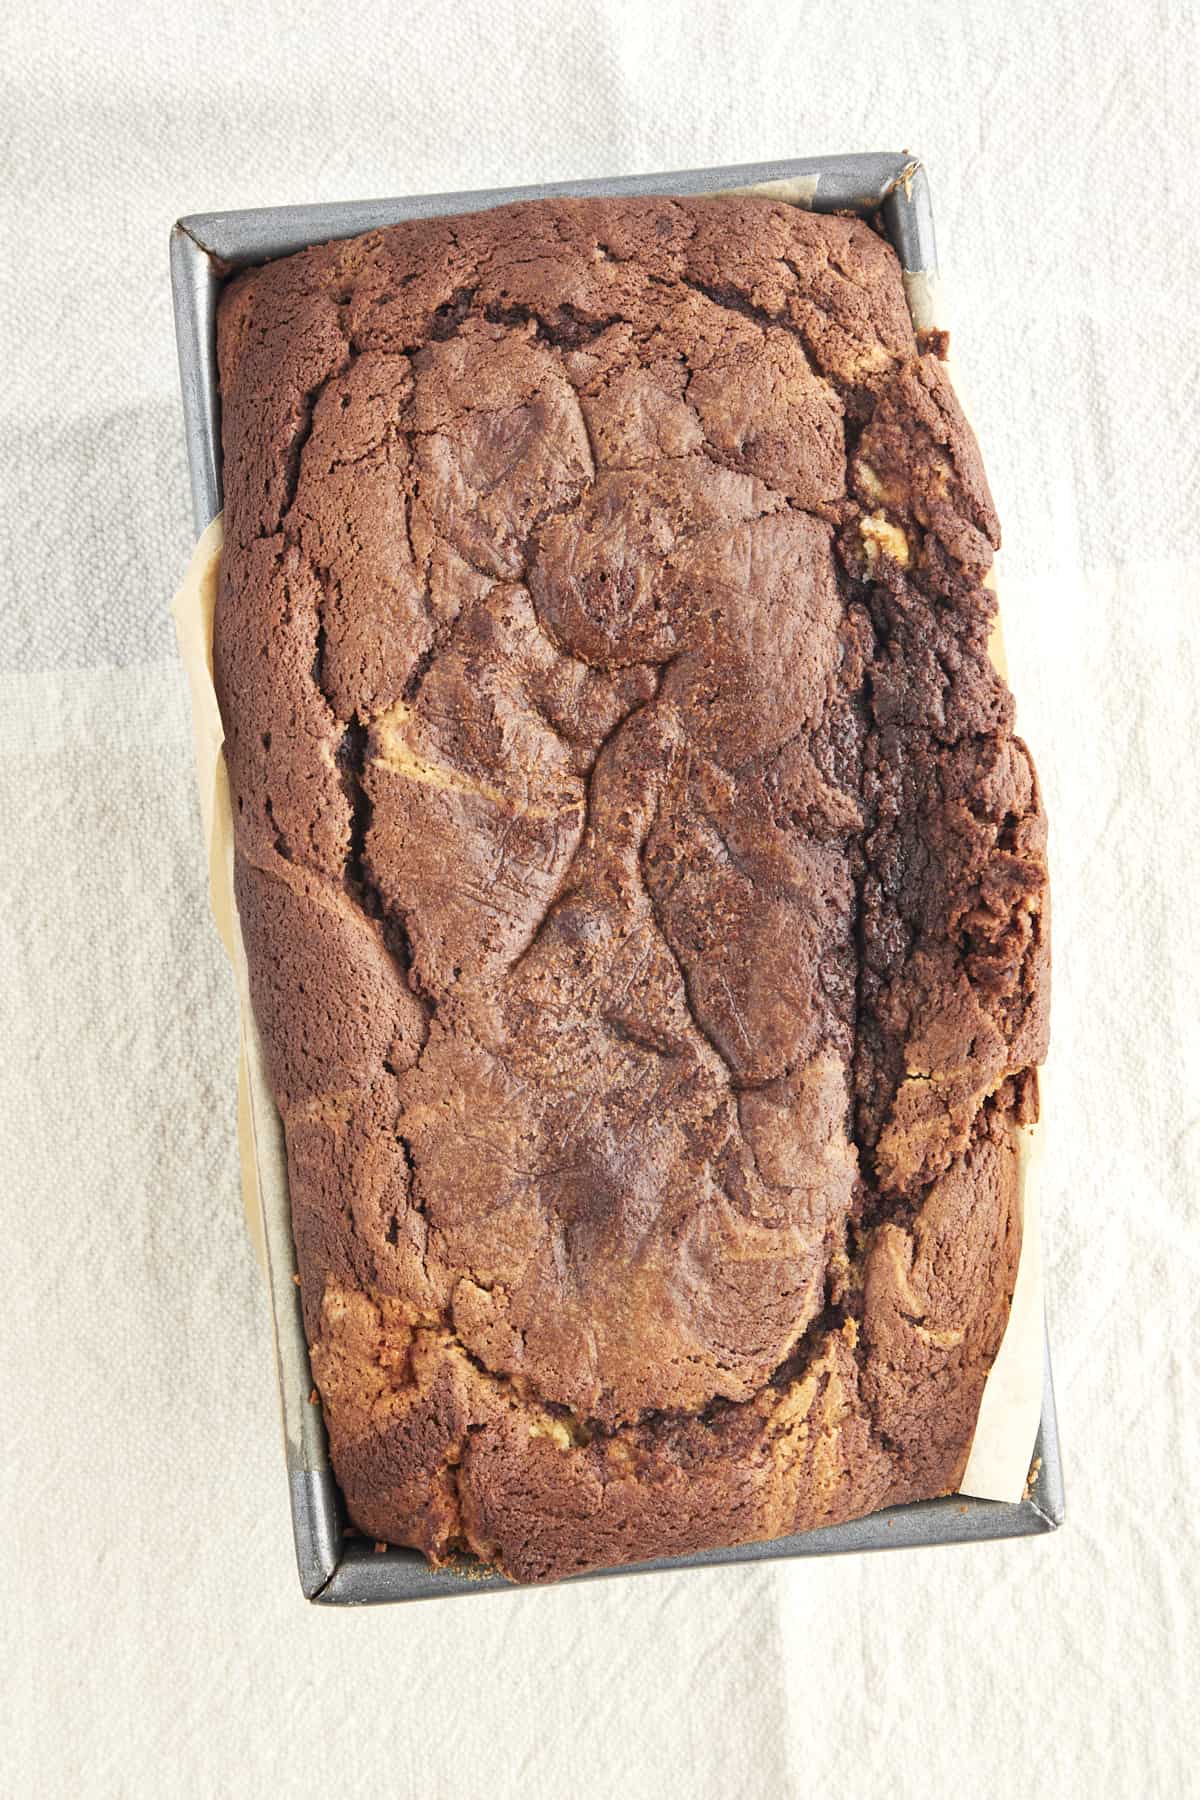
- Layer and Swirl the Batters. Spread a thin layer of the plain vanilla batter in the bottom of a prepared loaf pan. Alternate spoonfuls of the chocolate batter and vanilla batter on top. Repeat until all of the batter has been used. Then, use a knife or wooden skewer to gently swirl the batter around, creating a marbled effect.
- Bake. Place the cake in a preheated oven, and bake until the batter has risen and a toothpick can be inserted into the center and comes out clean.
- Cool. Allow the cake to cool in the pan. Then, invert it onto a plate, and add your favorite icing, if desired before serving.
Baking Tips
- Measure Carefully. The key to creating a moist, tender marble cake recipe is to measure accurately. For the best results, we highly recommend using a food scale. Or, use the spoon and level method to measure the dry ingredients.
- Use Room Temperature Ingredients. This allows for easy mixing, preventing the batter from being overworked, and ensuring your cake doesn’t turn out dry.
- Avoid Overmixing. Stir the batter just until the ingredients are combined and no streaks remain. Continuing to mix will result in a dense, dry cake.
- Prevent Burning. If you notice the top of your marble cake is browning too quickly in the oven, you can loosely cover it with aluminum foil. Then, continue to bake until the batter is set.
Frosting Options
Not only does this marble cake recipe taste fantastic on its own, but it also plays well with all your favorite frostings! Some of the most popular options include chocolate frosting, chocolate buttercream, cream cheese frosting, or German buttercream.
How to Store
This marble cake stores well, meaning you can prepare it in advance and dig into this deliciousness for days.
- To Store: Cover any leftovers, or transfer them to an airtight container. They will stay fresh at room temperature for up to two to three days or in the fridge for up to five days.
- To Freeze: Double wrap the cooled cake with aluminum foil or plastic wrap, and transfer it to a sealable bag. It can be frozen for up to three months. To serve, let it thaw in the fridge overnight, and set it out to come to room temperature before serving.
More Decadent Cake Recipes
Can’t get enough cake? We can’t either! Try some of our other super simple cake recipes:
- Double Chocolate Bundt Cake
- Strawberry Lemon Bundt Cake
- Sour Cream Coffee Cake
- Chocolate Zucchini Cake

Easy Marble Cake Recipe
Ingredients
- 2/3 cup whole milk room temperature
- 2 Tablespoons white vinegar
- 2 cups all-purpose flour
- 1 teaspoon of baking powder
- 1/2 teaspoon of salt
- 3/4 cup unsalted butter softened at room temperature
- 1 1/3 cups granulated sugar
- 3 large eggs at room temperature
- 1/2 cup full-fat sour cream
- 3 teaspoons vanilla extract
- 1 Tablespoon vegetable oil
- 3 Tablespoons unsweetened cocoa powder
Instructions
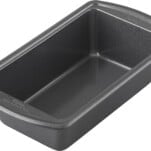
- Preheat the oven to 350 degrees Fahrenheit, and generously butter a 9×5-inch loaf pan.
- In a measuring cup add the milk and vinegar. Set aside for 10 minutes to “sour”.
- In a bowl, whisk together the all-purpose flour, baking powder, and salt. Set aside.
- In a separate large bowl, use a hand mixer or stand mixer fitted with a paddle or whisk attachment to beat the softened butter and sugar together on medium-high speed for 2 minutes or until smooth and creamy.
- Add the eggs, and beat on high speed for 1 minute. Then, beat in the sour cream and vanilla extract, scraping down the sides and bottom of the bowl as needed. Note: The mixture may appear lumpy, but that’s normal!
- Gradually pour the dry ingredients into the bowl of wet ingredients. Mix on low speed just until combined. Be careful not to overmix!
- Transfer 1 cup of the prepared batter to a separate, clean bowl. Stir in the vegetable oil and cocoa powder unitl smooth.
- Layer and swirl the batters: Spread a thin layer of the plain vanilla batter in the bottom of the prepared loaf pan. Alternate spoonsful of hte chocolate batter and vanilla batter on top, creating a layered effect until all of the batter has been used. Use a knife or wooden skwere to swirl the batters around, creating a marbled appearance.
- Transfer the pan to the oven, and bake for 65-75 minutes or until a toothpick can be inserted into the center and comes out clean. NOTE: If the top of the cake begins to brown too quickly, loosely cover it with aluminun foil, and continue to bake.
- Allow the cake to cool completely before inverting into a plate and serving.
- Store at room temperature for 2-3 days or in the fridge for up to 5 days.
Notes
Would you like to save this? 🔖
Nutrition
Nutrition information is automatically calculated, so should only be used as an approximation.
