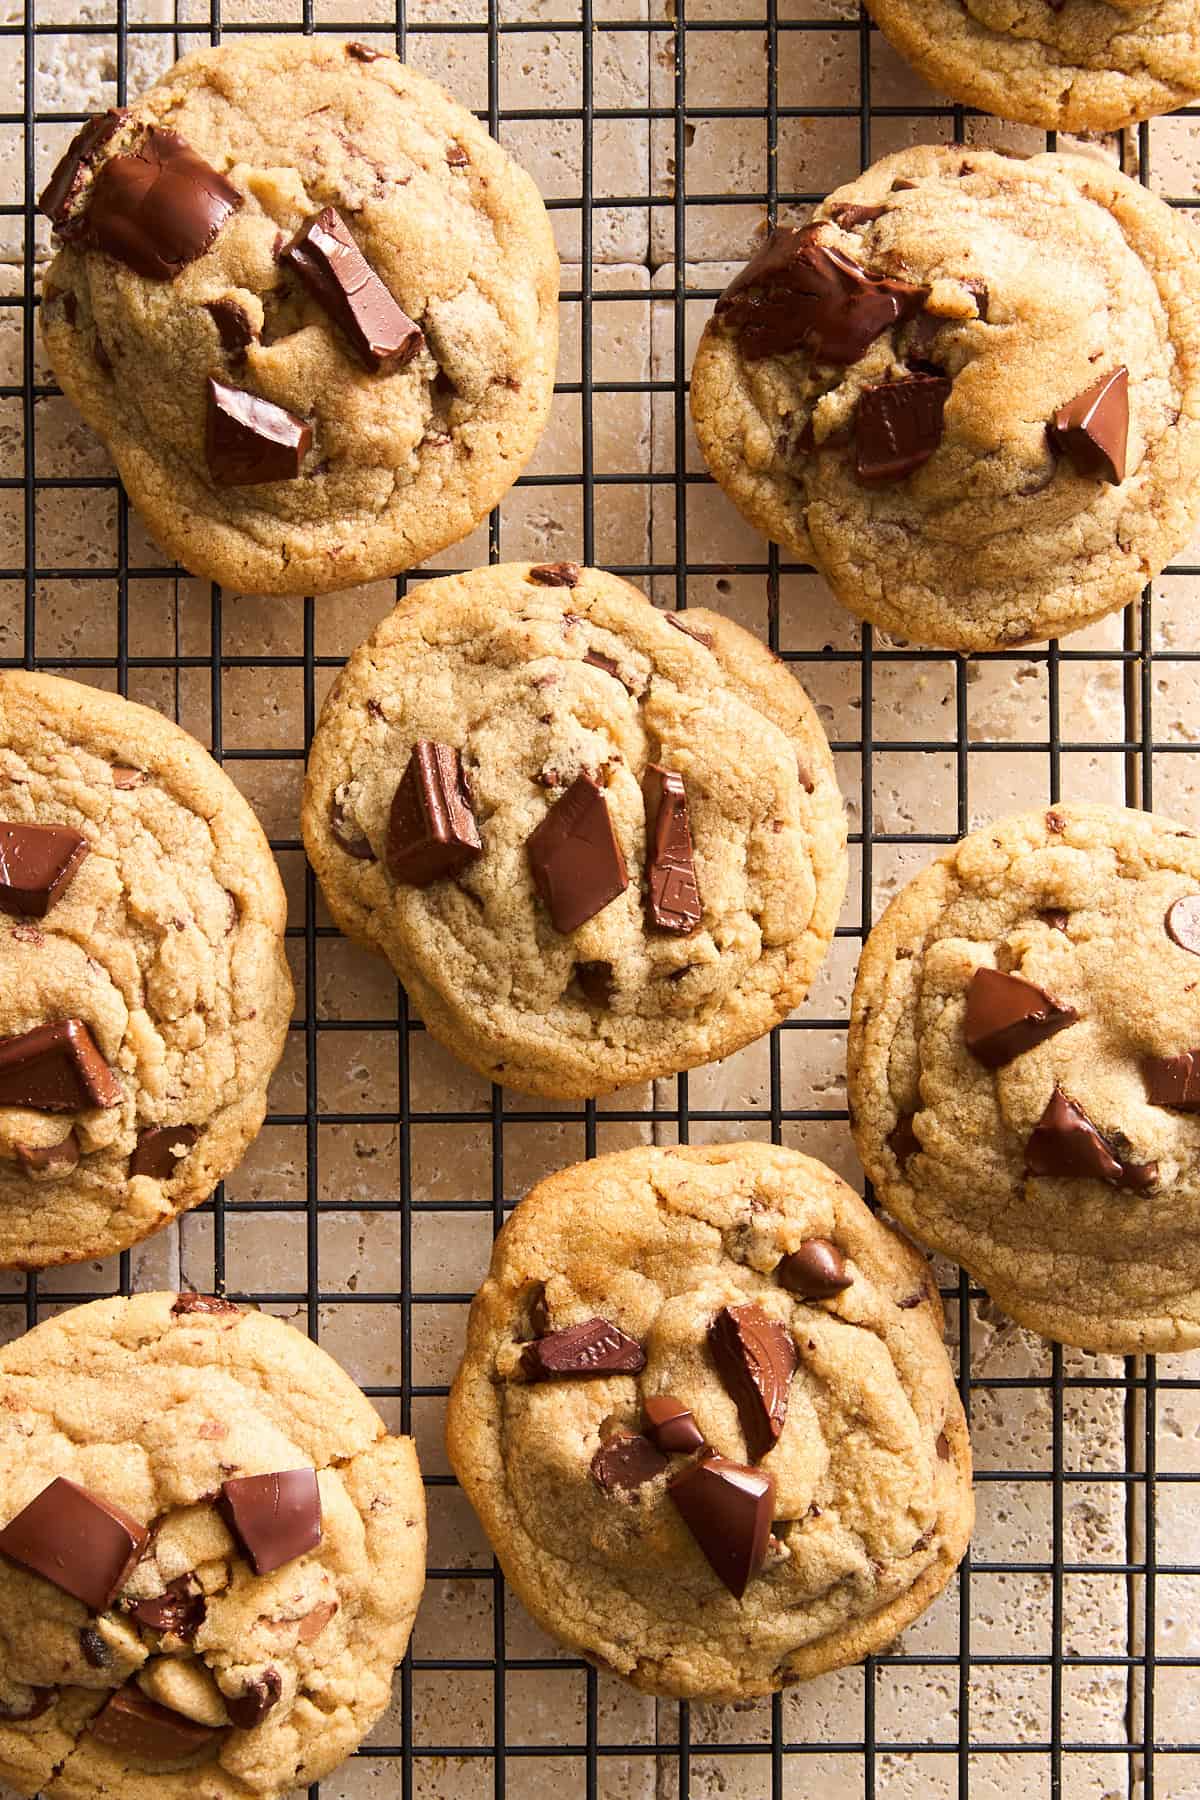
When we gush about these browned butter chocolate chip cookies being the ultimate, we mean it! They’re our absolute favorite, and for good reason. With their perfect blend of chewiness, crisp edges, and generous chocolatey goodness, they’re a cookie lover’s dream come true. Trust us, once you’ve had a taste, you’ll understand why we’re so obsessed!

Table of Contents
The history of the chocolate chip cookie
The chocolate chip cookie was invented in 1938. We don’t know about you, but it’s hard to believe that this delicious dessert has been around for less than a century! Bakers Ruth Graves Wakefield and Sue Brides joined forces to develop this signature American dessert, and the rest – quite literally – is history.
Ruth owned an inn with her husband based in a small town in southeastern Massachusetts. Their inn was notorious for Ruth’s delectable desserts. She baked all sorts of sugar and butterscotch cookies but felt uninspired after years of baking the same things. That was when she decided to cut up a Nestle chocolate bar and combine it with her butter drop cookie recipe!
How to make browned butter
Browned butter is the magic ingredient that makes these cookies oh-so-good. It’s a fairly simple process to make brown butter, but it helps to develop a sweet and nutty flavor. You are essentially cooking the butter just past its melting point and browning some of the milk fats.
Browning butter takes about 3-5 minutes and all you need is butter, a pan or sauce pot, and a whisk or spatula. If you are using a non-stick pan, we recommend using a silicone whisk or silicone spatula so that you don’t scrape the bottom of the pan.
You will start by cutting up the butter into cubes. Next, place the butter in the pan or sauce pot and heat the pan up over medium heat. Make sure to keep a close eye on the butter while it melts, as it can go from browned to burnt quickly. Once all of the cubes have melted, start mixing with the whisk or spatula.
Once the butter is fully melted, it will begin to foam – this is a good sign! Keep whisking to make sure the melted butter is evenly heated. Eventually, you’ll start to notice a nutty smell coming off of the butter which indicates it has browned. There will also be some brown specs at the bottom.
At this point, turn off the heat, and keep mixing. As we mentioned earlier, it is very easy to cross the line from browned to burnt, so do not leave the butter unattended. You can use the browned butter right away, or store it until you are ready to bake!
For this recipe, we recommend making the browned butter right before making the cookie batter so that it is warm and melted.
How to make the batter for the best browned butter chocolate chip cookie
- Make the browned butter, or re-melt the browned butter if it is already made. Once melted, add instant espresso and mix in. Set aside for about 20 minutes to allow the butter espresso mixture to infuse and cool.
- In a medium bowl, sift the flour, baking soda, and salt to combine.
- Add the brown butter mixture, brown sugar, light brown sugar, and white sugar to a large bowl and mix until well blended.
- Note: If you’re using a stand mixer, use that bowl. If you are mixing by hand or using a hand mixer, any large bowl will suffice!
- Next, add 1 egg and beat the ingredients together for 1-2 minutes. Then add the egg yolk and vanilla extract and beat for another 1-2 minutes.
- Note: it is important to separate mixing these ingredients into two steps to achieve the perfect cookie batter texture. You are aiming for a light and fluffy looking mixture
- Add the dry ingredients to the butter, sugar, and egg mixture, and mix just until the ingredients are combined. You want to be careful not to over-mix as it will impact the texture of the cookies.
- Gently stir in the chocolate chunks and chocolate chips. It is not necessary to use both chunks and chips, but we personally like to incorporate both to add some variety to the texture.
- Scoop out about 1/3 cup of the dough and roll into balls.
- Place on a baking sheet. At this point, you can bake or refrigerate the dough overnight. If you are in a time crunch, you can refrigerate for just 30 minutes, but the longer you wait the better they will turn out!
Baking the best browned butter chocolate chip cookies
- Preheat your oven to 350 degrees F.
- Remove the chocolate chip cookie batter from the fridge.
- Scoop the cookie dough and roll it into balls. We like to make each cookie from 1/3 cup of dough!
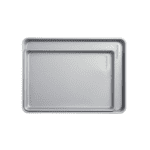
- Place on a non-stick baking sheet about 2 inches apart from each other so they have room to expand in the oven.
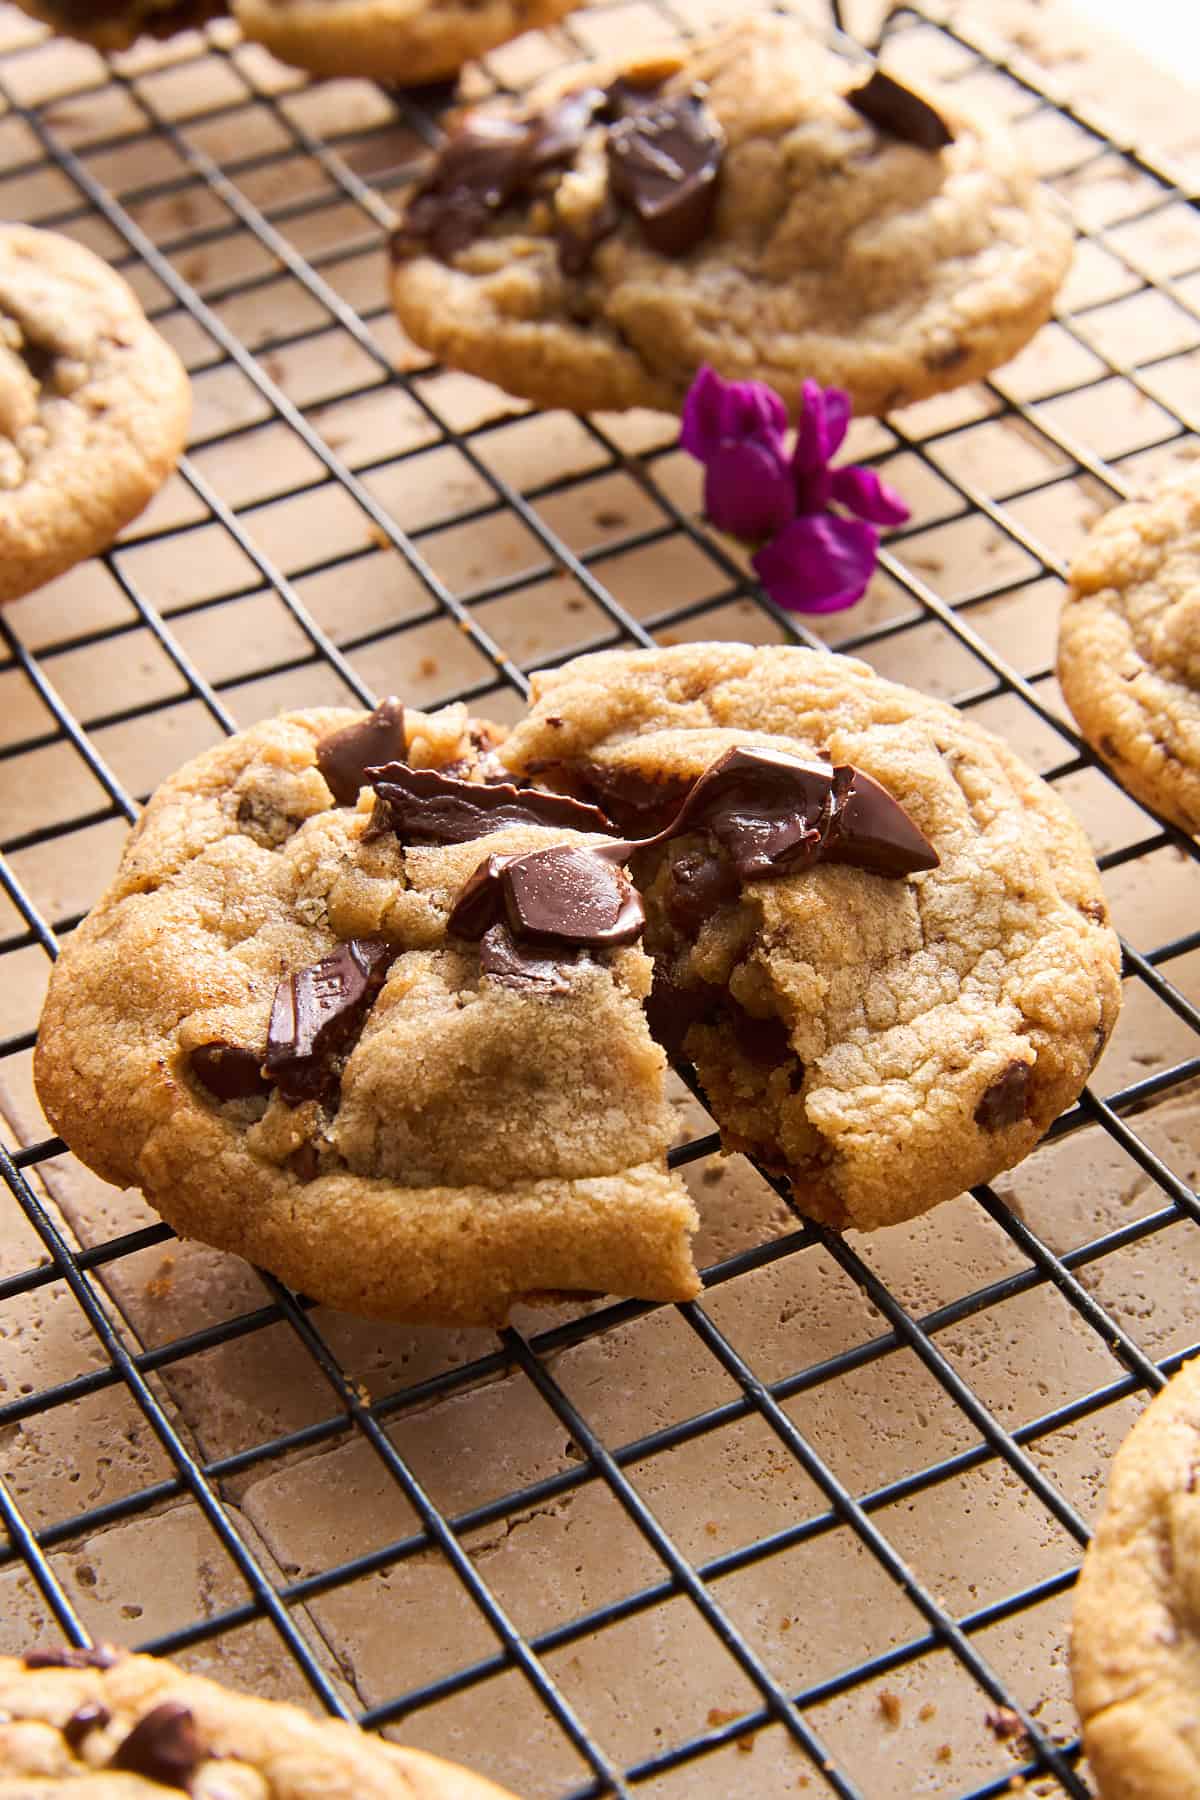
- When your oven is heated, bake the cookies on the center rack for 14-16 minutes, or until the edges are golden brown. Make sure not to overbake the cookies as they will continue to cook from the residual heat after they come out of the oven.
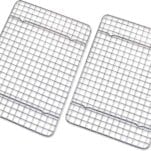
- After a couple of minutes, transfer the cookies to a wire rack and allow them to cool. Sprinkle with Maldon salt or your favorite flaky sea salt!

The Best Browned Butter Chocolate Chip Cookies
Ingredients
- 3/4 cup browned butter melted need 16 tbsp unsalted butter 2 sticks)
- 1/2 teaspoon instant espresso powder
- 1 3/4 cups all-purpose flour
- 1/2 teaspoon baking soda
- 1/2 teaspoon sea salt
- 3/4 cup packed dark brown sugar
- 1/2 cup granulated sugar
- 1 egg + 1 egg yolk room temperature
- 2 teaspons vanilla extract
- 6 ounces dark chocolate bar chopped into chunks 55-60%
- 2 ounces milk chocolate bar cut into chunks
- maldon salt flakes for garnish
Instructions
- Make the browned butter (see note below), or re-melt browned butter if it is already made. Once melted, add instant espresso and mix in. Set aside for about 20 minutes to allow the butter espresso mixture to infuse and cool.1/2 teaspoon baking soda, 1/2 teaspoon sea salt
- In a medium bowl, sift the flour, baking soda and salt to combine.3/4 cup browned butter melted, 1/2 teaspoon instant espresso powder, 1 3/4 cups all-purpose flour
- Add the brown butter mixture, brown sugar, light brown sugar and white sugar to a large bowl and mix until well blended.3/4 cup packed dark brown sugar, 1/2 cup granulated sugar, 1 egg + 1 egg yolk room temperature
- Next, add 1 egg and beat the ingredients together for 1-2 minutes. Then add the egg yolk and vanilla extract and beat for another 1-2 minutes.6 ounces dark chocolate bar chopped into chunks, 2 teaspons vanilla extract
- Add the dry ingredients to butter, sugar and egg mixture, and mix just until the ingredients are combined. You want to be careful not to over mix as it will impact the texture of the cookies.
- Gently stir in the chocolate chunks and chocolate chips. It is not necessary to use both chunks and chips, but we personally like to incorporate both to add some variety to the texture.2 ounces milk chocolate bar cut into chunks, maldon salt flakes for garnish
- Scoop out about 1/3 cup of the dough and roll into balls.
- Place on a baking sheet. At this point you can bake or refrigerate the dough overnight. If you are in a time crunch, you can refrigerate for just 30 minutes, but the longer you wait the better they will turn out!
- Preheat your oven to 350 degrees Fahrenheit.
- Remove the chocolate chip cookie batter from the fridge.
- Place on a non-stick baking sheet about 2 inches apart from each other so they have room to expand in the oven.
- When your oven is heated, bake the cookies on the center rack for 14-16 minutes, or until the edges are golden brown. Make sure not to overbake the cookies as they will continue to cook from the residual heat after they come out of the oven.
- After a couple minutes, transfer the cookies to a wire rack and allow them to cool. Sprinkle with maldon salt, or your favorite flaky sea salt!
Equipment
Notes
How to make browned butter-
- Cut the butter into cubes.
- Place the butter in the pan or sauce pot and heat the pan up over medium heat.
- Make sure to keep a close eye on the butter while it melts, as it can go from browned to burnt quickly. Once all of the cubes have melted, start mixing with the whisk or spatula.
- Once the butter is fully melted, it will begin to foam – this is a good sign! Keep whisking to make sure the melted butter is evenly heated. The butter will start to smell nutty, which indicates it has browned. There will also be some brown specs at the bottom.
- At this point, turn off the heat, and keep mixing. As we mentioned earlier, it is very easy to cross over the line from browned to burnt, so do not leave the butter unattended. You can use the browned butter right away, or store it until you are ready to bake!
– Use good quality butter, and high-quality chocolate because it makes a big difference!
– Chill the Dough: Don’t skip chilling your dough overnight! It helps the butter firm up, so your cookies hold their shape when baked. Plus, it gives the flavors time to deepen for that extra-rich, melt-in-your-mouth goodness.
– Room Temp Ingredients – Make sure everything is at room temperature before mixing. This makes it easier for all the ingredients to come together, giving you a smooth, evenly mixed dough.
– Parchment or Silicone – Always line your cookie sheets with parchment paper or a silicone mat. Not only does it prevent sticking, but it also makes cleanup a breeze!
– Give your cookies room to breathe. Place the dough balls at least 2 inches apart so they can spread out and bake to perfection.
– After baking, gently tap the sheet on the counter. This deflates any puffiness and gives your cookies that irresistible, chewy texture.
– Cool: Let the cookies cool on the sheet for about 5 minutes before transferring to a cooling rack. This helps them set without breaking and keeps that perfect, soft center.
Would you like to save this? 🔖
Nutrition
Nutrition information is automatically calculated, so should only be used as an approximation.



This recipe looks easy & delicious. Can’t wait to try it. Just one question though….Can the expresso be left out? I do not like anything made with coffee, no matter how little is in the recipe. Thanks
Yes, the chocolate flavor just won’t be quite as strong. We hope you enjoy!
Xo,
Alia & Radwa
these came out very good. espresso powder is not avaiable where i live so i chopped up mocha chocolate for that extra coffee flavour.
lovely cookies, thank you for the recipe.
Hands down the BEST chocolate cookie recipe I have ever made. Dough freezes well for future use, too!!
Thank you so much, Carrie!
Xo,
Alia & Radwa
Absolutely obsessed with these cookies!! The browned butter is *chefs kiss* my neighbors now demand I make these every week!
i just used two cups of flour, sorry. apart from chocolate chunks i also threw in some chopped toffee/caramel candy. we prefer small cookies – so you can eat more without guilt, ha – i used my smallest cookie scoop.
great cookies, very very good. fantastic recipe, thank you.
Amazing! Love the small scoop trick 🙂
Wooo loved them!!!! Probably the best chocolate chip cookies I’ve baked and the recipe is fool proof!!! Absolutely loved it, being a choc chip cookies lover myself. Love your cute videos ❤️
Amazing, so glad that you loved this recipe! It’s one of our favs too! xo, Alia & Radwa
My husband says these are the best cookies I have ever made, and I do bake pretty often. These were really really good. Amazing right out of the oven! I stored them in a ziploc bag and that made them a little too crispy the next day. So may store them in a airtight container next time I make them. Which will probably be today.
Wohoo! Glad you guys loved the recipe! Yes, definitely store them in an air tight container. You can also try microwaving them for 10-15 seconds the next day! xo, Alia & Radwa
My family loved these! My husband said there is no need to make any other cookies again except these and my peanut butter cookies. Lol.
I put the salt on after scooping but before refrigerating. I think it helps the salt stay on better. Probably will cut the chocolate to 1/2 c. of each kind next time. Printed out the recipe and laminated it for all time preservation!!!
These are delicious. My teenage son gave them a big thumbs up. Browning the butter was easy (took me about 15 minutes). Because the butter was melted there was no need to use my stand or hand mixer. I used a whisk for the dry ingredients and a wooden spoon to mix everything together. Love, love, love the extra chocolate in those. I will definitely make again.
These were visually stunning (I made them big with 1/3 C scoops like you suggested) and pretty tasty. I was surprised I missed what regular old butter adds to a chocolate chip cookie since I’ve been seeing browned butter in lots of recipes online for years. Your cute video inspired me to finally try it. Have you ever tried with half browned, half not? I wonder if it would give the best of both worlds and help make the dough a little easier to work with. Either way, I’m glad I finally gave it a go! Thank you!
These were delicious! We used chocolate chunks and think we needed probably 6 oz vs the 8 oz requested in the recipe. Didn’t knock my socks off and didn’t really see the brown butter shining though, still a good recipe!
Your Instagram video made this look easier than it was. I followed the instructions per the video and this recipe and though the cookies turned out tasty, the unclear instructions and effort going into them makes it not worth baking again.
Melting one cup of butter did not yield 3/4th cup. It yielded one cup. I didn’t use the excess 1/4th cup and my dough turned out to be difficult to not overmix when I added the flour in. Then it turned into a scraggy, almost dry dough where it was difficult to “gently”‘mix in the chocolate pieces. I was vigorously mixing and mashing to get things in.
Then you instruct to refrigerate the dough overnight. Should the cookies have been formed into a ball already? It doesn’t say. So I left it in the bowl. The batter was rock hard. You also don’t specify if the batter should warm to room temperature or not before forming balls, but that would defeat the purpose of refrigerating overnight. So I scraped the dough out and hand rolled balls to bake.
The resulting cookies were good. I can taste a hint of espresso and it wasn’t too sweet. But your instructions should be clearer.